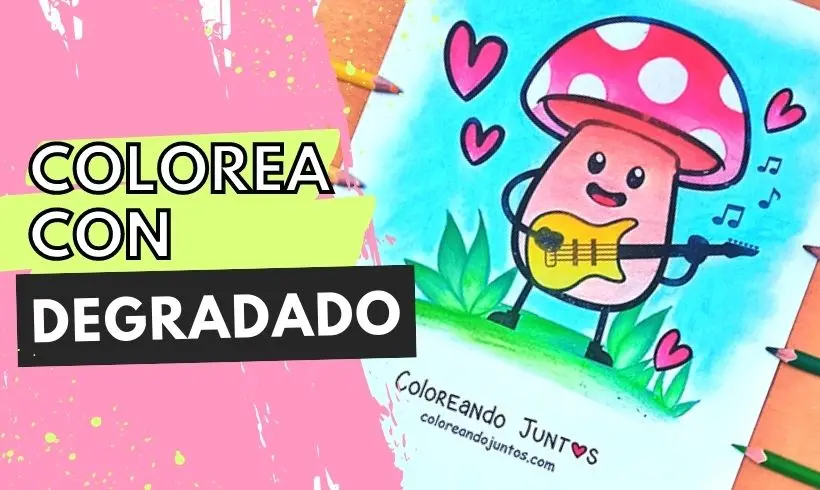
Gradient: Features and Tips for Applying It
Welcome to this section of Coloring Together! If you have made it here, it is because you are looking for a new technique you can apply to your drawings. In that case, why not take a look at all the information we gathered just for you?
We want to teach you how to apply the gradient technique to color your drawings. That is why we not only gathered valuable information about the technique, but we will also explain step by step how to apply it. Let us not waste any more time! Let us begin with today's lesson.
What is a Gradient?
A gradient is an artistic or graphic design technique that consists of the color transition of one or more colors. A gradient lets you get a variety of shades of the same color, going from the darkest to the lightest. You get amazing results!
In a gradient, you reduce the amount of one particular shade and increase that of another color, so that, as they blend, you get new colors and shades that harmonize with one another.
When applying the gradient technique, it is very important that you keep in mind the colors you will use in case there is more than one, because if you choose shades that do not go together, you will get a result very different from the one you are after.
What is a Gradient For?
A gradient is a technique that is used to create a transition effect in a drawing: for example, do you want to make a sky with several shades? The best way is with a gradient.
It also lets you add depth to certain areas of your drawing and give it a touch of realism.
It is a resource that will give your composition more personality and at the same time a harmonious touch; of course, as long as the color transition looks natural. That is why it is important to play with the number of layers and the intensity of your strokes, because very heavy strokes will give you darker results.
Types of Gradients
- Linear gradient: This is the most common gradient, and it consists of applying the color from a starting point, or from one edge, toward the other, making at the same time a color transition from that point to the other.
- Radial gradient: it is a gradient that spreads out in a radial way, that is, it starts from a central point with one color, and as it moves from the center outward, the shade keeps changing, just as if it were a circle.
What Colors Should You Use in a Gradient?
You can use all the colors you want in a gradient, but you must keep in mind the order in which you do it and what you want to convey with them.
If you choose cool shades, you can get an effect of sadness, mystery, or coldness. But if you take warm colors you can get a transition that conveys peace and joy.
If you combine a cool color and a warm one, keep in mind that when choosing them you must make sure they go together, because if they do not contrast you will not get the gradient to have a natural transition.
How to Apply the Gradient Technique?
Now that you have made it this far, it is time for us to show you with an example how to apply the gradient technique, step by step and with colored pencils! Are you ready to begin?
Wait! It is important that you keep in mind that this is the way our artists apply this technique. Art is very diverse and everyone has their own style, so take this as a guide and take the best tips and ideas from it. Find out for yourself in what order and how you prefer to apply it!
Step 1: Make a first layer with a base color
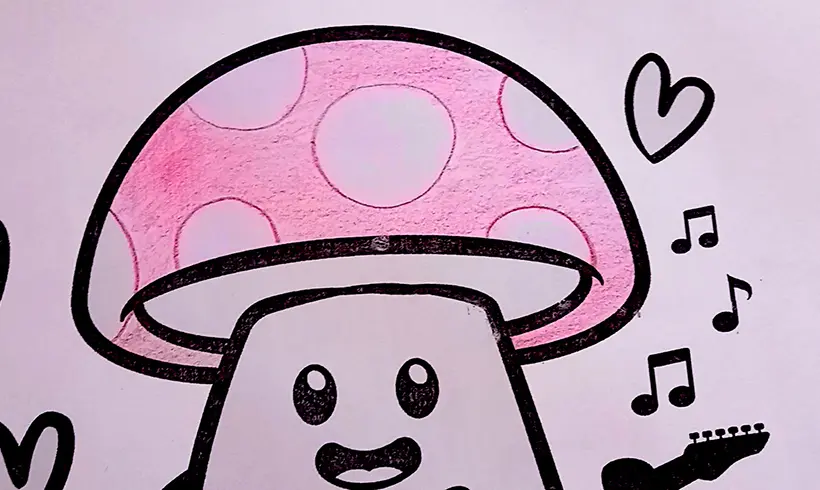
Take the color you will start your gradient with, and color very lightly over the whole space you want to paint with that shade. Keep in mind that, if you will only use one color, you must leave what will be the final part of your gradient in a super light tone.
Step 2: Apply a second, more intense layer of color at the start of your gradient

Start making one or two more layers; press the tip of the color with a little more force than at the beginning (but do not overdo it either!). This way your gradient will start to take shape, and it will go from the darkest to the lightest.
Step 3 (Optional): Tint your gradient with a darker color
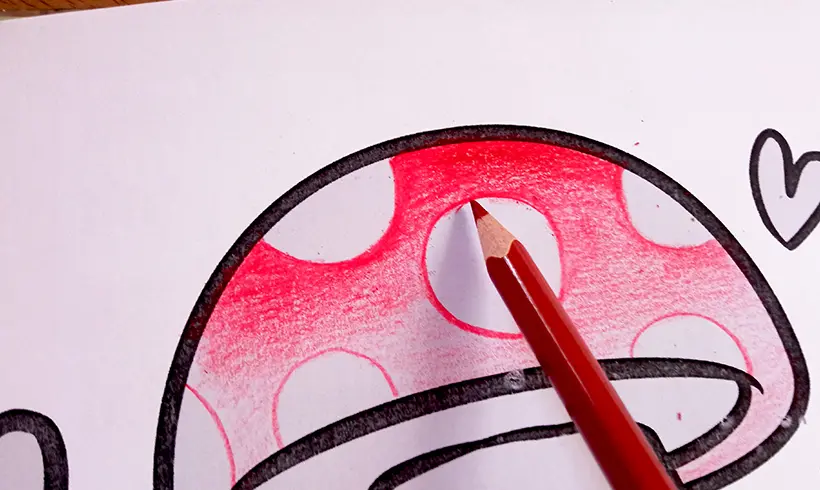
If you feel that you are not getting a dark enough tone at the start of your gradient, you can take another color and apply it on top to intensify and darken the tone.
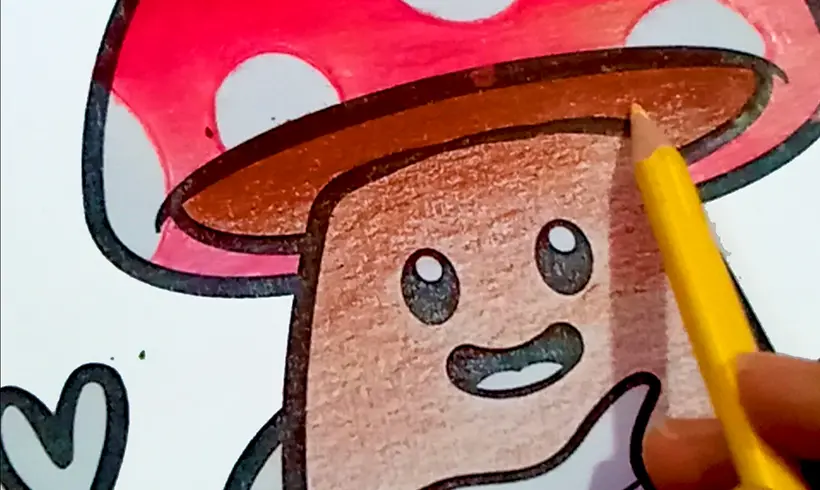
In this case, we used a darker red to darken it. You can also combine it with a brown.
Step 4: Use a light color and go over your whole gradient with it. This way you can unify the colors better
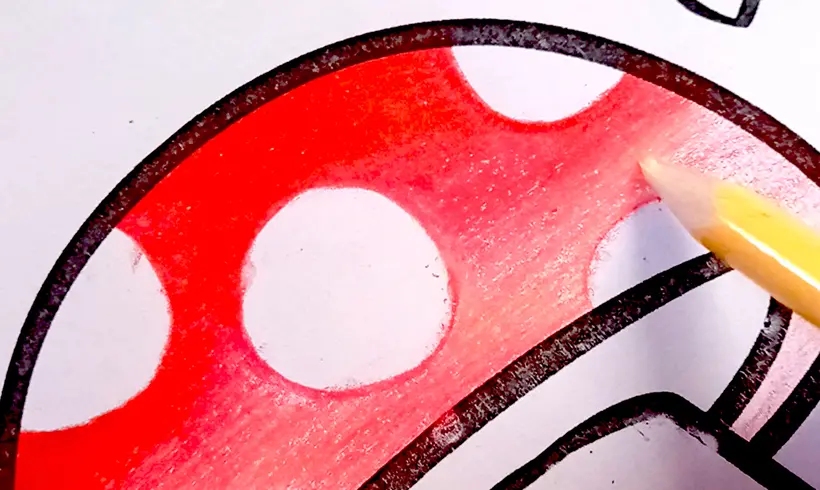
This technique is called blanching. You use a light color but one that is at the same level as the red (in this case, a very light peach color) and by going over it the colors blended together better. You can also use a white color! Both work.
Step 5: Repeat the procedure wherever you like
Start making gradients wherever you want! To sum up: you apply a layer with a base color, and then you color over it again, with more strokes in the corner of your gradient and then you gradually ease off the pressure as you move from one corner to the other. And that is it!
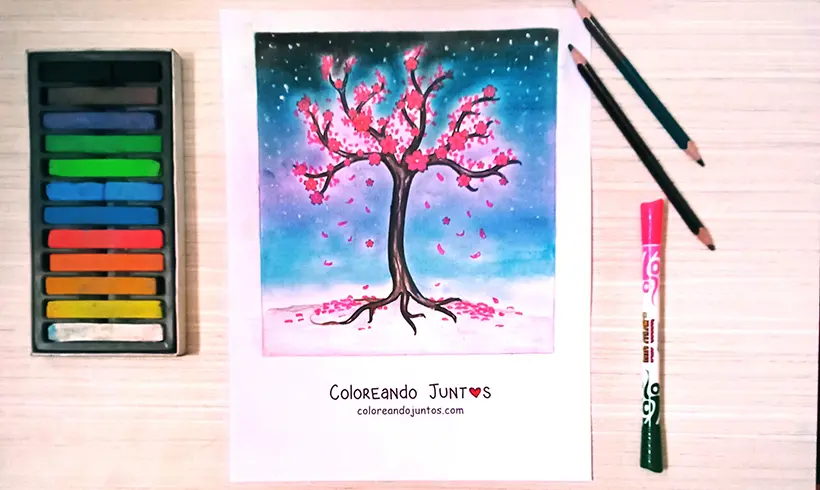
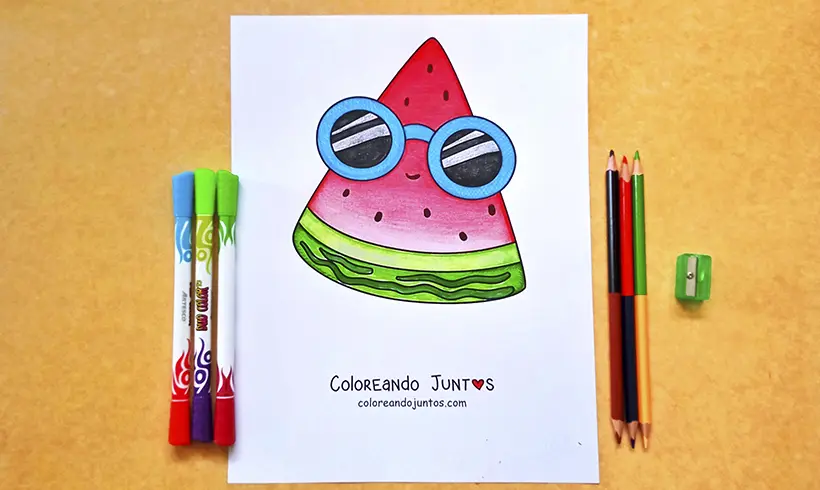
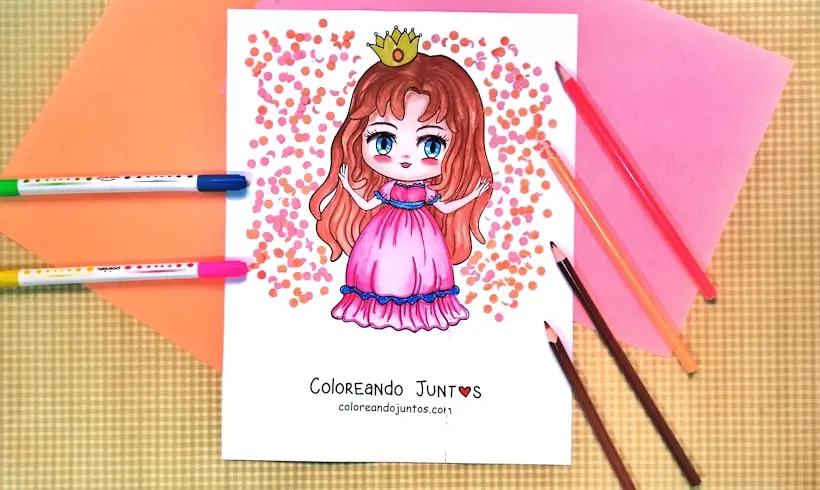
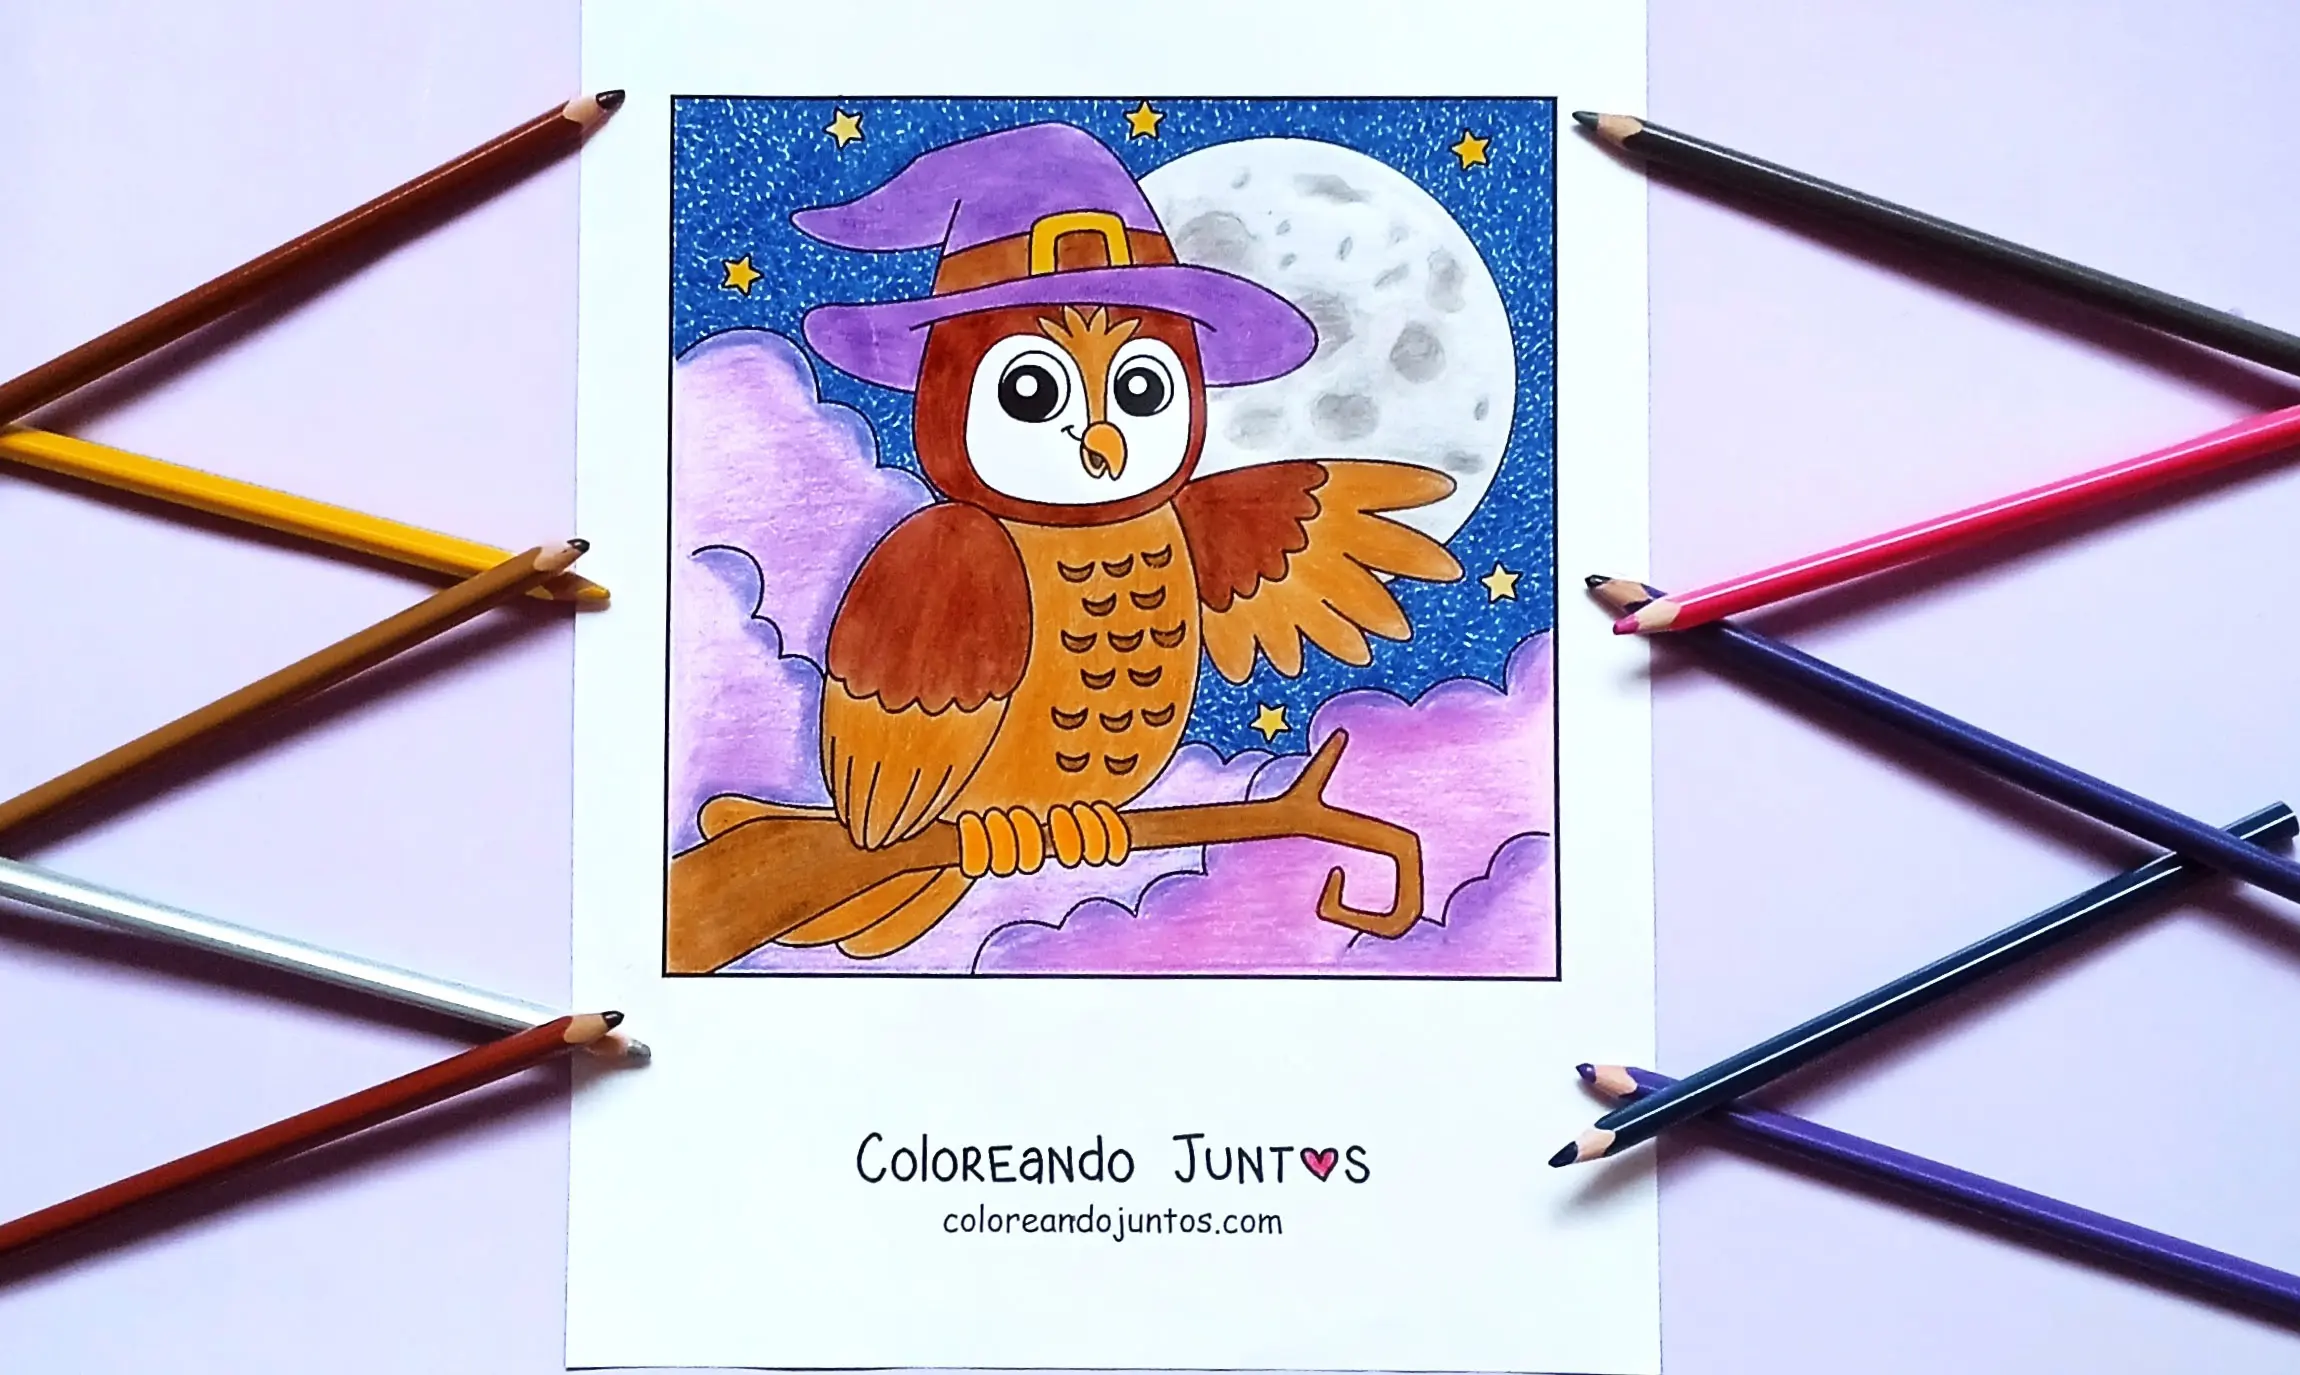
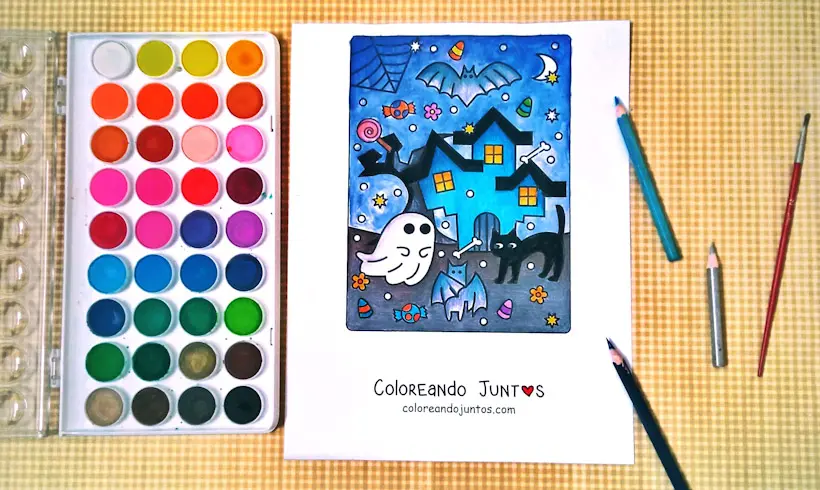
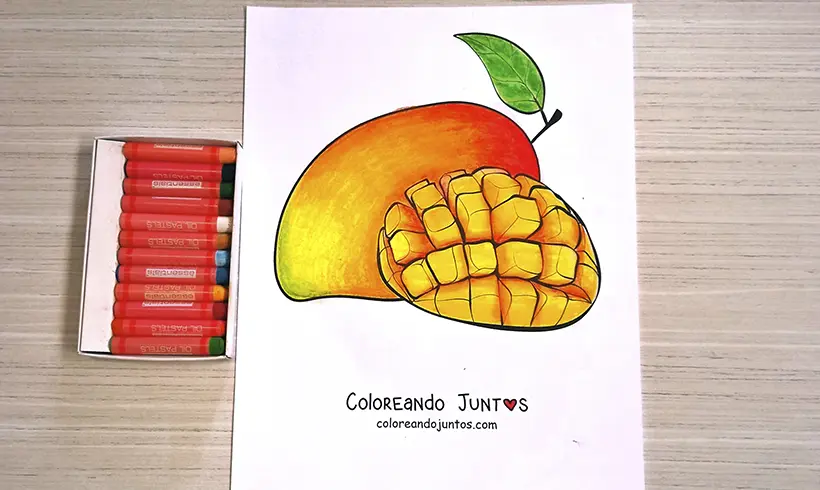
Examples of the Gradient applied
Techniques you can combine with the Gradient
If you are still not satisfied with all the information we have given you, then come along with us. We will tell you what other techniques we use together with the gradient to make the most amazing drawings of all.
- Blanching: Blanching is a technique that lets us improve our gradient, because white unifies and softens the colors. Thanks to white, the color transition will be more noticeable. Never let anyone tell you that white is useless!
- Shading: Using darker tones, you can darken the color at the start of your gradient, so that you achieve a shading effect that at the same time will look soft because of the shade transition of the gradient.
- Tinting: To achieve more fun gradients, you combine colors and tint them, following the method you started with the previous transition. You start in one corner with one color, and in the other corner another color until they meet in the center. The result is amazing!
Tips and advice for applying the Gradient technique
It is time for us to share with you some tips and advice for applying the gradient technique. This way, you will know what to do and what not to do so you do not make a mess of it. Do you like the idea?
If you have any tip to add, we will be glad to read it!
- Keep a lighter color than the one you are applying within reach. This way, when you have to remove the paper's roughness, soften the shade, or blend it with the next color of the gradient, it can look more natural.
- Making a gradient with colored pencils consists of playing with the number of layers you apply. So, apply one layer after another until you get the results you want. With just one it will not be enough, or at least in most cases.
- When you make a gradient, sooner or later you will need to press down harder on the color (in case you are using colored pencils). But do not overdo this, because you could fold the page or needlessly wear down the color's lead. Press down on the color just a little in the last layers of your drawing.
- If you are not sure about a gradient, test it on a separate sheet with both colors, or simply practice the way you are going to make the gradient. That way you will feel more comfortable when you apply it on the drawing.
That is everything we had left to teach you. From now on, you will have to create your own artistic path. It will be a roller coaster, with ups and downs, but we trust that you will know how to overcome it. Lots of practice and consistency! That is the key to becoming a true gradient expert.