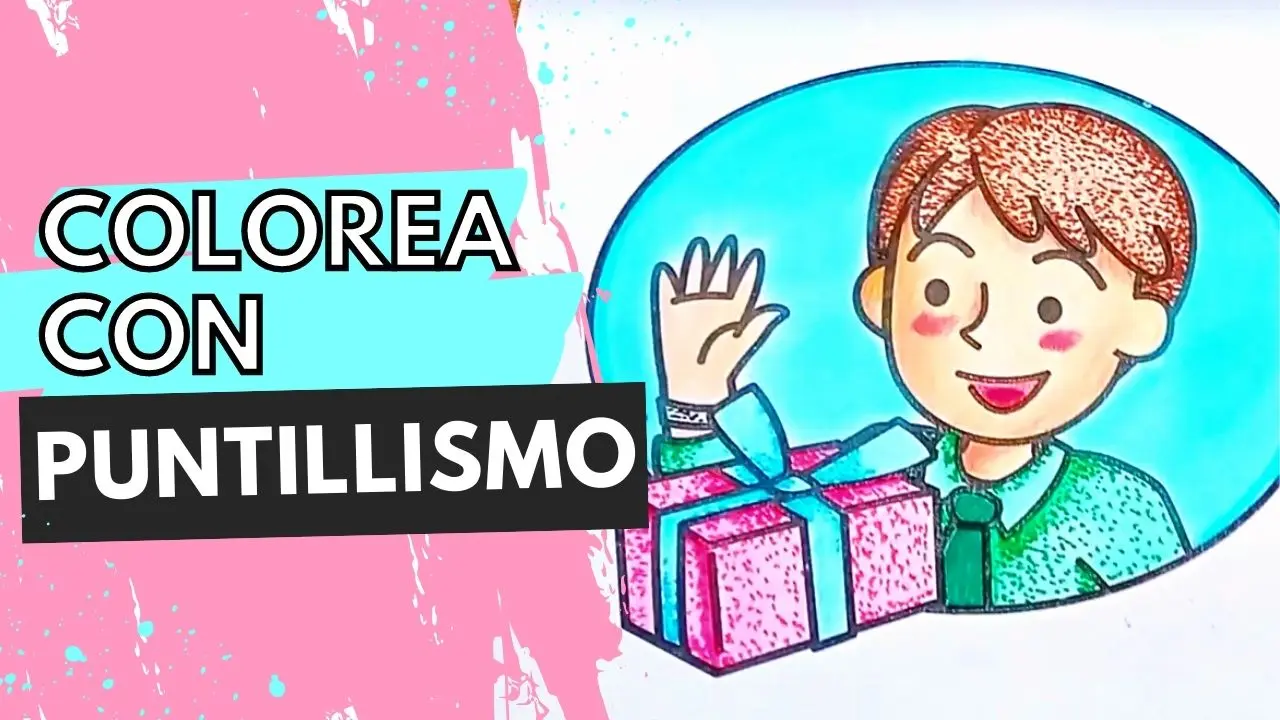
Coloring in Circles: Features and Tricks to Use It
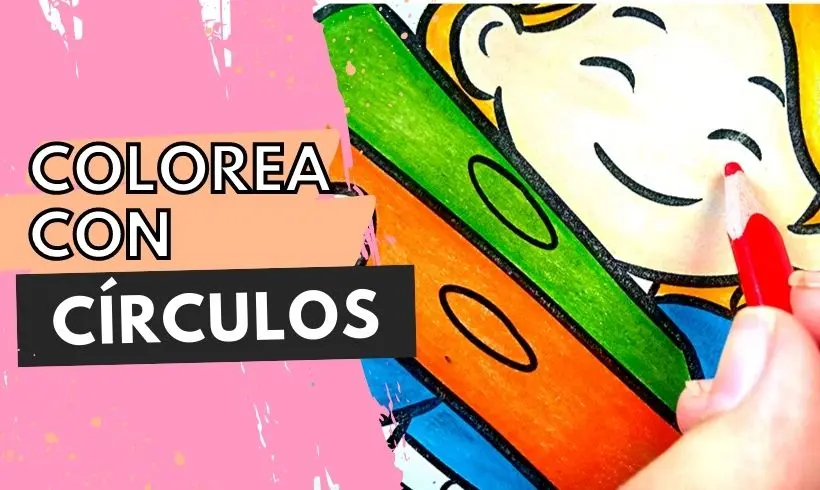
If you've made it this far, you probably still haven't mastered the most common coloring technique of all, the one they teach you in elementary school: coloring in circles! Well then, at Coloring Together we are happy to teach you how to use it.
That's why we prepared a section full of information about this technique, and a step-by-step on how to use the circle coloring technique. Let's begin!
What is circulism?
Circulism is an art technique that consists of filling in a drawing by making very small circles overlapping one another. In elementary school, it's one of the main techniques we are taught, because this way you get a more uniform finish.
When coloring we call it coloring in circles, and based on this principle, you fill in the drawing by making circles very close together, so that the color lines won't show, and you'll get a smooth texture.
Also, from a more artistic point of view, it's an ideal technique for shading. If you make circles with the graphite, you'll bring out areas of light and shadow, as well as give your drawing texture. How about you give it a try?
When was circulism invented?
Circulism was invented in 1992, by Maggie Toole. It was a technique used to achieve the texture of realistic skin, as well as to make shadows without the need to make lines.
The idea behind using this technique was not to draw lines, quite the opposite; the goal was to use endless circles, overlapping and at the same time interlocking with each other.
This way, layer upon layer is created that blends together as the circles are made.
How is circulism applied?
Circulism is applied by making circles and overlapping them to achieve a shadow effect. To color, this technique is applied by making several layers over the area to be painted. You just have to draw circles, which don't need to be perfect.
This is a technique that can be applied on any surface, such as sheets of paper, cardstock, cardboard, etc. Keep in mind that, depending on the porosity of the base you choose, you'll have to make more or fewer layers.
Also, you can use materials with a fine or bullet tip, it doesn't matter! Like graphite pencils, charcoal, colored pencils, pens, wax crayons... all the ones you can think of!
How to color in circles?
It's time to put the theory into practice! We'll explain step by step how to use the circle coloring technique with colored pencils. Are you coming? We're sure you'll learn a ton!
Step 1 (Optional): Outline the edges of the drawing
With your favorite colors, outline the entire edge of the drawing. This is an optional step, but one we highly recommend, because this way you'll avoid going outside the lines.
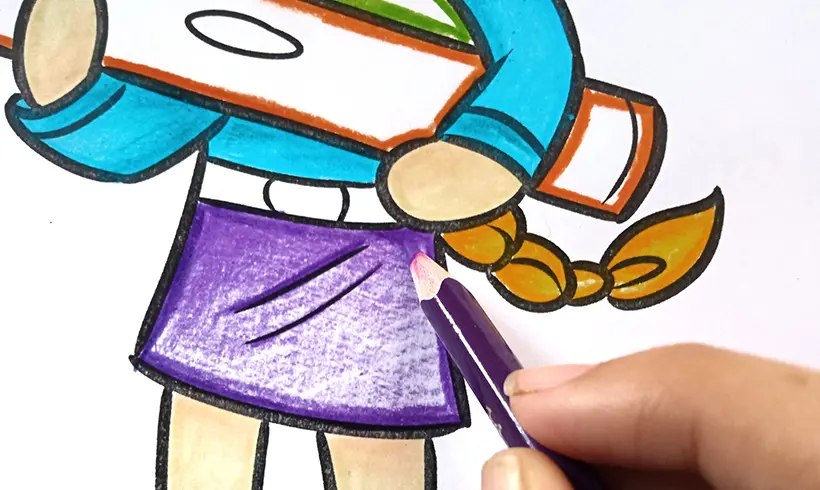
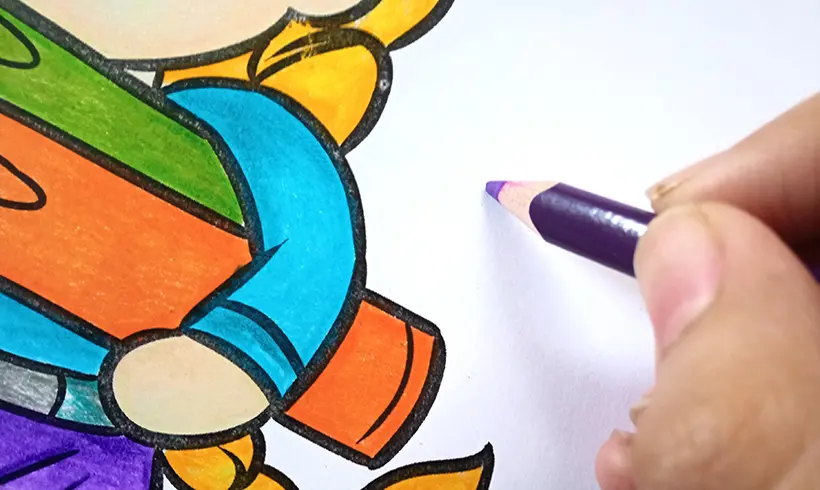
Step 2: Color by making circles.
It's time to color! Draw circles with your color over the whole area you want to paint, until you have a first layer of color. It's important that you don't press your pencil or crayon hard on this first layer.
Step 3: Make another layer of color.
To give the color more intensity and not leave any white spaces, apply a second layer of color over the surface. Even a third one! Ideally it should turn out the way you like.
Step 4: Repeat the same procedure.
Keep coloring in circles all over the drawing! Color, make circles, and apply two or three layers on top so you get a more uniform result without pressing the color hard.
And if you want to press the color firmly onto the paper, then make sure it's not too hard so the tip doesn't break.
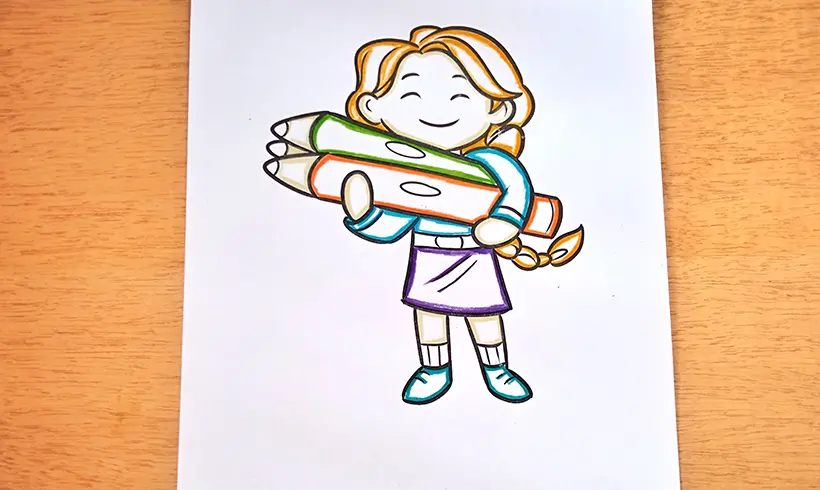
Step 5: Add details however you like.
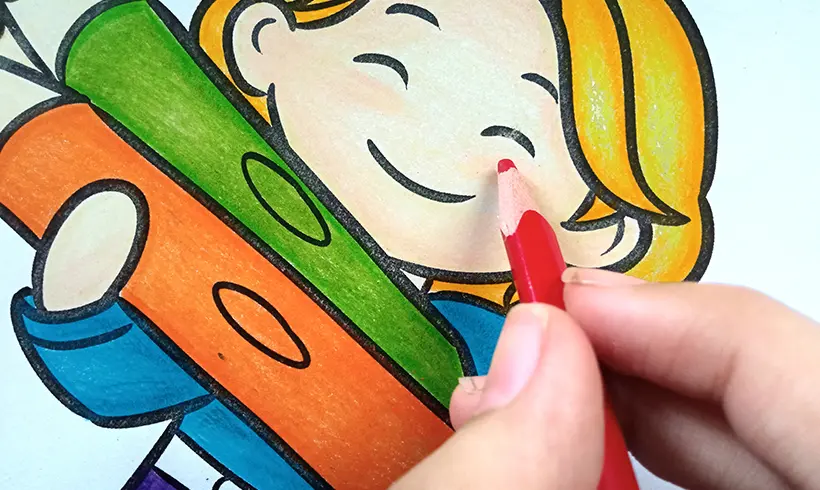
In this case we painted the girl's cheeks with the colored pencils, but you can add whatever details you prefer! And with whatever materials you want. Ideally, you should have fun and put all your creativity into it.
Step 6 (Optional): Make spirals to fill in the background.
For the background, we wanted to make some really fun blue and purple spirals so they would match the girl's clothes. But you can make them in whatever colors you want! Dare to reinvent this idea and make the shapes you like best.
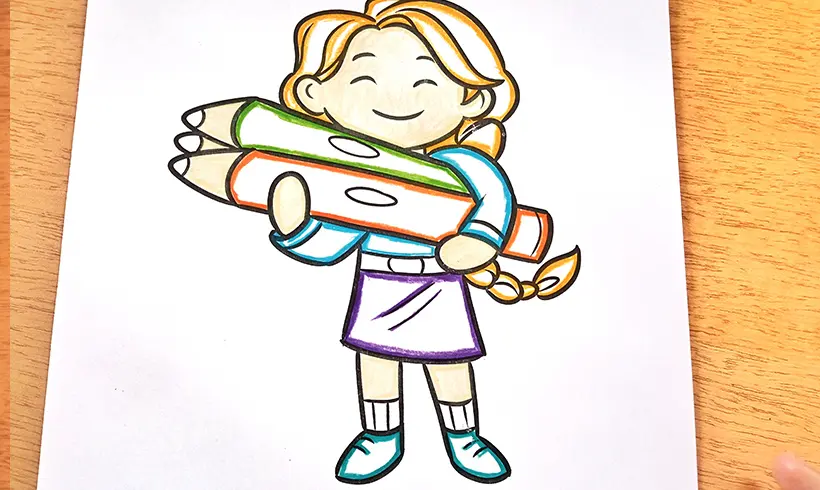
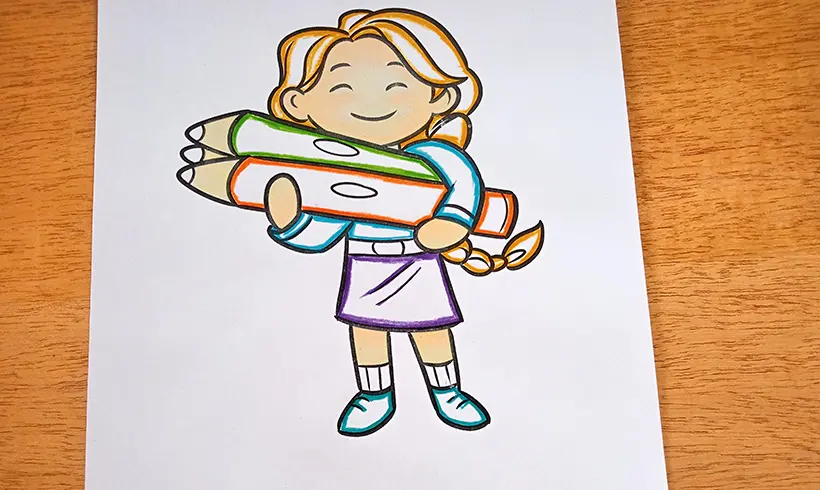
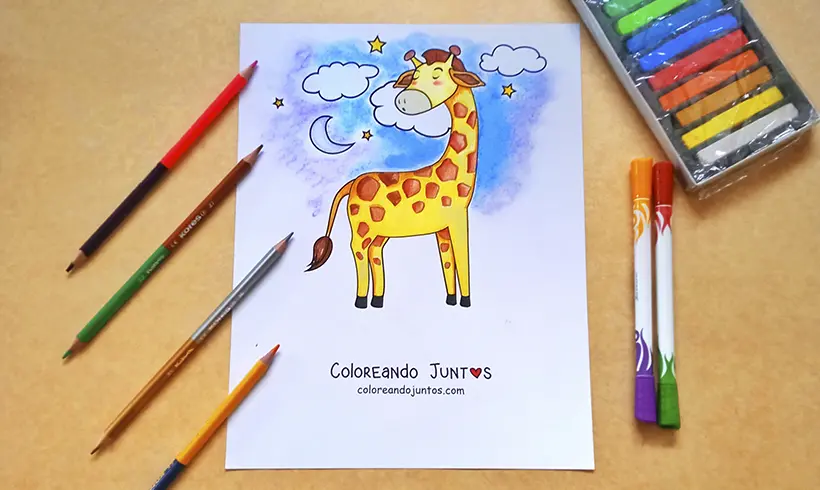
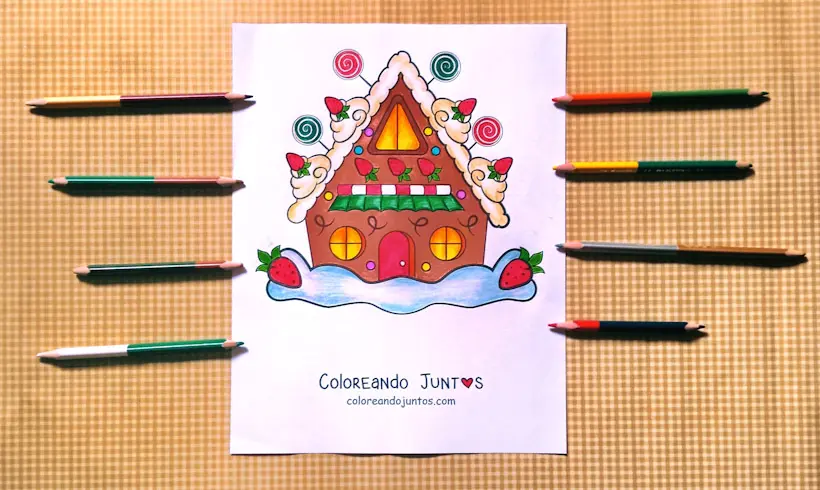
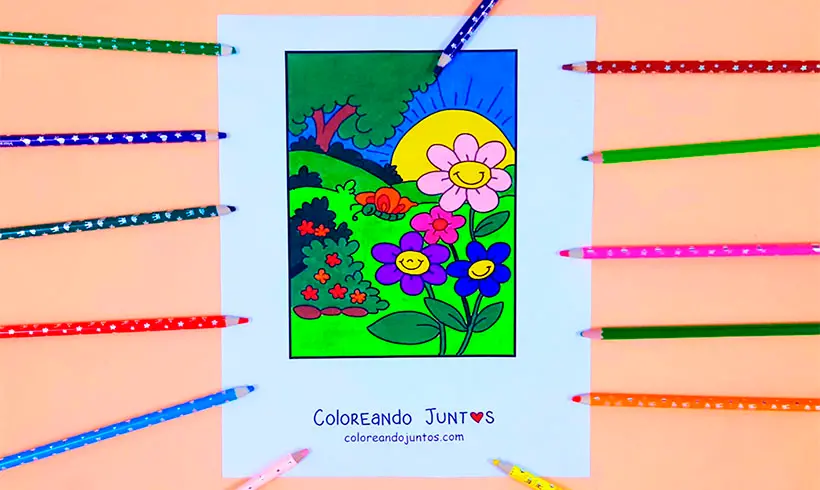
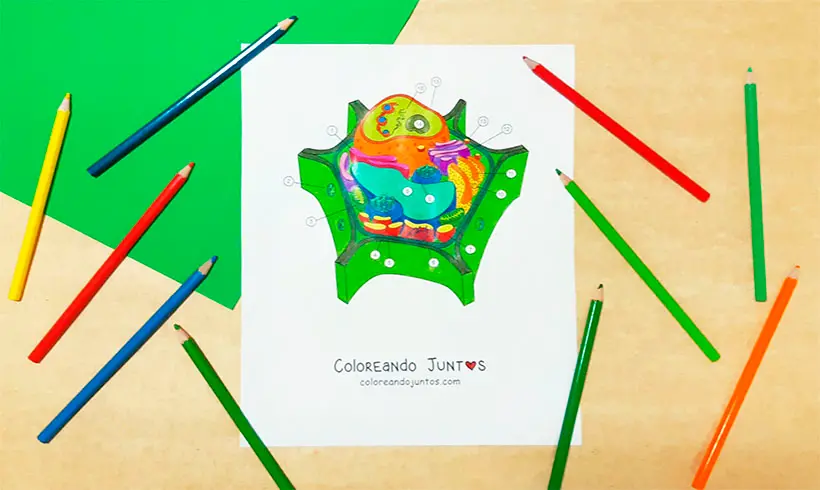
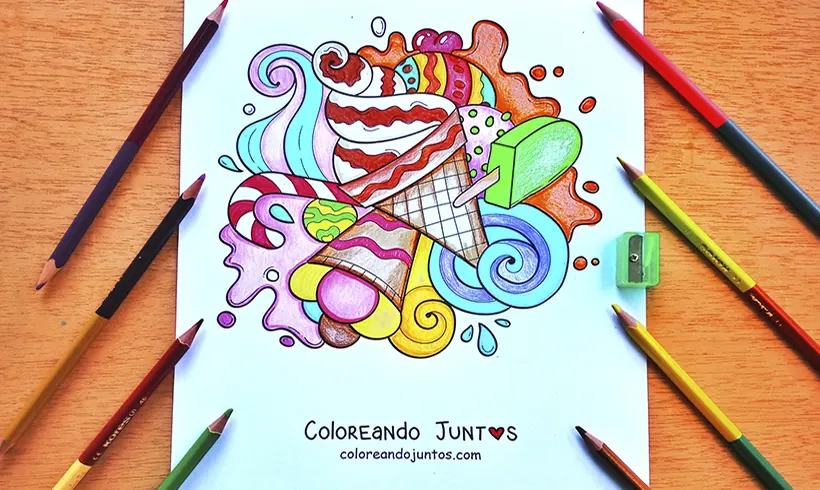
Examples of coloring in circles in action

Techniques you can combine with coloring in circles
If you want your composition or drawing to turn out much better, then don't hesitate to use other techniques and combine them with coloring in circles to make it better. Do you have any idea which techniques can be used?
Don't worry! We'll tell you about some techniques we use with coloring in circles, but don't forget that these aren't the only ones. If you know of any others, we'd be delighted to hear about them.
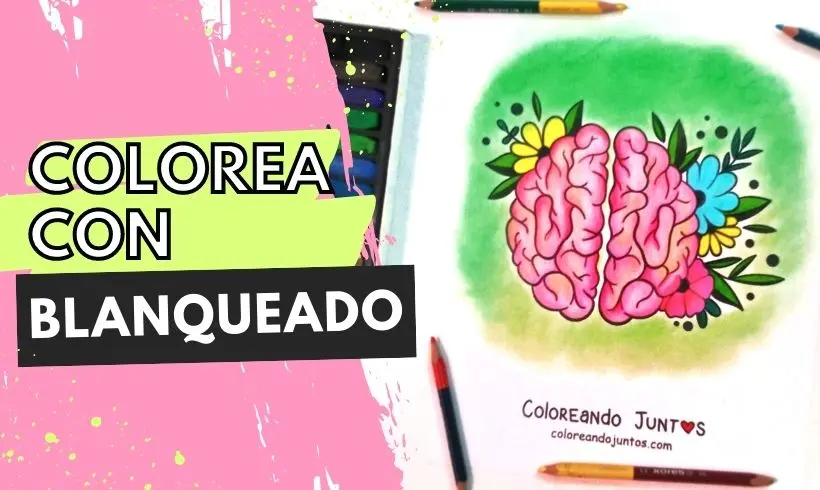
- Whitening: If there are still white spaces in your drawing and you don't want to press the pencil hard, using the whitening technique is a very good option. You just have to make circles with the white color over the drawing, and you'll notice how the shades change and pack together more on the sheet.
- Shading: Although circulism is a technique for shading in itself, we apply it to the whole drawing in general, and then, with darker shades, we make circles to create shadows and volume with the color. Give it a try!
- Gradient: To do this technique, we apply several layers of color by making circles. First we make lots of circles at one end, and as we move along we gradually decrease the density. Then you can use a white color so the gradient looks better.
Can you think of any other technique we can use while coloring in circles? We'd love to know! So don't hesitate to write to us if you have any questions or if you want to add something more to this information.
Tricks and tips for coloring with circles
The artists at Coloring Together have gathered around this table to debate which tricks and tips for using the circle coloring technique we can give you. Maybe starting a new technique isn't an easy task, which is why we're happy to help you.
- Don't press the color hard on the first layer you make. Try to always make the first and second layers ones you color gently, without pressing the lead onto the sheet. Be patient, and you'll see how little by little you'll get the shades you want.
- Once you're on the last layer of color, then press your color a little onto the paper But just a little! This is done to unify the shades and reduce the white spaces caused by the porosity of the paper.
- Don't stress if the circles you make aren't perfect, they don't have to be! The goal is to color and shade the parts of your drawing you want, not to seek perfection.
- Use other materials and combine them with this technique. If you use soft pastels, you can make circles with them and then smudge. Or if you use wax crayons, you apply the same procedure as with colored pencils, but with more layers. You'll see it's a lot of fun!
Is that enough for you? We have nothing more to teach you. From now on, it's all in your hands. It's time to color!