Color in Layers: Features and Tricks for Applying It
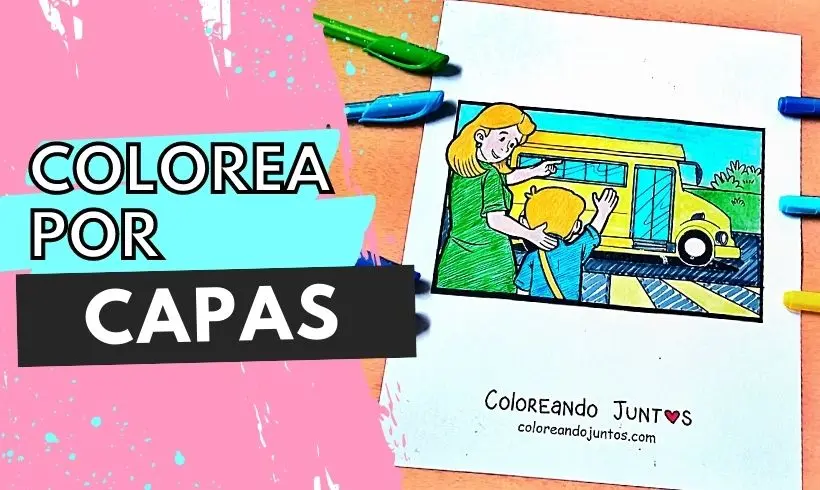
We want to color a drawing with our wax crayons, but it does not look very good if we color with just one layer. We try the same thing with our wooden pencils! And the same thing happens. But after checking with our artists, we discovered that the layered coloring technique is the solution.
Quick! Grab your supplies, we will teach you how to apply the layered coloring technique, so your drawings turn out without any white spaces and nicely colored. Let's begin!
What is layered coloring?
Coloring in layers is an artistic technique that involves coloring the same area several times, with the same color or a different one, to get a variety of shades, contrasts, highlights, and shadows.
When you color a given area for the first time, it is known as the first layer. You will notice that it does not get fully painted and that some white areas remain, which are nothing more than the porosity of the sheet. To remove them, gently go over the same color again, and you will see how the tone intensifies.
The best part of this technique is that it lets you get a cleaner, smoother finish with no porosity.
What materials can layered coloring be applied with?
In general, you could use any material to color in layers, since all you have to do is go over the same spot several times with your pencil, marker, or crayon until you get the results you want.
It is important to keep in mind that, depending on the material, you will need more or fewer layers. For example: if you have wooden pencils, you will need more layers compared to a marker, because pencils are softer and do not stick to the sheet as quickly.
On the other hand, markers and felt-tip pens, being materials made with an alcohol or water base, stick better to surfaces and paint with much more intensity.
The same applies to wax crayons. If you have these materials, you will have noticed that with one layer many white spaces remain. This is due to their composition and to the sheet. To reduce this effect, apply several layers, one on top of another, to reduce the spaces and improve the tones.
As for the supports or surfaces, they can be anything! Depending on the level of porosity, you will need more or fewer layers. If you have a sheet of paper, you may need fewer layers of color compared to school card stock. The latter is more porous than white sheets!
How do you apply the layered coloring technique?
The time has come to apply the layered coloring technique, but if you do not know how to do it, do not worry! In this section we will explain step by step what you have to do. Do you already have your pencils on hand? Let's begin!
Step 1 (Optional): Outline the edge of the drawing
Start by selecting your color palette and outlining the areas to paint along the edges, so that when you color you will lower the chances of going outside the lines and the finish will turn out much better.
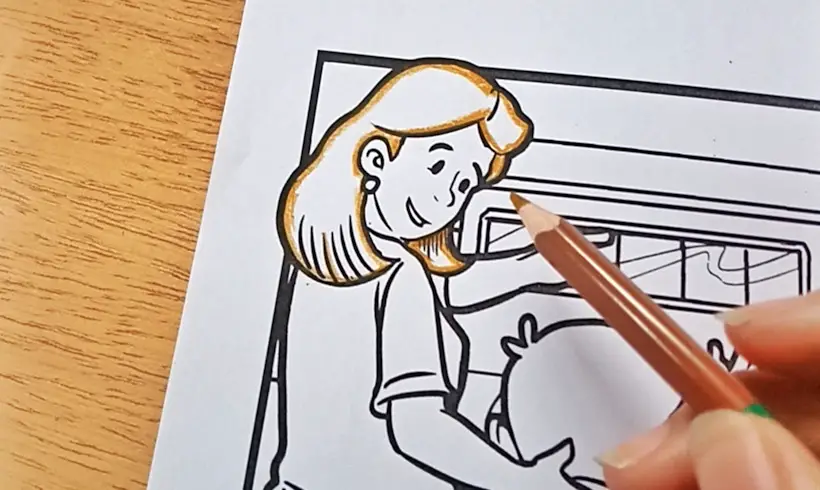
Step 2: Apply a first layer of color
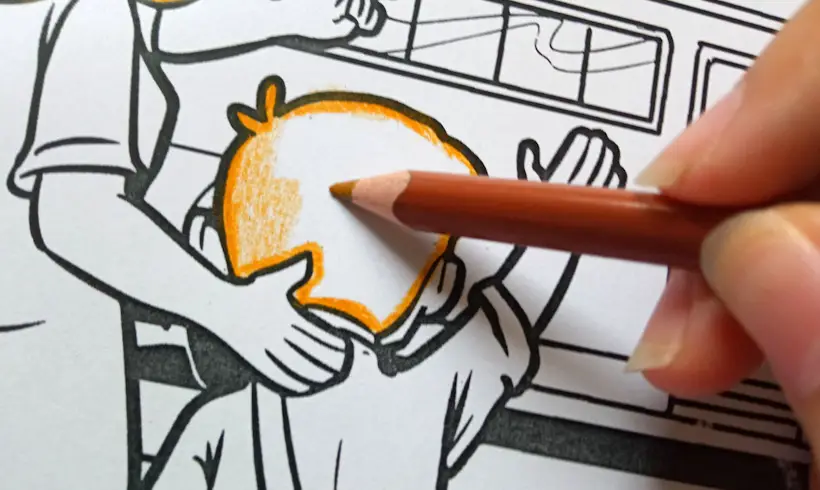
Select your color, and start coloring without pressing hard. This is very important, because if you press hard you wear down the pencil lead faster and you risk wrinkling the sheet. That is exactly what the layered coloring technique is for! With patience and care, apply the first base layer, and you will see how it starts to come along.
Step 3: Apply a second layer of color
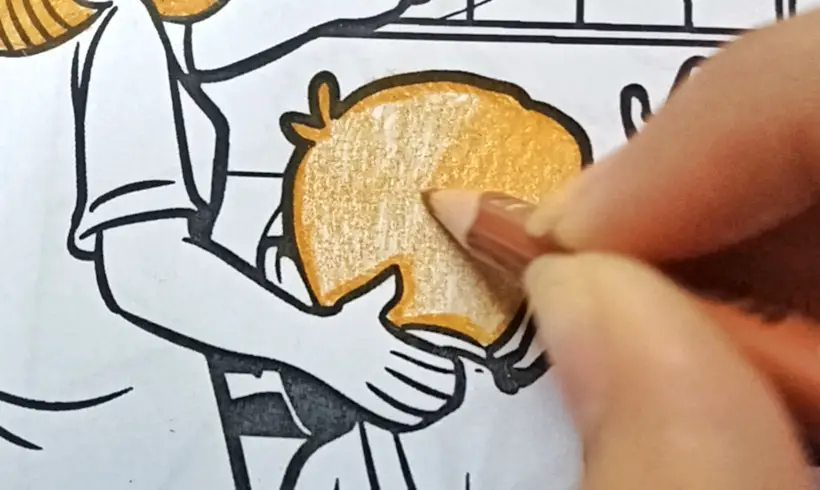
If you want to reduce the white spaces and intensify the color, apply a second layer. Press just a little harder with the color but not too much! In this case, we did it and the color turned out more uniform and intense. See whether you will need more layers to reduce the white spaces. Do as many as you think are needed!
Step 4: Use other materials and techniques
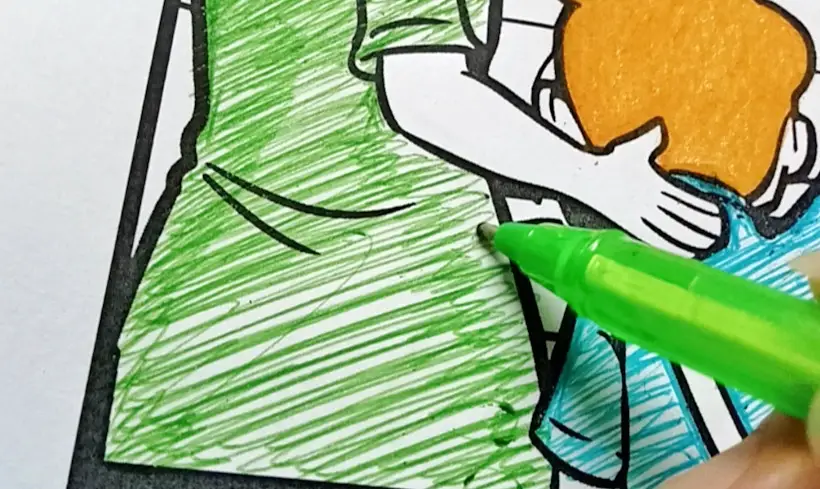
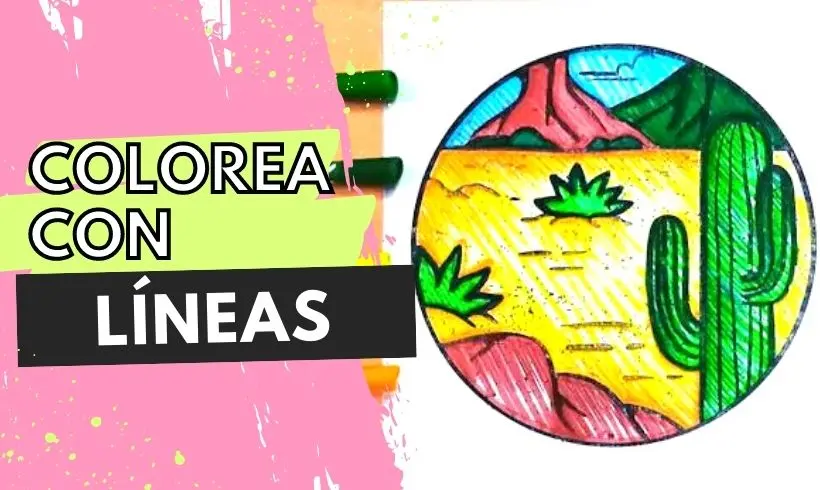
Don't be afraid to try this technique with other materials or techniques. They will all turn out great! For example, in this case we used pens, markers, and wax crayons. With the pens, we applied the hatching technique, and to make it darker and more intense, we layered several layers of lines on top of one another.
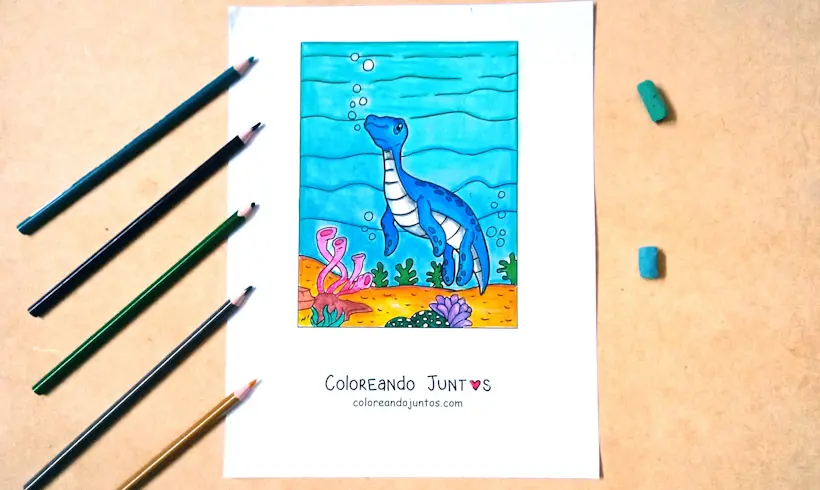
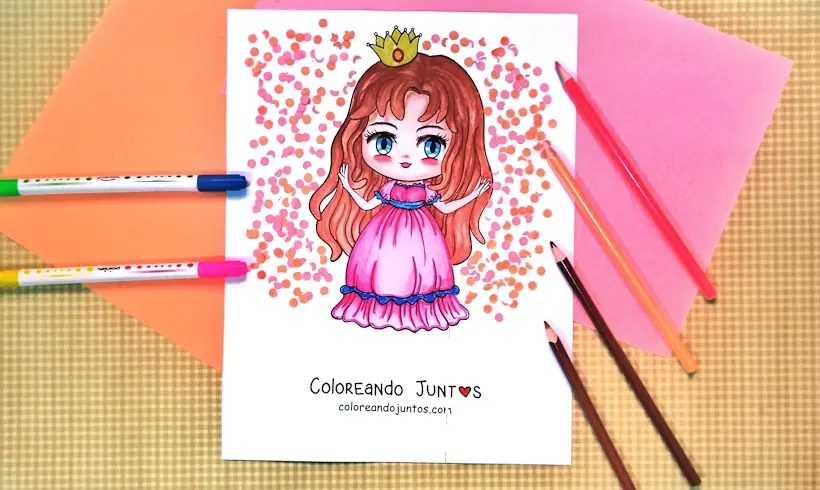
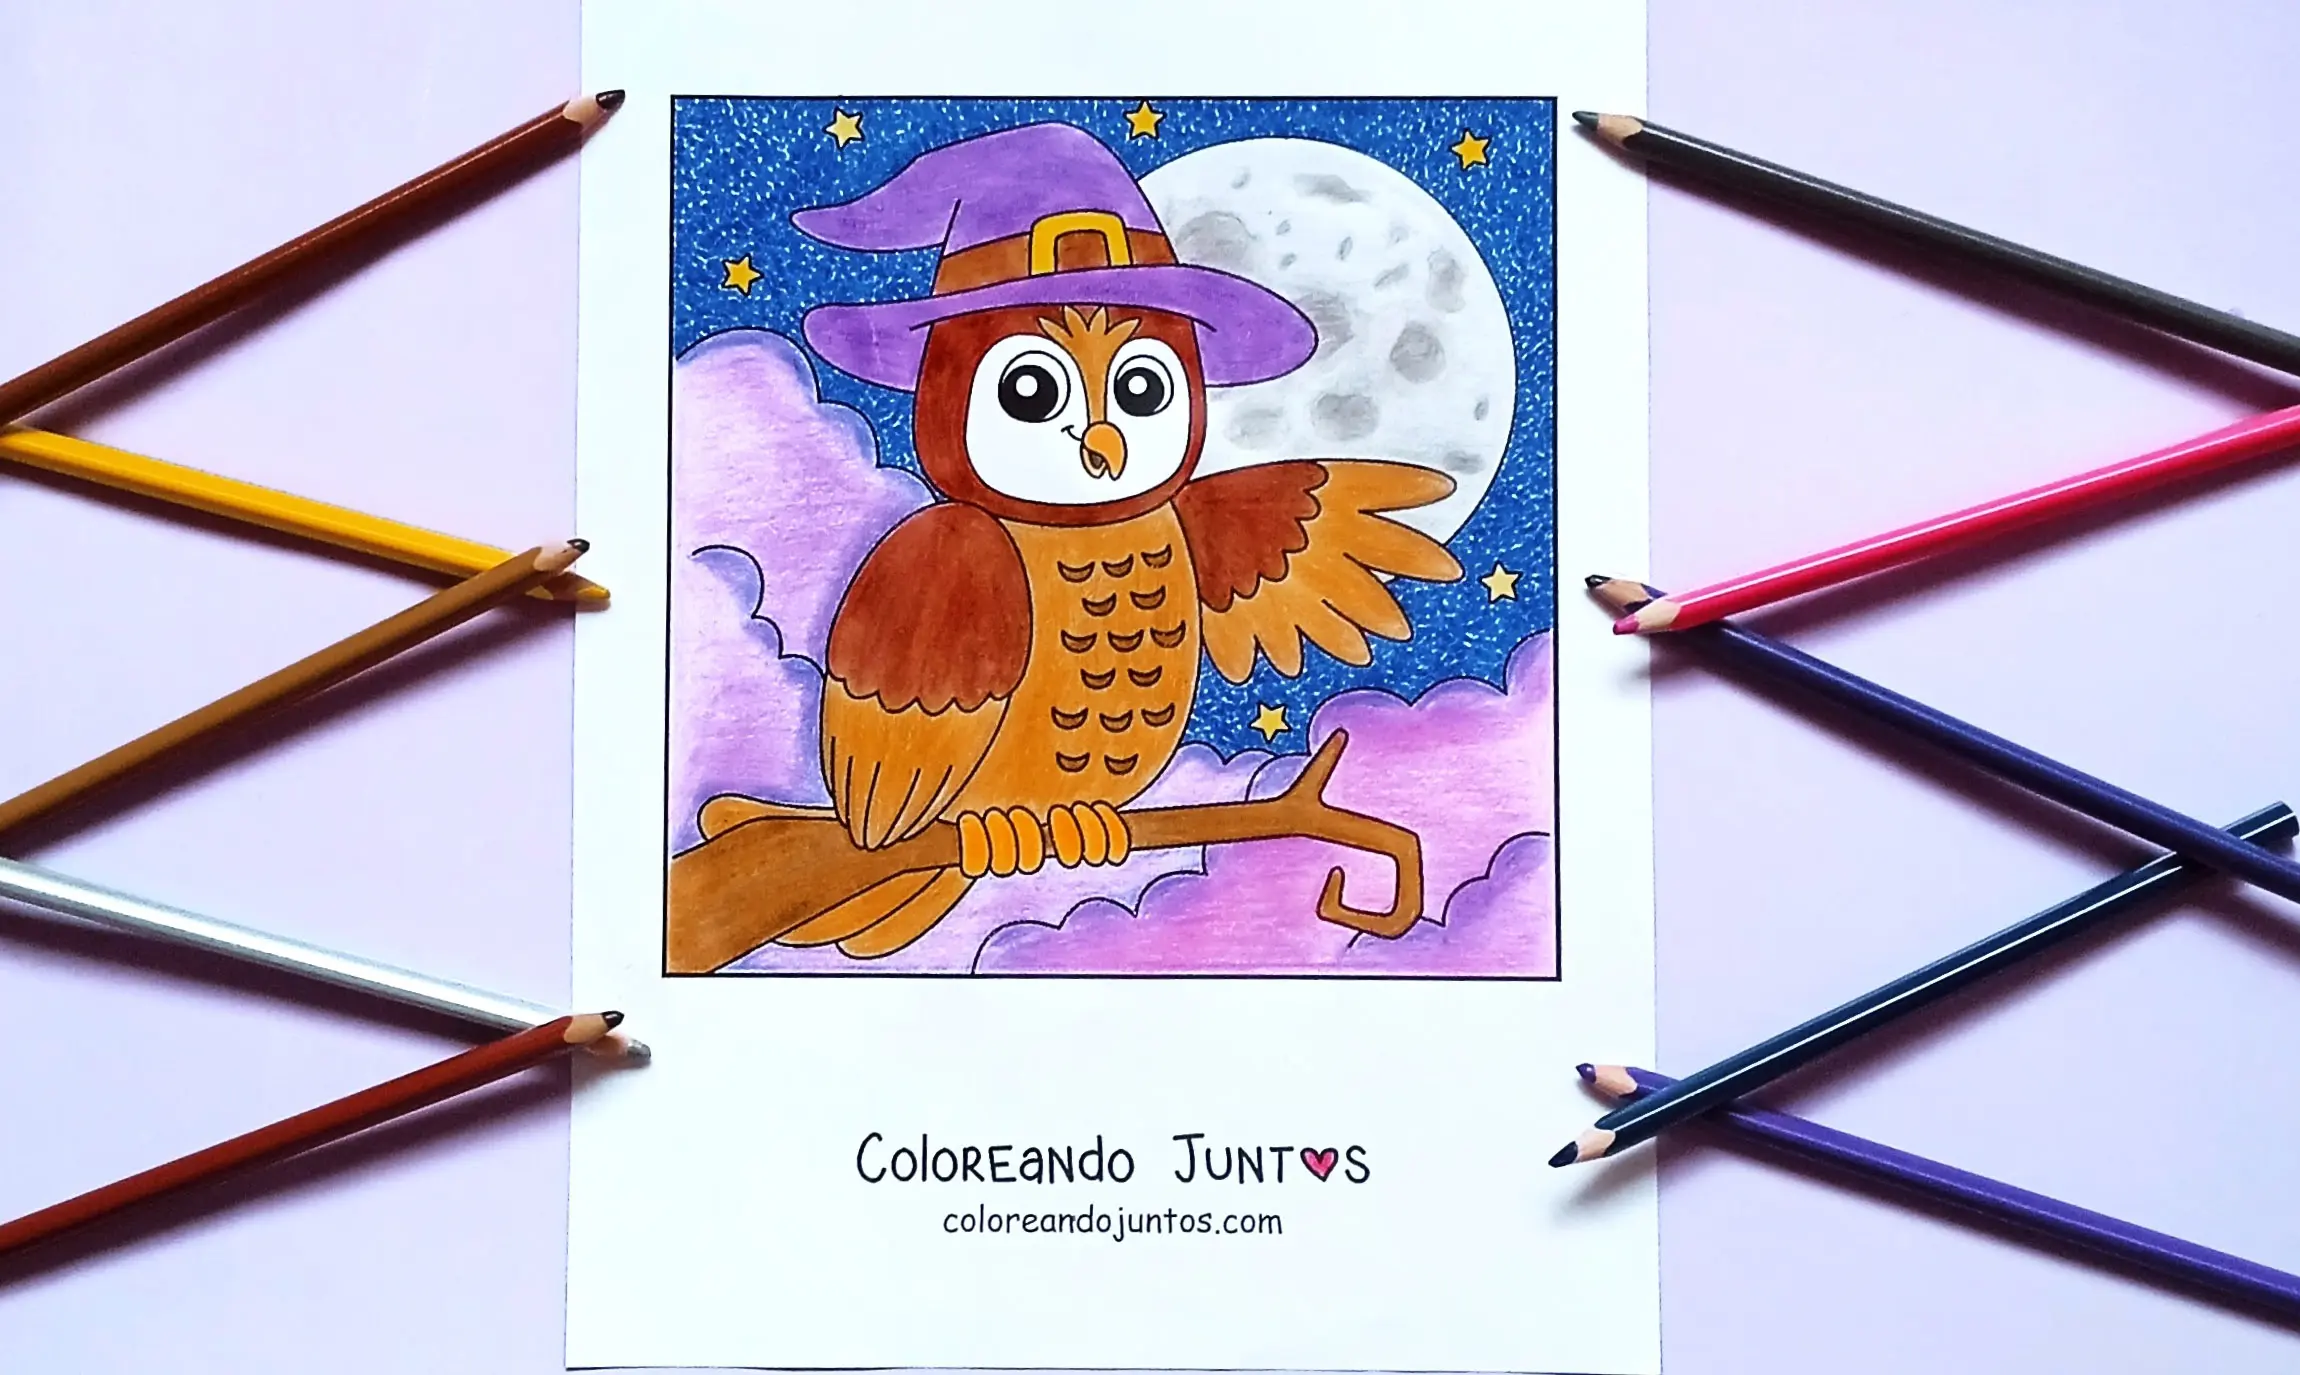
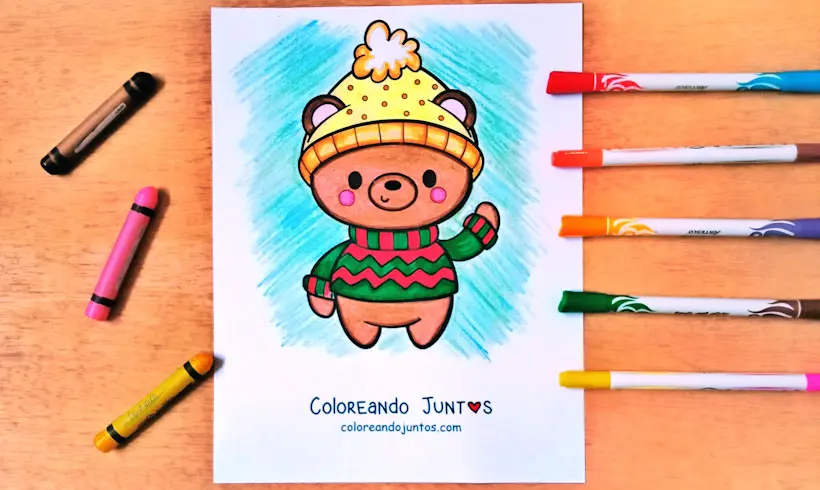
Examples of layered coloring applied

Techniques you can combine with layered coloring
Not sure which techniques you can pair with layered coloring? We will tell you! And we will explain them so you have a whole arsenal ready, so you can create the most beautiful compositions of all.
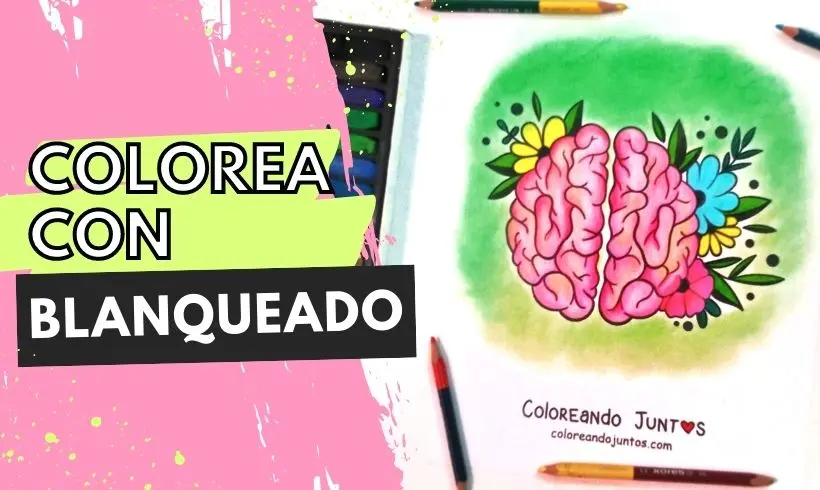
- Shading: by managing the number of layers, you will not only intensify the color, but also make it darker than others. To make shadows, all you have to do is add more layers. You will notice the results very quickly!
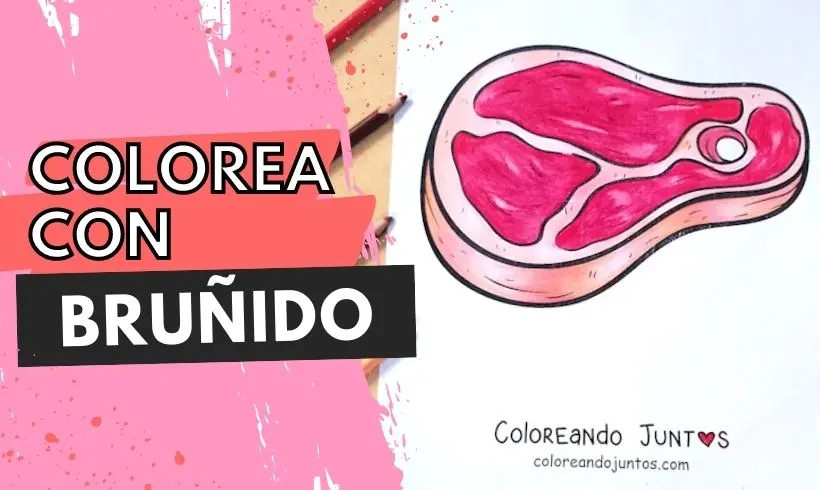
- Burnishing: if you want to remove even more of the white areas of your drawing, you can apply the burnishing technique as the very last layer. You will see how the colors blend together!
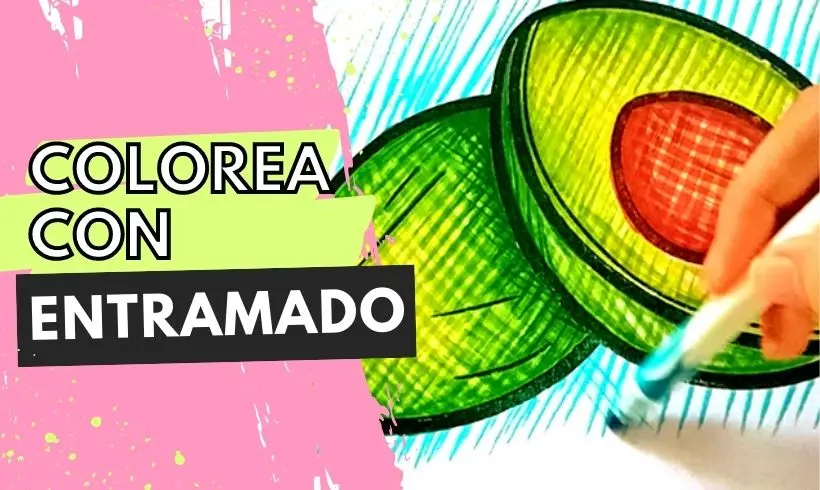
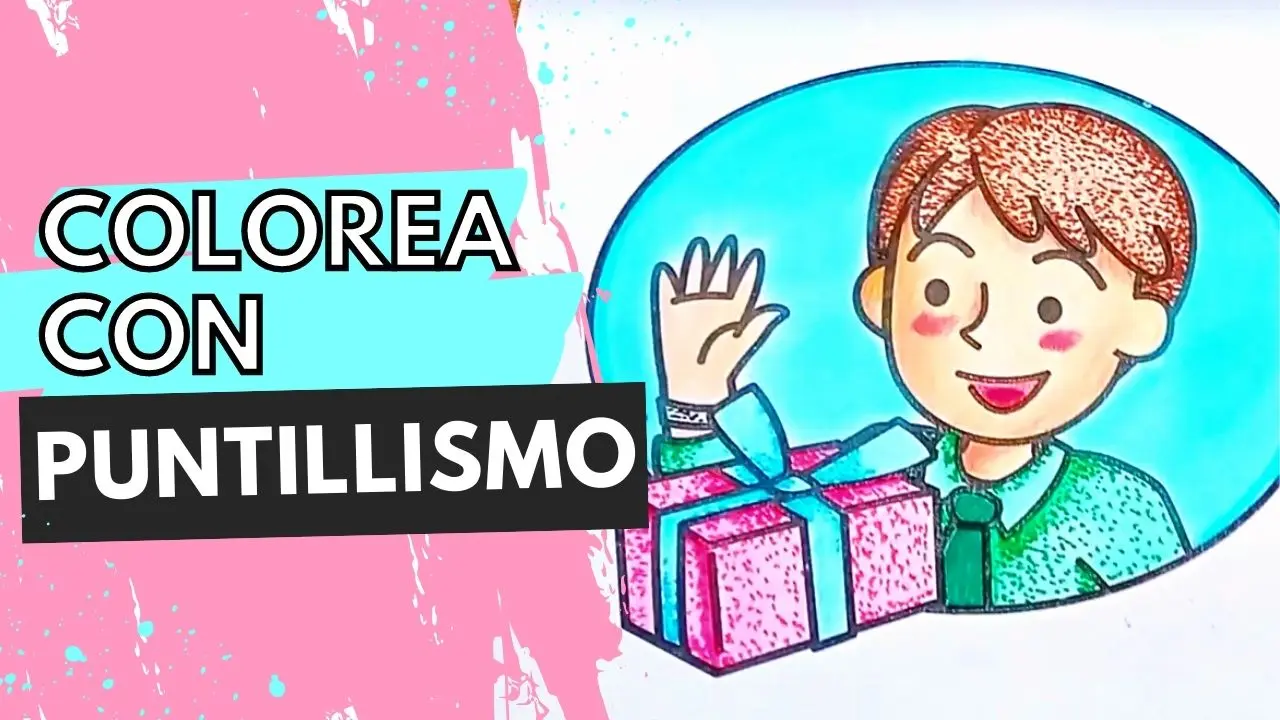
- Hatching: if you are making hatching in your drawing, you will notice that a single layer will not be enough. You need to do more if you want to make shadows or bring out highlights with hatching! The more lines, the darker the color.
Tricks and tips for applying the layered coloring technique
The time has come for the final tips. The layered coloring technique is a simple one to apply, but even so we leave you some tricks and tips for coloring in layers. Don't miss them!
- Do not press too hard with the color, the marker, or the wax crayon if you are applying this technique. It requires patience and working layer by layer. Color gently, and by the second or third layer you will notice how good it looks.
- If you want to see results faster, then starting with the second layer, increase the pressure you apply when coloring a bit, but only a bit! That way you will need fewer layers and get the same results.
- This is a technique that requires patience, so do not color in a frantic or rushed way, because you may go outside the lines. That would be terrible! Especially if you use materials like pens or felt-tip markers.
- Keep in mind that: the more layers, the more intense and darker the color. The fewer layers, the lighter, but the more white spaces.
- If you want to get a light color, and have few white spaces, then apply one layer of color, and then another with a white color or one very close to white. This way you can blend the color of the first layer with the surface and reduce the white spaces.
That's all we have to teach you for now. It is time for you to start coloring using all the tools we have shown you! Do you already have your drawing on hand? Let's begin!