Hatching or Linear Technique: Features and Tips to Apply It
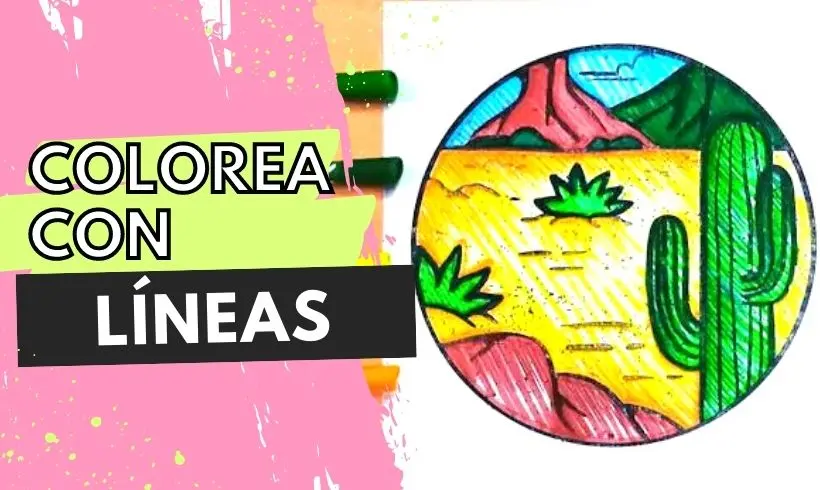
If you are looking for a technique to shade your drawings and still don't know which one, why not try the linear technique? Come on! At Coloring Together we will teach you how to apply the linear technique to your drawings.
It is a fun and very original way to paint your coloring pages. Are you up for getting started? Grab your drawings! It's time to let your creativity flow.
What is the linear technique?
The linear technique or hatching is a drawing technique in which you make lines in the same direction to create shadows, make contrast, or create shades. It is a very useful technique when you want to create areas with greater intensity than others.
The linear technique consists of overlapping lines in the same direction in a specific area to create shadows. It is not a complicated technique or one with a high level of difficulty; the only thing you need is patience.
What is the linear technique used for?
The linear technique is used for small-scale compositions, that is, when you need to make sketches and test shadows in a drawing. In these cases, this technique is ideal for testing and getting an idea of the final result.
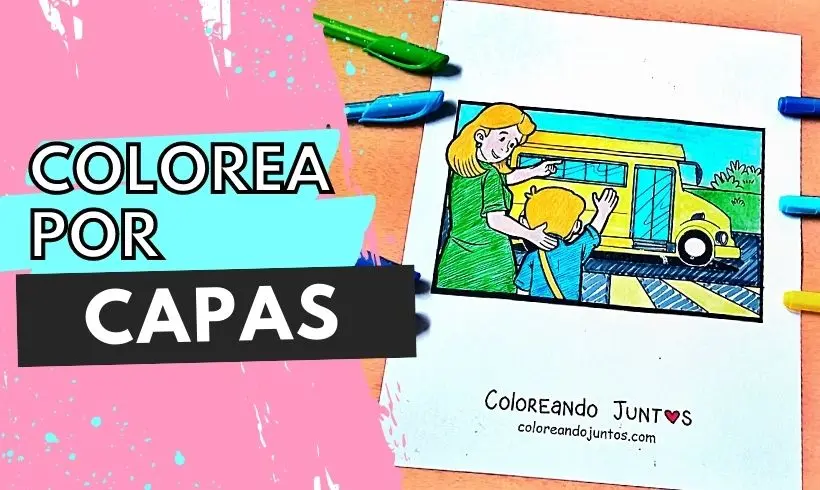
The linear technique lets you make a preliminary sketch and decide the final details. Then, if you apply the layered coloring technique, you can intensify the tones by making lines in the same direction.
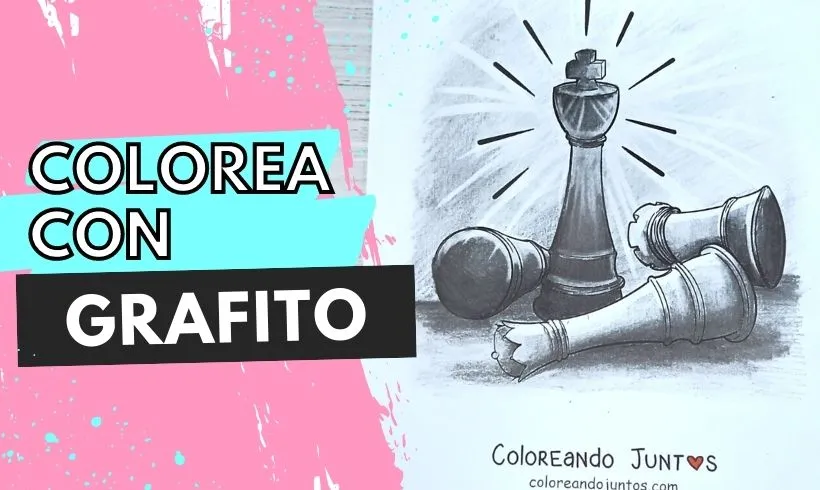
This technique can be carried out using materials such as graphite pencils, colored pencils, charcoal, or any other material that can have a “tip” and that has the property of making lines on drawing paper. You could even use brushes and paints!
How to apply the linear technique?
We imagine you now want to learn about how to apply the linear technique. Well, we will take care of teaching you step by step how to do it. We are sure that after this you won't have any doubts left! Join us in learning about this very interesting technique.
Step 1 (Optional): Outline the contour of the drawing
Start by outlining the contour of the drawing to avoid going outside the lines when you begin to color. This is an optional step that you can skip if you really trust your steady hand. We think it gives the drawing a nice finish, what do you think?
Step 2: Make lines in the same direction.
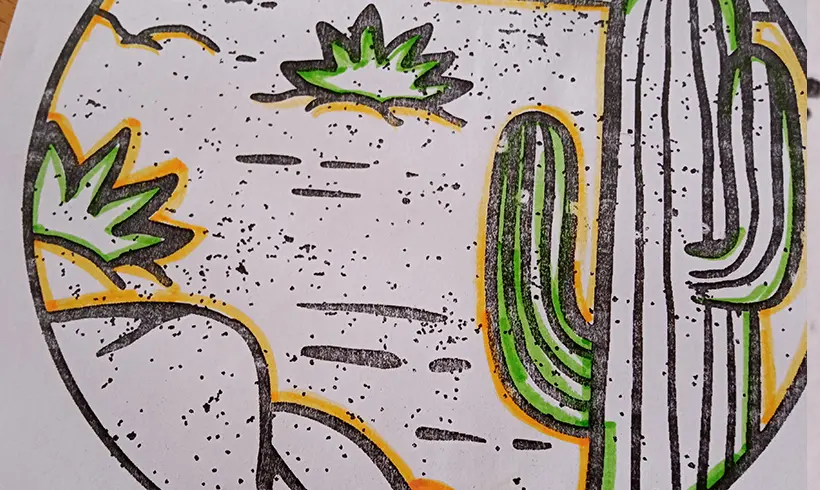
Start drawing parallel lines in the same direction in the area you want to color. If you want, leave a blank space between them, you'll see it looks great!
Step 3 (Optional): Make lines without leaving blank spaces.
With the linear technique you can also fully color the area you want to paint. The only thing you have to do is make lines without leaving blank spaces You'll see the finish turns out great! If you want to make shadows, just go over it again with the marker to darken it.
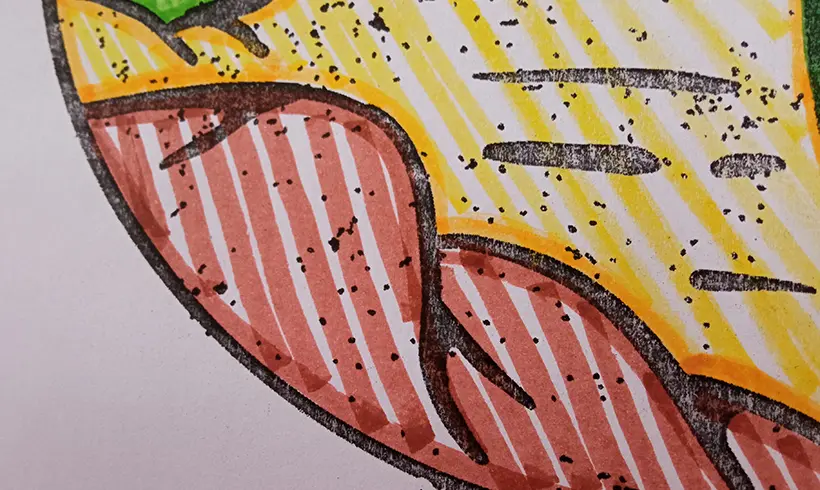
Step 4: Use colored pencils to make shadows.
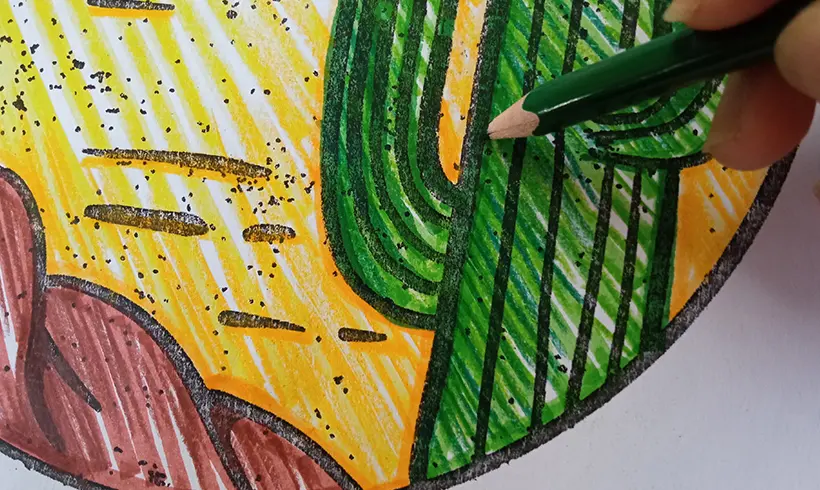
You can use colored pencils (or markers) to make the shadows. You just have to take a color that is the same tone but darker, and draw lines in the same direction as before. You'll see how the area you wanted gradually darkens!
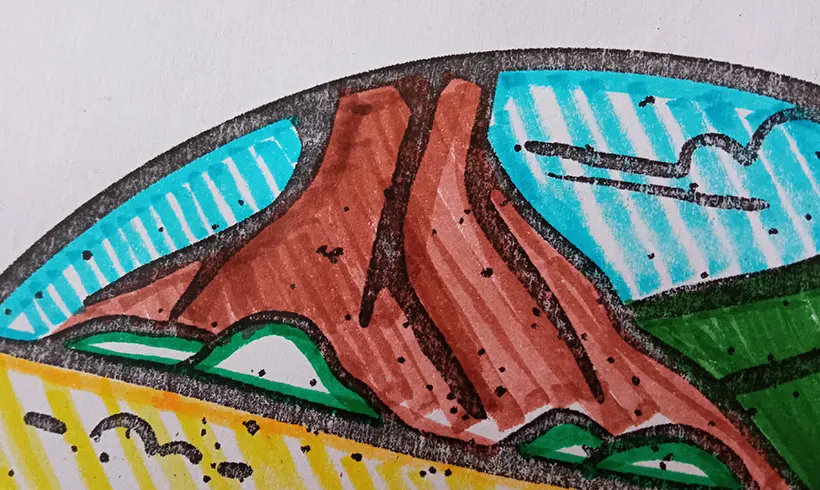
Step 5: Repeat the previous steps wherever you want.
It doesn't matter if the lines are diagonal, vertical, or horizontal. Draw all the ones you want and in the direction you like best. Have fun and reinvent this technique!
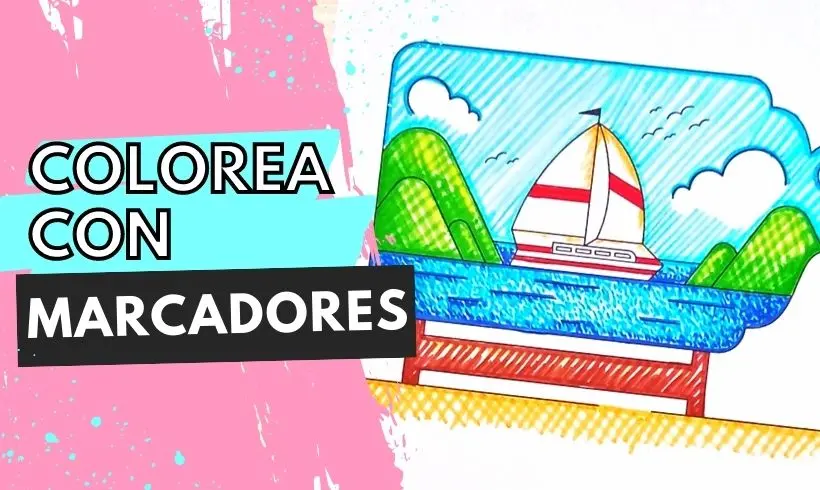
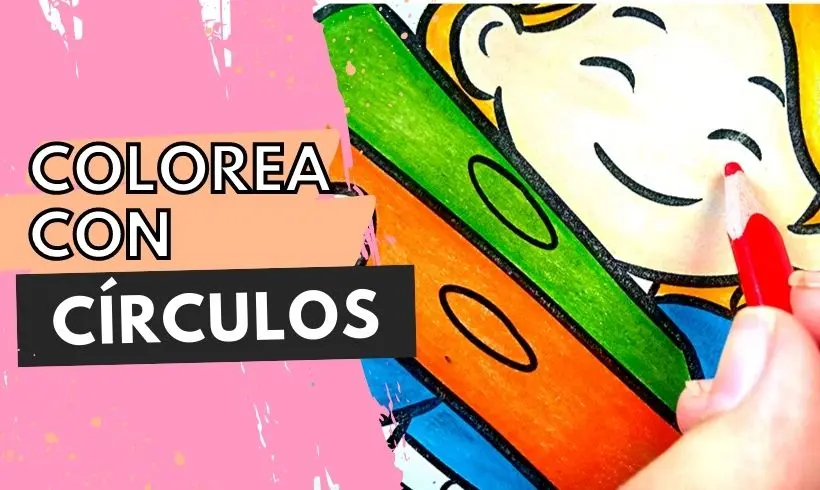
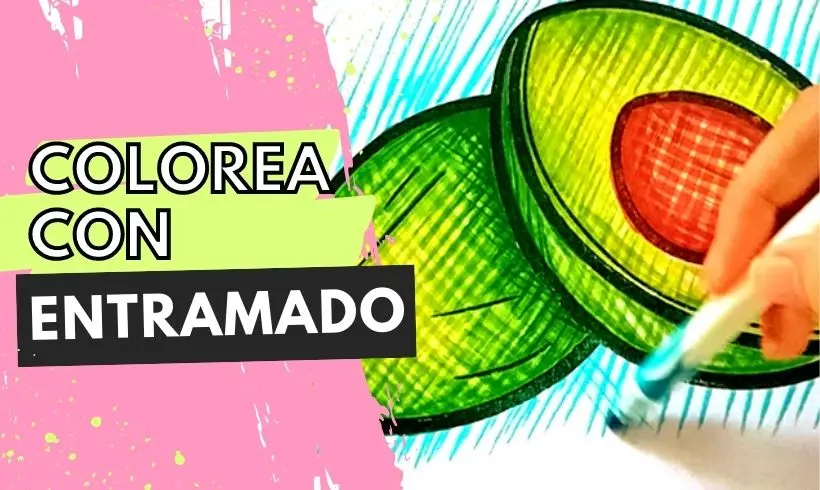
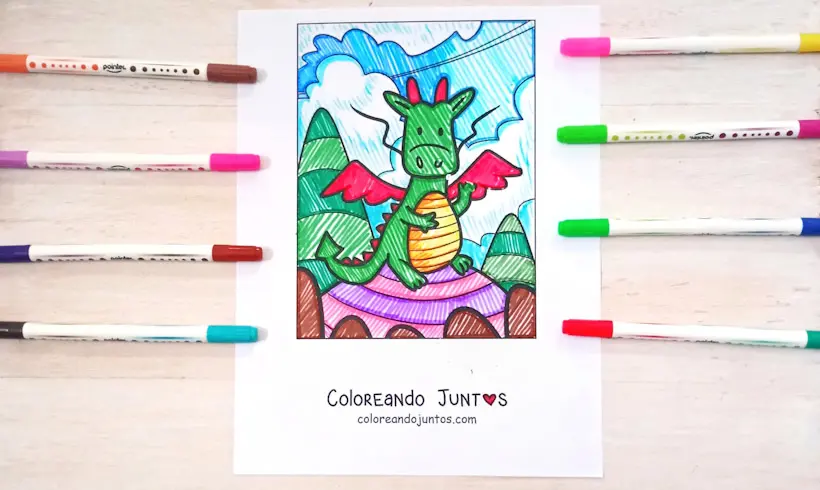
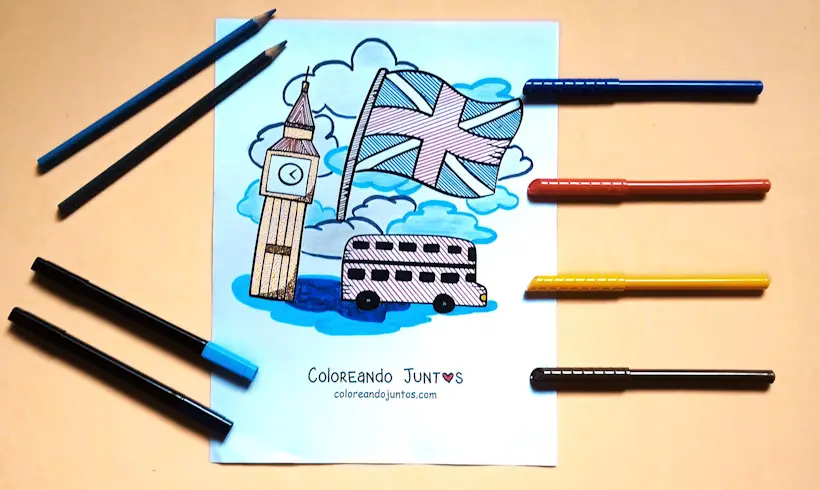
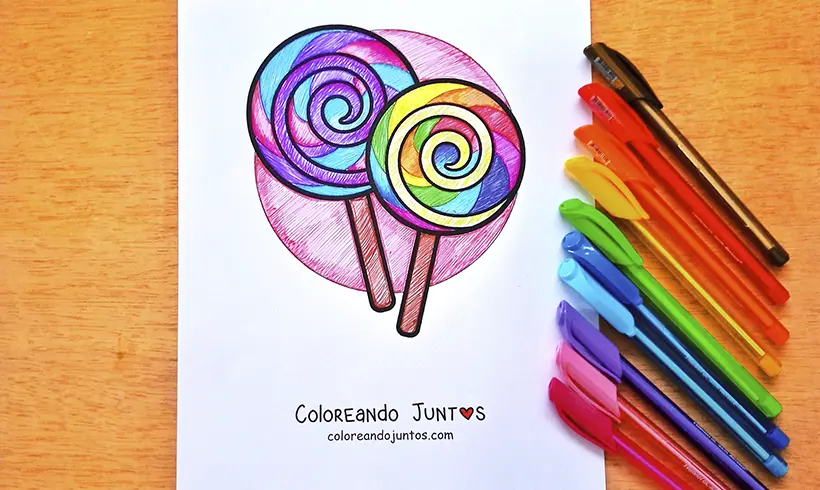
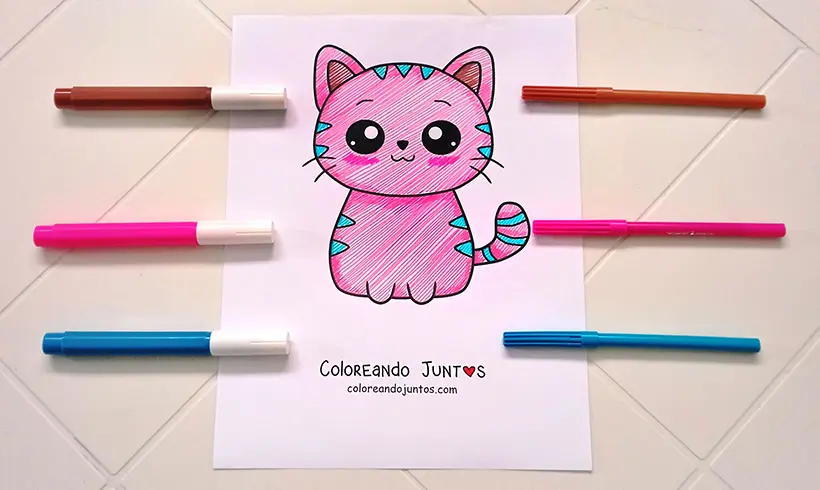
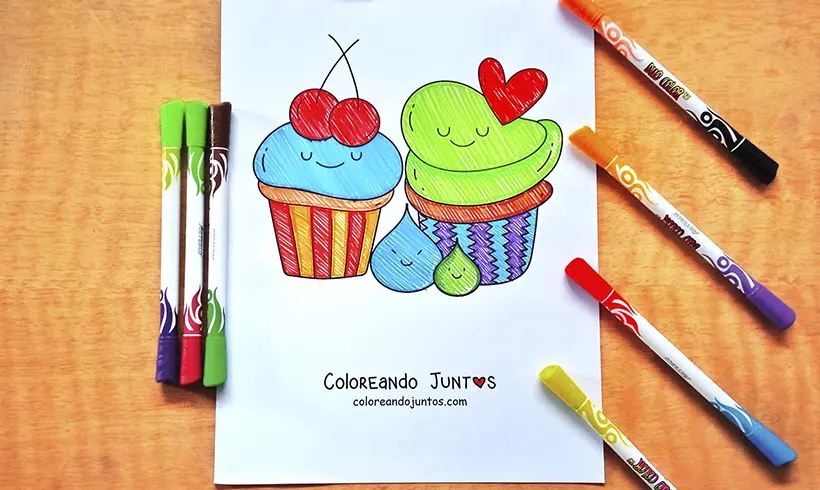
Examples of the linear technique applied
Techniques you can combine with the linear one
If you still have doubts and want to know more about the linear or hatching technique, then here we leave you a list of other techniques you can combine with the linear technique to turn your composition into a true work of art.
- Chiaroscuro: If you make lines in the same direction you can shade and manipulate the areas of light and shadow in your drawing. Remember: the more lines you make, the darker the area you want to shade will become.
- Blending: If you take two colors and start making lines in the same direction, you will be able to combine and blend them together, so you will get a very interesting coloring.
Tricks and tips for applying the linear technique
Since we wanted you to leave this section with everything we know, we decided to dedicate some space to a few tricks and tips for applying the linear technique. Shall we begin?
- The lines you make don't have to be perfect. We make the lines freehand and many of them come out crooked. It's part of the artistic process! So, if your lines don't come out straight, don't stress about it it's art!
- Depending on the material you choose, you will have to make more or fewer lines. For example, applying the linear technique with colored pencils will take you more time than with markers, because to color with pencils, you will have to make more lines compared to the others.
That's why, before you start your drawing, think carefully about which material suits you best. Both have advantages and disadvantages, since with pencils you will get softer results and you can make more details. But the tones of markers are unmatched.
- When you are going to combine several colors, always do it on a separate sheet, because that way you will be able to see the result before coloring directly on the sheet. It helps you avoid mistakes that can't be fixed later!
- Don't make straight lines without pausing. If you make lines without watching where to stop, you could go outside the edges of the drawing, so make the lines slowly and watch carefully where you run the marker or pencil.
We have reached the end. Are you happy with what you learned? All that's left is for you to start practicing to improve at the linear coloring technique. It's time for the student to surpass the master!