Coloring with Markers: Features and Tricks to Use Them
Do you have felt-tips or markers but don't know how to use them? You've come to the right place to learn how! Grab your markers, it's time to learn something new.
In our art learning section at Coloring Together we are delighted to show you how to use different techniques with your markers, and to use them to create the most amazing works of art. Will you join us?
What are markers?
Markers, felt-tips, or fineliners, are very interesting art tools. They have their own ink and work on almost any surface. They can be water-based or alcohol-based. They have absorbent fiber tips, and the tip is usually made of a porous material.
The first marker was invented in 1910, thanks to Lee Newman. It was a tube filled with ink that fed a felt tip.
But the first modern marker as we know it was made by the Japanese inventor Yukio Horie, in 1962, through the Tokyo Stationery Company. It turned out to be a very useful tool for making Japanese writing strokes, which are usually done with a brush. And just as well, what would we do today without these precious materials?
Types of markers
The best thing about markers is that there are different types that adapt to any need. They vary in size and tip, and they suit whatever surface you prefer. Some of them are:
- Permanent: They are indelible, which means they can be used on any surface and cannot be erased.
- Non-permanent: These are usually whiteboard markers, and they are known for not sticking to the surface they are used on, which means they can be erased easily.
- Highlighters: These are markers with semi-transparent ink whose main purpose is to highlight portions of a text.
- Metallic: These are markers that have a very interesting metallic ink, and thanks to it you can get colors like gold, silver, or copper.
- Counterfeit detector: These are a type of marker used on banknotes. The ink reacts with the starch, since they contain chemical substances. Their purpose is to detect fake bills.
- Invisible ink: These markers are used to mark valuable objects, and their ink, though it isn't visible to the naked eye, can be seen under ultraviolet light.
Types of marker tips
Markers can have tips of different sizes, ranging from extra fine (ideal for making strokes and outlines) to the thickest ones (ideal for coloring). But in particular, there are three tip shapes that are very useful for coloring:
- Bullet tip: It's a round-shaped tip that is ideal for outlining edges and coloring small areas. And it's also very useful for making dots!
- Chisel tip: It has a more rectangular shape that lets you make strokes of different thicknesses It's the go-to tip for lettering! And it's very useful for coloring large areas.
- Brush tip: It's a brush-shaped tip, and just like a brush, its texture is very soft, and it has the advantage that you can both outline and color with it.
How to use different techniques with markers?
It's time to color with markers! We'll explain in detail how to color with markers and how to use different techniques with them. You can combine them in a single drawing to create unique textures. Let's begin!
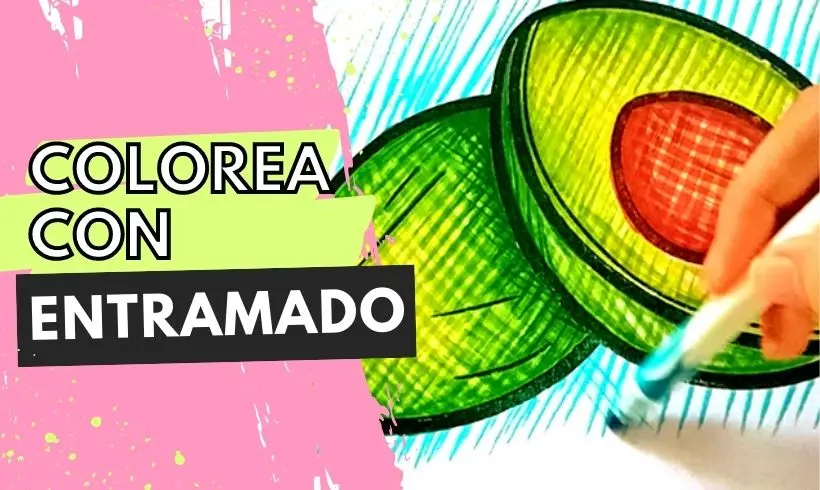
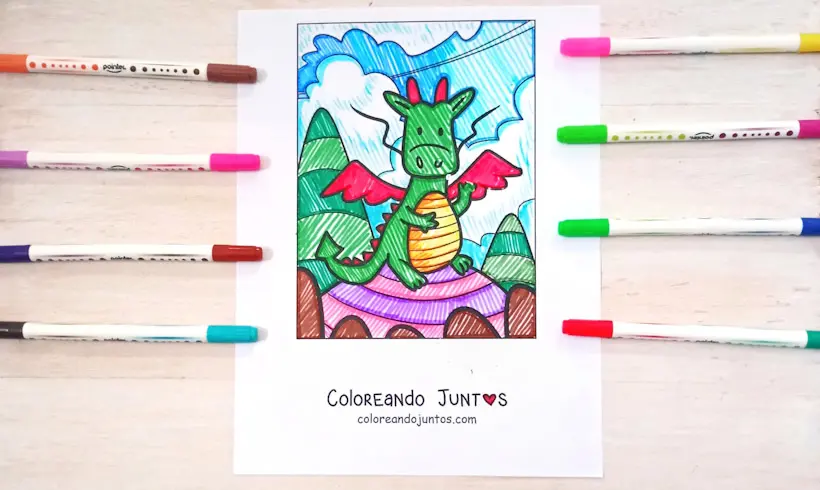
1. Crosshatching technique
Step 1: Make diagonal lines in one direction.
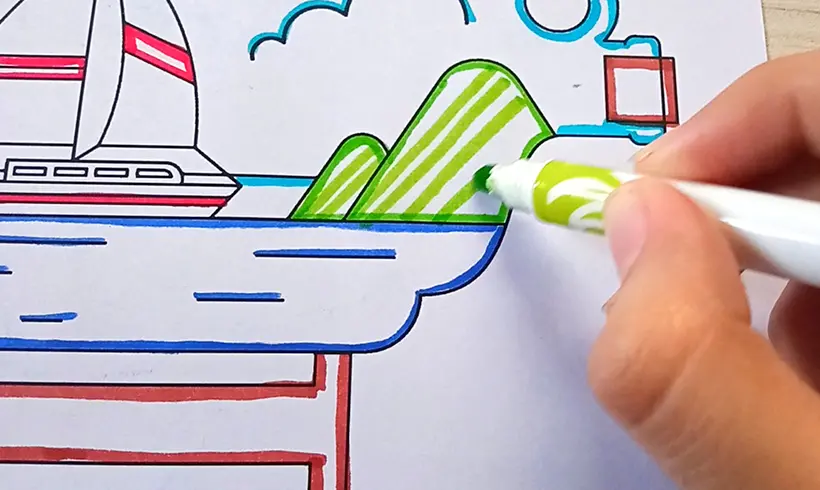
Draw diagonal lines across the whole area you want to color. They have to go in the same direction. Don't forget to leave a space between them!
Step 2: Make diagonal lines in the opposite direction.
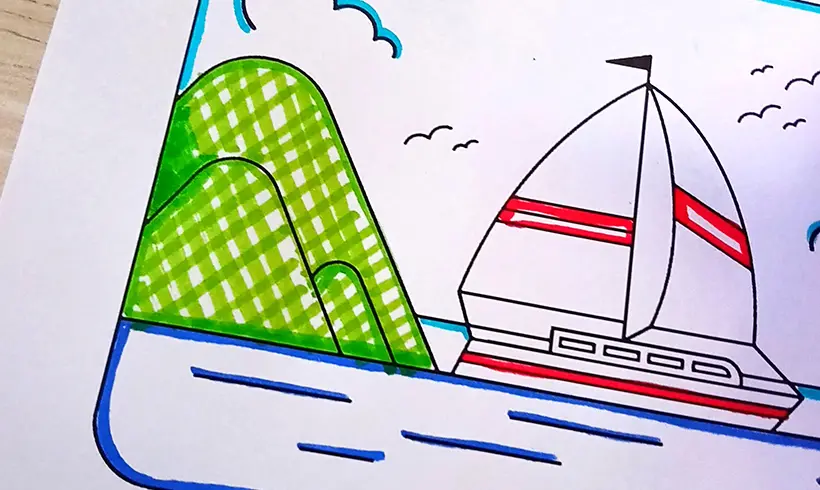
Now draw lines in the opposite direction to create a kind of mesh or grid texture You'll see it gives the drawing a very unique touch! Make as many lines as you want until you have the whole area ready to color.
Step 3: Use a darker shade for the shadows:
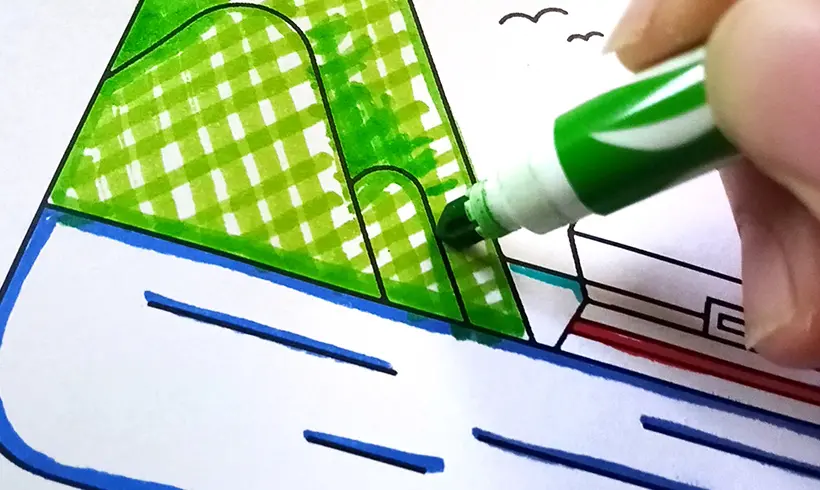
Use a darker color to create the effect of shadow and volume in the right spots. In this case we did it with a dark green behind the mountains. Just keep going with the lines you made at the beginning!
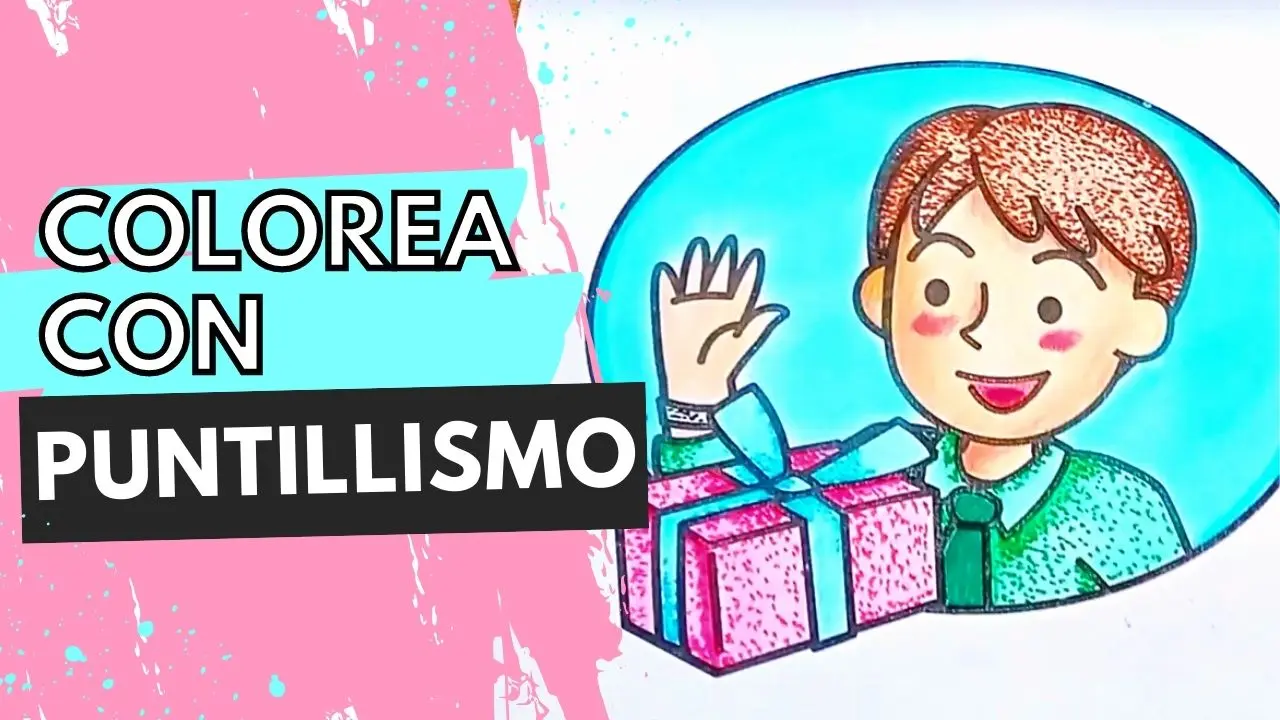
2. Stippling technique.
Step 1: Make a first layer of dots with your favorite color.
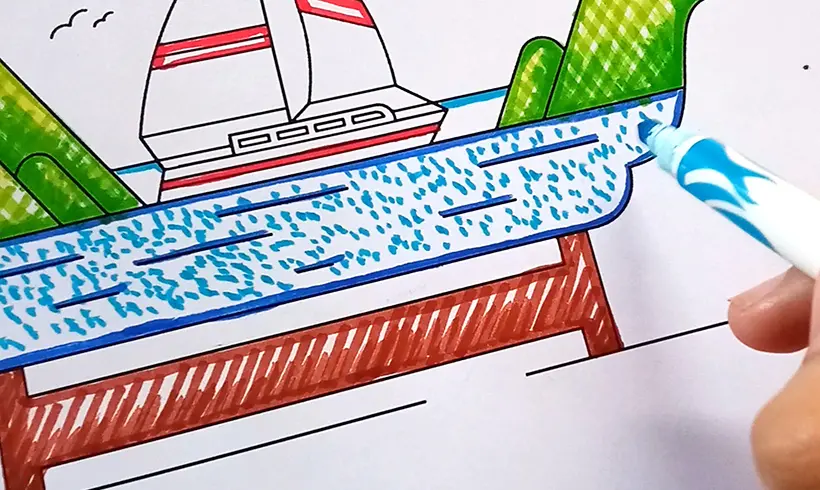
For the stippling technique, make a first layer of dots over the whole drawing. Make random dots by pressing the tip of the marker. If you want them thicker, you can try a thick-tip marker, or lightly tilt the fine-tip marker.
Step 2: Make a second layer and shade.

Once you have the first layer of color ready, apply a second one by making many more little dots. To add shadows you can take a darker color, or continue with the base color. In both cases, to shade, all you have to do is make a greater number of dots in the area you want.
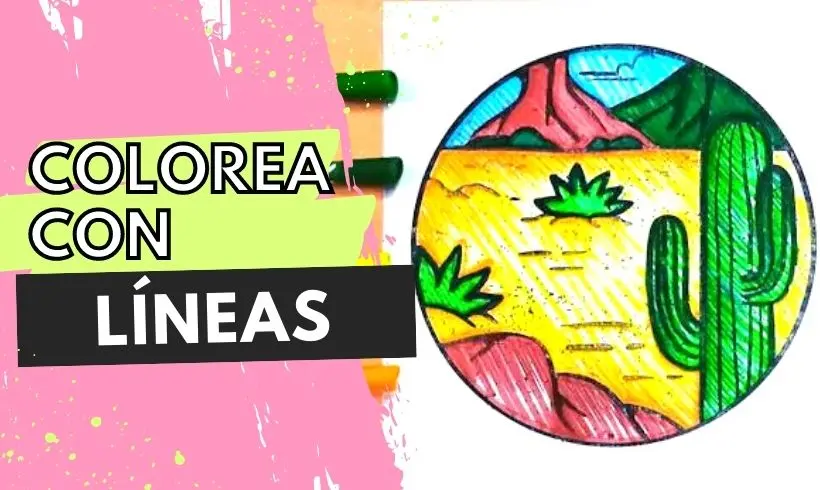
3. Linear technique.
Step 1: Make parallel lines in the same direction.
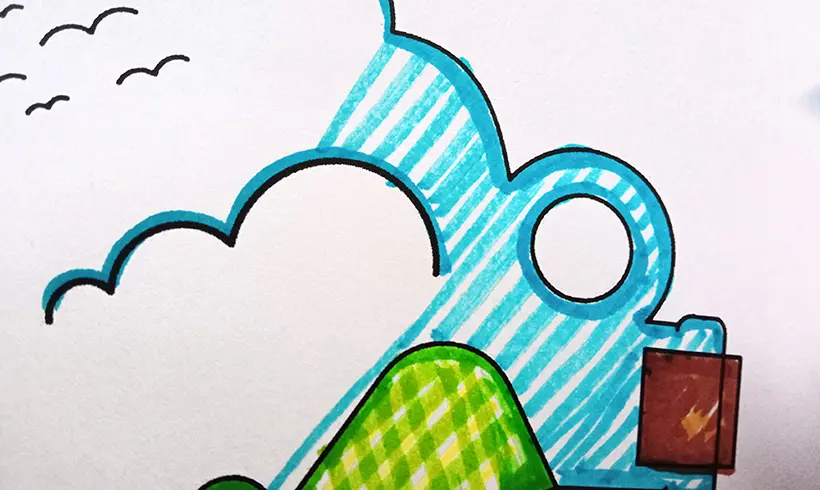
The linear technique consists of making parallel lines in the same direction, so it doesn't matter if they are vertical, horizontal, or diagonal, you just have to make lines. Give it a try! It's pretty simple, and the finish is very beautiful.
4. Flat or uniform color technique.
Step 1: Make lines in the same direction without leaving any blank spaces.
The flat color technique is very similar to the one we explained earlier, with the slight difference that here you don't leave white spaces between the lines.
You have to color the area completely by making lines. But be careful! If you go over the same spot twice with the marker, the color will get darker than in other areas.
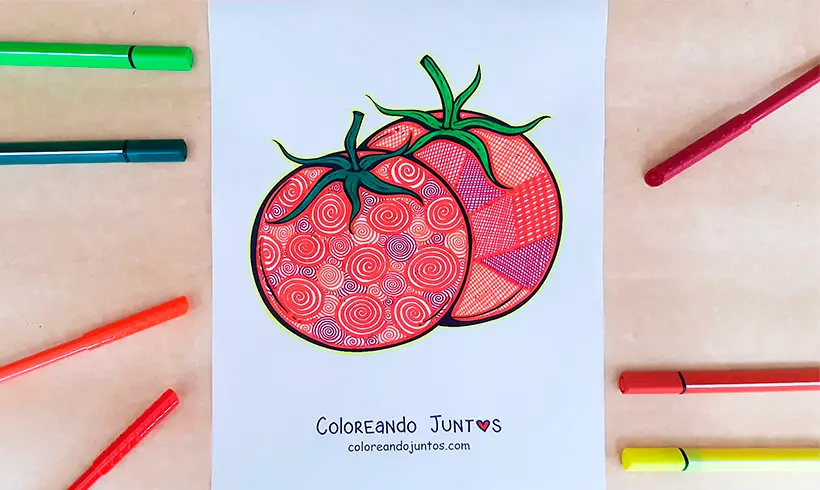
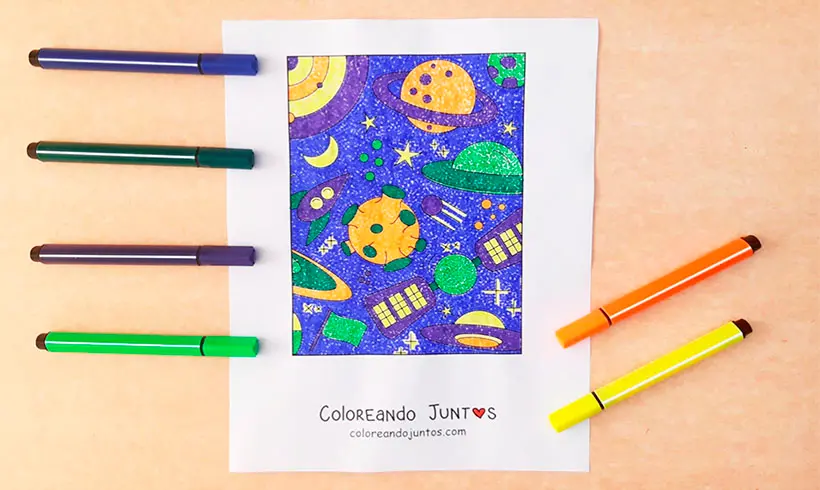
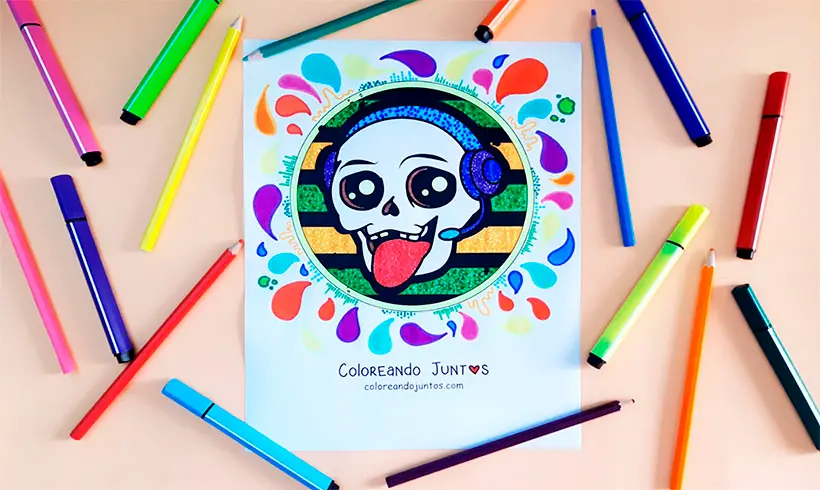
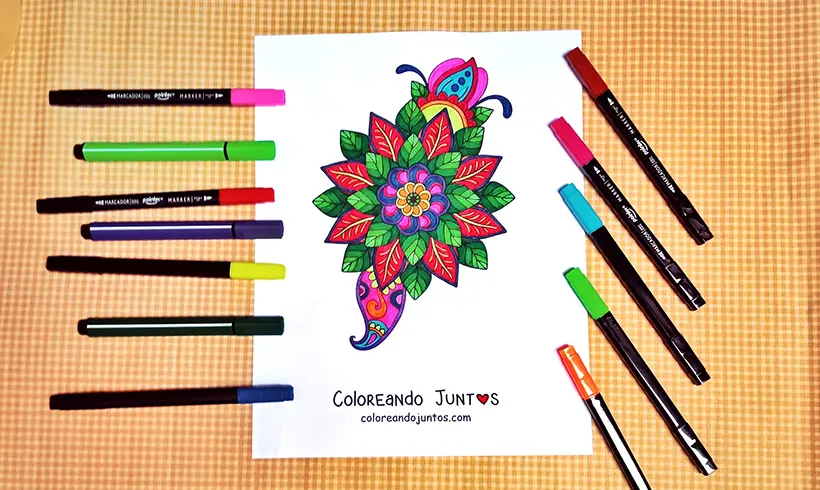
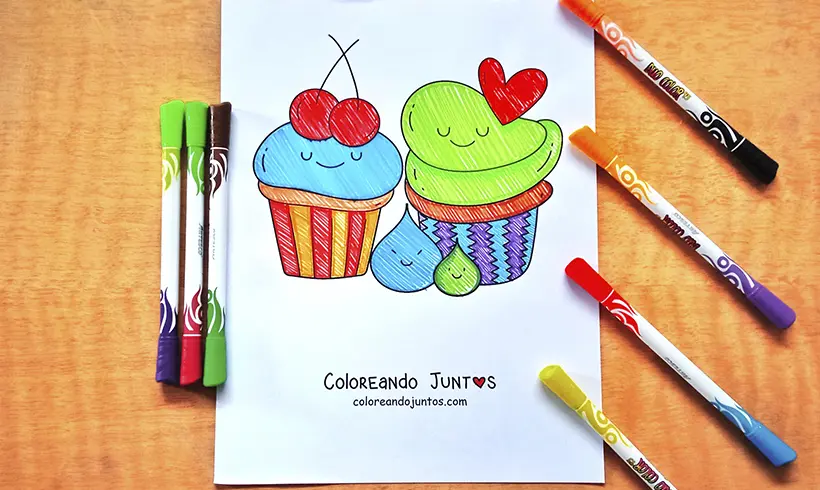
Examples of coloring with markers in action
Techniques you can combine with markers
Wait a moment! We're not done teaching you everything about markers yet. If you still have any questions about how to use the techniques for coloring with markers, then stick around and learn how to use them with us.
With felt-tips or markers you can use a whole variety of techniques. We've already mentioned some of them, but now we'll explain them in more detail.
- Crosshatching: It consists of making crossed lines in different directions. With crosshatching you can fill an area completely, giving it a unique texture. You can even make shadows! Which will depend on the number of lines you make in the same spot.
- Linear: It consists of making parallel lines until you fill the whole area you want to paint. It's important that they go in the same direction. They don't have to be perfect! You can use a ruler or do it freehand.
- Full linear: This technique also consists of making lines, the difference being that you don't leave space between them. You color the drawing completely, with no white spaces. But be careful! If you go over the same spot twice with the marker, the color will be darker than in other places.
- Shading: To shade, you just have to go over the area you want to darken several times with the marker. Preferably the same color used in the base, or a shade that isn't too dark.
- Stippling: You just have to make lots of dots, randomly or in patterns It doesn't matter! What matters is filling the whole area to be colored with dots. You shade with dots by making a greater number of them in the spot you want to darken.
Tricks and tips for coloring with markers
Coloring with markers isn't as easy as it looks. Luckily, our artists decided to make this space so you can use their tricks and tips for working with markers. Ready to learn at Coloring Together?
- Markers are strong materials, which means the shades they leave are very intense, and they aren't erasable. So, when coloring with them, always be sure of the color and the way you'll make the strokes. Any mistake you make will be hard to fix.
- Mix the markers on a separate sheet if you want to make different shades. Not all marker brands blend well; some smudge or darken. Test on another spot first!
- If you're going to use the linear technique or crosshatching, you can use a ruler if it's more comfortable for you. It doesn't have to be the way our artists do it. If you trust your steady hand, excellent! But if you want to be more of a perfectionist, then a ruler is ideal.
- When you're going to shade, always go over that area once or twice with the same marker you used for the base layer, because that way it will darken. If you're going to use another shade, make it very similar to the base shade.