Pointillism: Characteristics and Tips to Apply It
Welcome to our artistic learning section! This time we would love to teach you how to apply a very interesting technique and combine it with others so they stand out and form a great work of art. Did you guess what it is? That's right! Pointillism, are you up for it?
All you need are markers, colored pencils, pens or paints. With any of them you can create a whole work of art by making dots! Do you have them ready?
What is pointillism?
Pointillism is an artistic technique that developed in the 19th century, specifically in 1884, in France. It emerged as part of a painting movement that consisted of using dots and interrupted strokes with the brush.
This technique was born with the idea of exploring new textures with the brush and testing color theories in art, through dots that, when observed from afar, would turn the work into a harmonious composition.
Pointillism first appeared at the Société des Artistes Indépendants. This society was formed by the French painter Georges Seurat, who explored how to combine warm and cool tones in small brushstrokes.
Pointillism was so important that it even inspired the movement called “musical pointillism,” which consisted of some musicians' attempt to achieve a musical dissociation through the handling of isolated notes, something equivalent to chromatic theory, but using melodies.
Who are the most prominent pointillism artists?
Over time, several very renowned artists joined the pointillism movement and created various paintings that are nowadays of vital importance in art. The first pioneer was the French painter Georges Seurat, founder of the neo-impressionist movement.
Among these painters, the French artist Henri-Edmond Cross stands out, who began his career as a neo-impressionist, but in 1890 shifted course toward dot-based art.
Another French artist of vital importance to this artistic movement was Maximilien Luce, who began painting in the pointillist style focused on portraying the “violent effects of light” on his subjects.
What does pointillism consist of?
The pointillism technique consists of applying colored dots in a certain order, so that they are perceived by the human eye as a composition.
The placement and color of the dots is very important, since each one of them will be decisive for the creation of various textures. If you place the dots correctly, you will manage to create shapes with volume and highlights.
Pointillism can be used with various materials, such as colored pencils, pens, markers, wax crayons and paints! In the case of dry, pointed materials, it's enough to make dots on the paper to start getting results.
On the other hand, if you use paints or watercolors, you just need to have a brush and make brushstrokes with it that resemble dots They don't have to be perfect! It's enough for them to be short, small brushstrokes, so that the pointillism texture can be seen.
Goals of pointillism
Pointillism aims to cause a visual effect on the observer, through the play of colors used and the distribution of dots that allows for creating a composition with textures, highlights and shadows.
In fact, although you can use any color to apply this technique, in the past they used only primary colors, so that visual perception would do the mixing and give meaning to the final composition.
In addition, applying this technique can have therapeutic effects, especially in children. It improves graphomotor skills, develops creativity and helps the little ones relax. You have to make lots of dots!
Types of pointillism
Did you know there are several types of pointillism? Here we explain them to you:
- We have musical pointillism, which seeks to have the ear interpret melodies through separate sounds.
- Then there is polychromatic pointillism, in which light tones are used first, and then layers are made on top of dots with darker colors. This way, different effects of volume and shadows are achieved.
- Lastly, monochromatic pointillism, which consists of starting with dots scattered throughout the composition, and then more dots are added where you want to darken or create shadows.
How to apply the pointillism technique?
Come paint with us! It's time to learn how to color with dots. Below we'll leave you a step-by-step description of how to color with the pointillism technique.
We combined it with chalk and crayons, but you can use the materials you like best.
Step 1 (Optional): Outline the drawing's contour
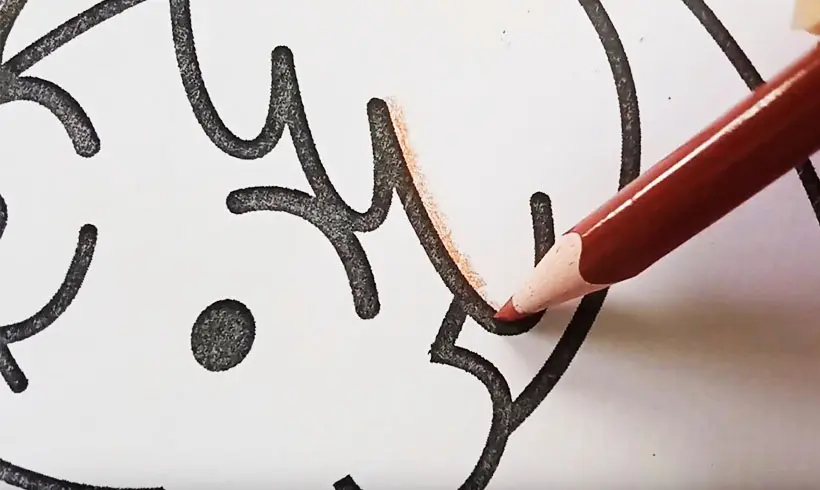
This is a step we highly recommend. No matter which technique you choose, it's important to outline the contour with a crayon or marker, so that you avoid going outside the lines and the corners of the drawing don't stay blank.
Step 2 (Optional): Create a light color layer

This is an optional step in case you don't want to leave blank spaces. After outlining the contour of the drawing, color in circles without pressing the crayon hard The finish should be light! Remember that the star is pointillism.
Step 3: Fill in with dots
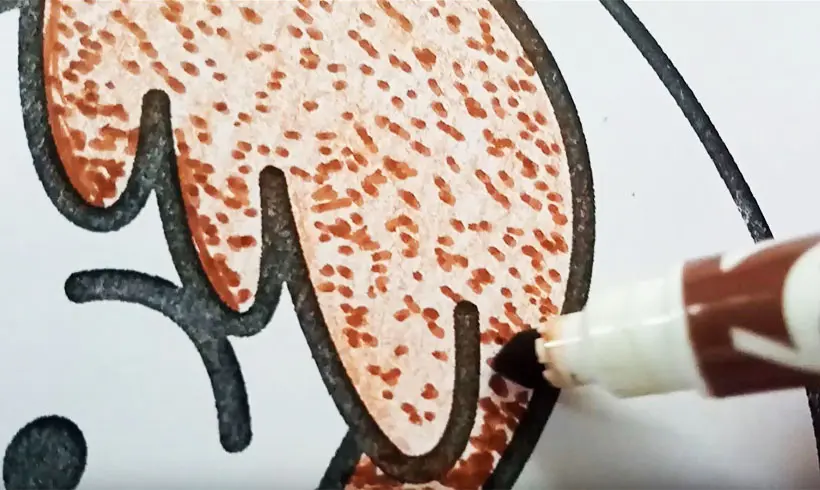
If you already made your crayon base, you can start filling in with little dots. In this step we recommend making lots of scattered dots in the area you'll color. Once it's filled in, apply another layer with the same color until you get the desired result.
Keep in mind that the fewer the layers, the lighter the drawing will look. If you make more layers, you'll manage to fill the drawing with more little dots and make it look much better.
Step 4: Shade
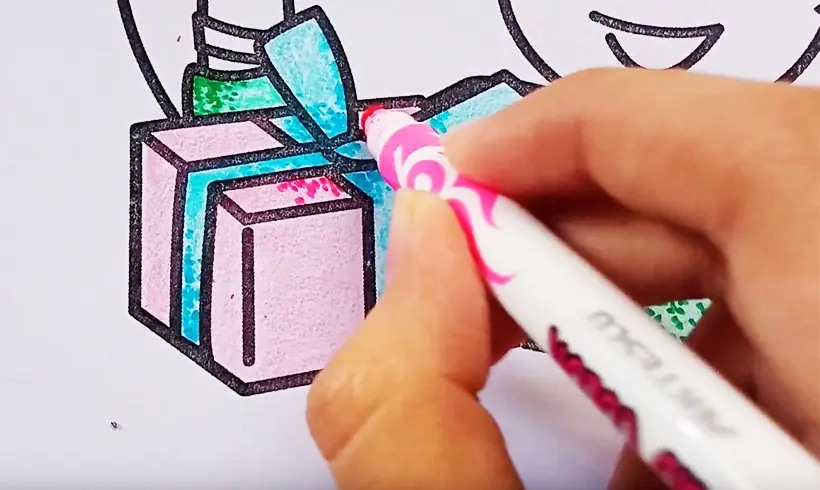
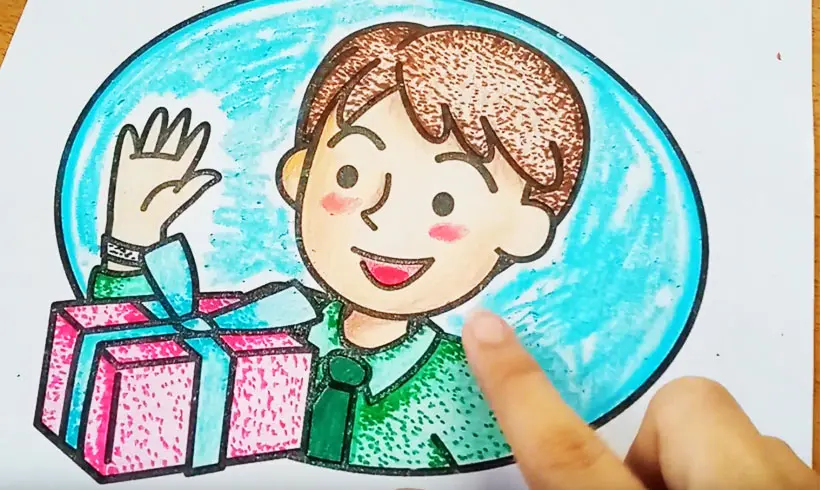
You can apply the shading technique in two different ways. In this case we first filled the contour with a light color layer, and then, using the pointillism technique, we made dots in the areas we wanted to shade. Notice that there are only dots in the corners of the gift!
But, if you want to paint everything with dots, then you just have to make more dots in the part you want to shade. Make one layer, then another and another until you manage to darken the color and create the shadow effect. It's not very complicated! It just requires patience.
Step 5 (Optional): Apply other materials for the background
In this case we used blackboard chalk to fill in the background of the drawing. Why? Because we thought it would be fun to use various materials in the same drawing!
Take the chalk stick and start coloring in circles all over the contour, spreading its dust. Once it's ready, blend with a cotton ball or with your finger.
It's important that if you use an invasive material (chalk, glitter), along with others that aren't (crayons, markers), you apply it last, because otherwise they may later blend poorly or complicate the application of the marker or crayon.
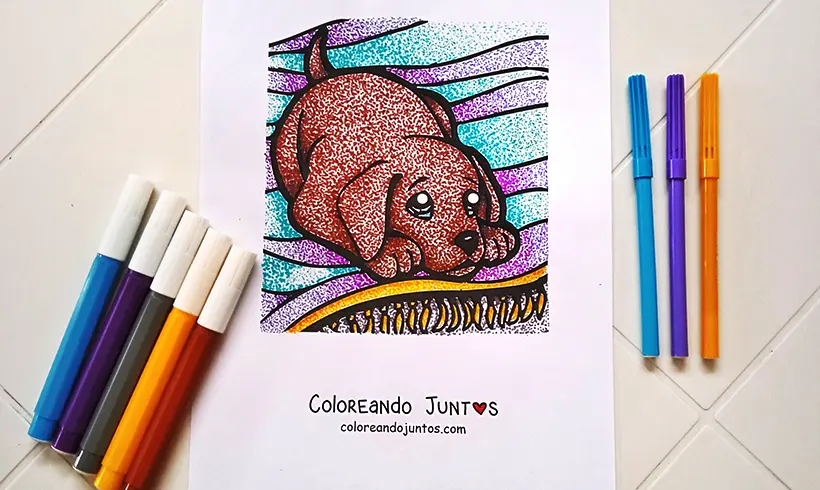
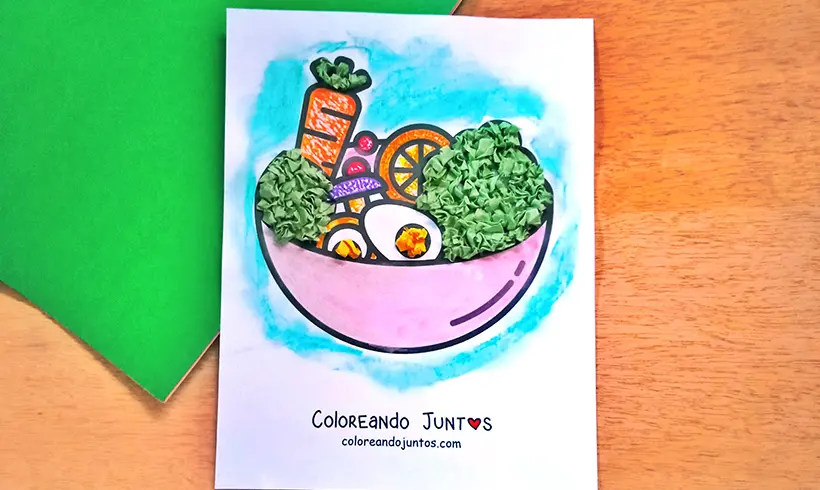
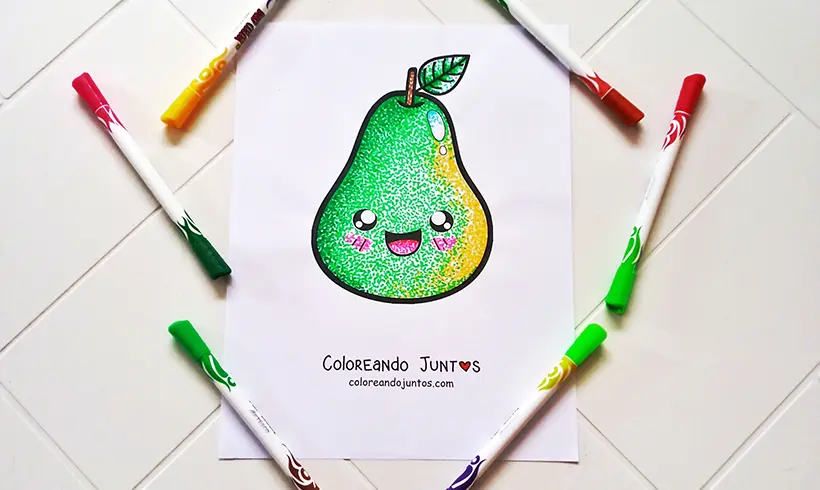
Examples of applied pointillism


Techniques you can combine with pointillism
Like any technique, pointillism can be combined with other techniques to make its finish much cleaner and more interesting. Every artist seeks to represent their world in the best possible way! That's why applying various techniques would make our composition more interesting and eye-catching.
Depending on the techniques you use with pointillism, you'll manage to create different textures, shapes and volume in the objects you're going to color. These techniques will let you place light and shadow, the combination of colors, the formation of strategic lines and much more.
Do you want to know what other techniques could work with pointillism? We'll tell you the ones we use.
- Shading: If you want to shade by applying the pointillism technique, you must apply several layers of little dots in the area you want to shade, so that the color darkens due to the density of dots. Give it a try!
- Blending: In this case, take two different colors, and apply one as a base. Once it's ready, use the other color and start applying it in the area where you want the transition of tones to be. Apply lots of little dots and then do the same with the other color, until you get a kind of gradient with two different tones.
Those are the most common techniques we combine with pointillism. Can you think of any other? We would love to hear from you! Artistic feedback would also help us learn new techniques and ways to color.
Tips and advice for coloring with pointillism
If you started coloring with pointillism, but you still have doubts about this technique, or if you haven't started and you want to know some tips and advice for coloring with pointillism, then keep reading! Our artists are delighted to be able to help you with a couple of tricks they apply in their drawings. Ready?
- Always have a separate sheet, it can be white or recyclable. On it always make strokes with the materials you have chosen, and observe the tones and the intensity of the color. Explore on the sheet! Combine different colors by making dots and observe how the materials react.
- You can combine two or three different materials and see how they work together, and whether it's viable or not. Use the separate sheet for this. For example, you can apply a layer of watercolors and on top make dots with markers. See if you like the result or if you prefer to use some other material.
- If you use felt-tip pens and want to combine colors with them, test on a separate sheet how it would look. Some brands of felt-tip pens don't combine well with each other, and you end up with dark, ugly tones. That's why before doing it on your drawing, it's essential to do a small separate test.
- To apply pointillism the dots don't have to be perfect or follow a pattern. There is no time limit for doing it. There are artists who make messy, erratic dots, and others who prefer to make patterns and leave some separation between them. And both are fine!
- If you are using a wet material, like water-based markers or watercolors, make dots on top only when the sheet is dry, because if you apply many layers without letting it dry, the sheet runs the risk of tearing.
If you already have all the information you need to begin, then what are you waiting for? It's time to create the best works of art with colored dots.