Hatching or Cross Hatching: Features and Tricks to Apply It
Do you want to color your drawing, but you do not want to apply the usual coloring technique? Would you like to make textures? Then welcome to this artistic learning section!
At Coloring Together we will teach you how to apply the hatching technique so your drawing is full of personality and totally unique. Let's get started!
What is hatching?
The hatching, also known as hatching, is a technique that consists of making lines in different directions and crossing them. By doing so you can get different textures, create an effect of volume or curvature and make shadows. It is a very useful technique!
The meaning of “weave” is “tangled or interwoven threads,” so, applied to the artistic world, it is a concept that takes shape, since these threads are represented as lines that cross each other in order to generate volume in the artwork.
What the hatching technique is used for
The hatching technique is used to create the effect of volume. Its main goal is to create shadows through weaves that allow you to build depth on a variety of backgrounds.
If the lines of the weave are close together, then there will be more darkness. Otherwise, if the lines are spread apart, then there is less shadow and more light or brightness in the desired area.
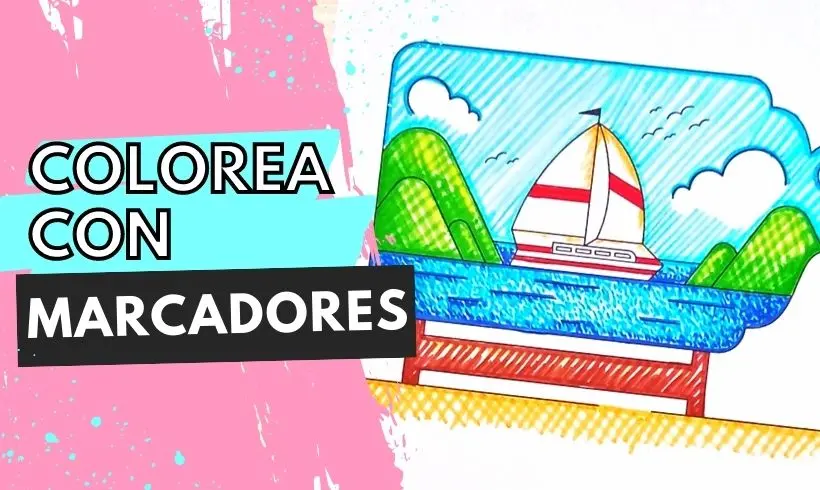
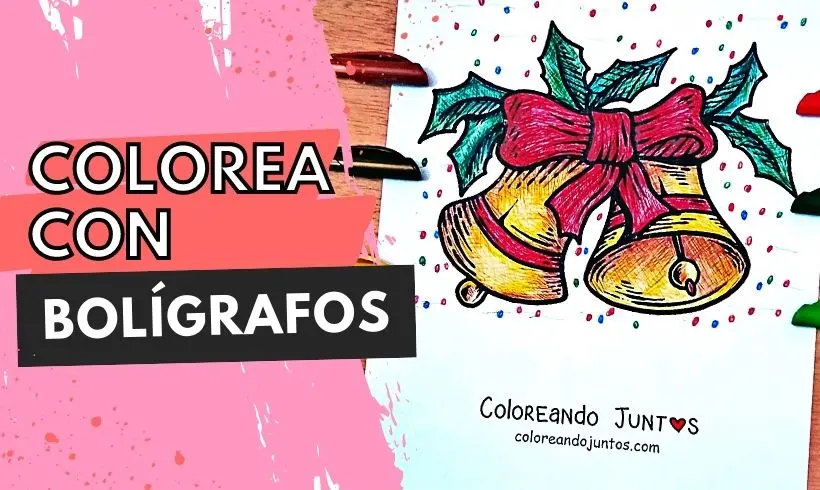
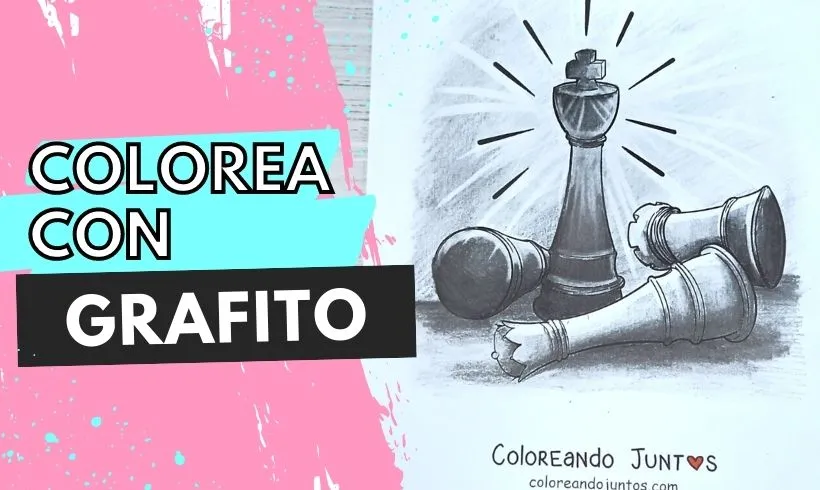
It is a very useful technique! And the best part of all is that it can be used with many materials, since all they need is to have a tip. For example, materials that work for this technique are: colored pencils, markers and pens.
Types of weave
There is a wide variety of weaves to apply in drawing, so you do not have to settle for just one. Among them are:
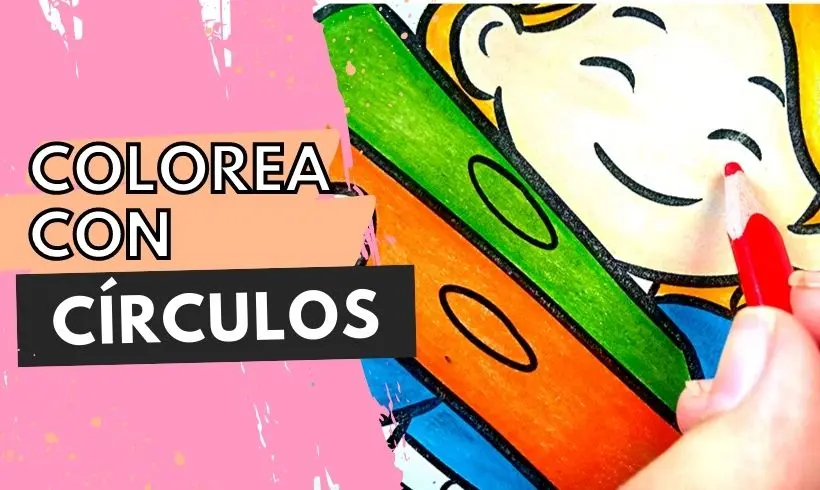
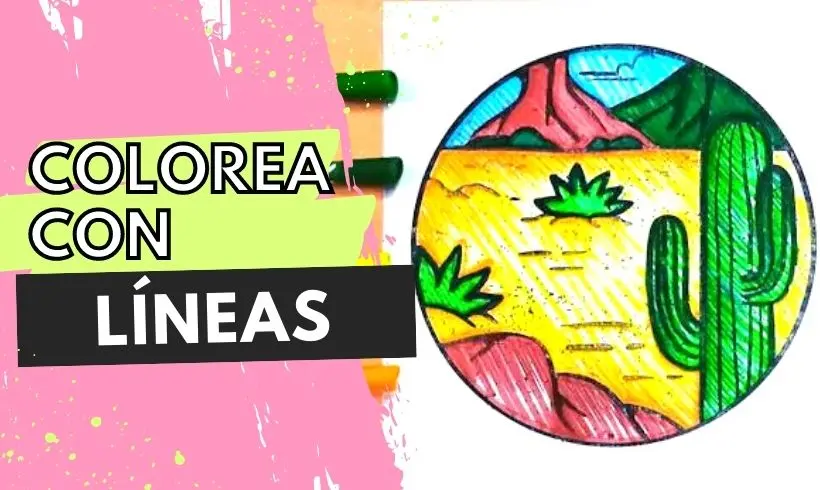
- Parallel weave: It consists of making lines parallel to each other, it does not matter if they are made on top of one another, the idea is that they are always parallel.
- Cross weave: It consists of making lines and then layering others on top but in a different direction, so that you get crossings between them.
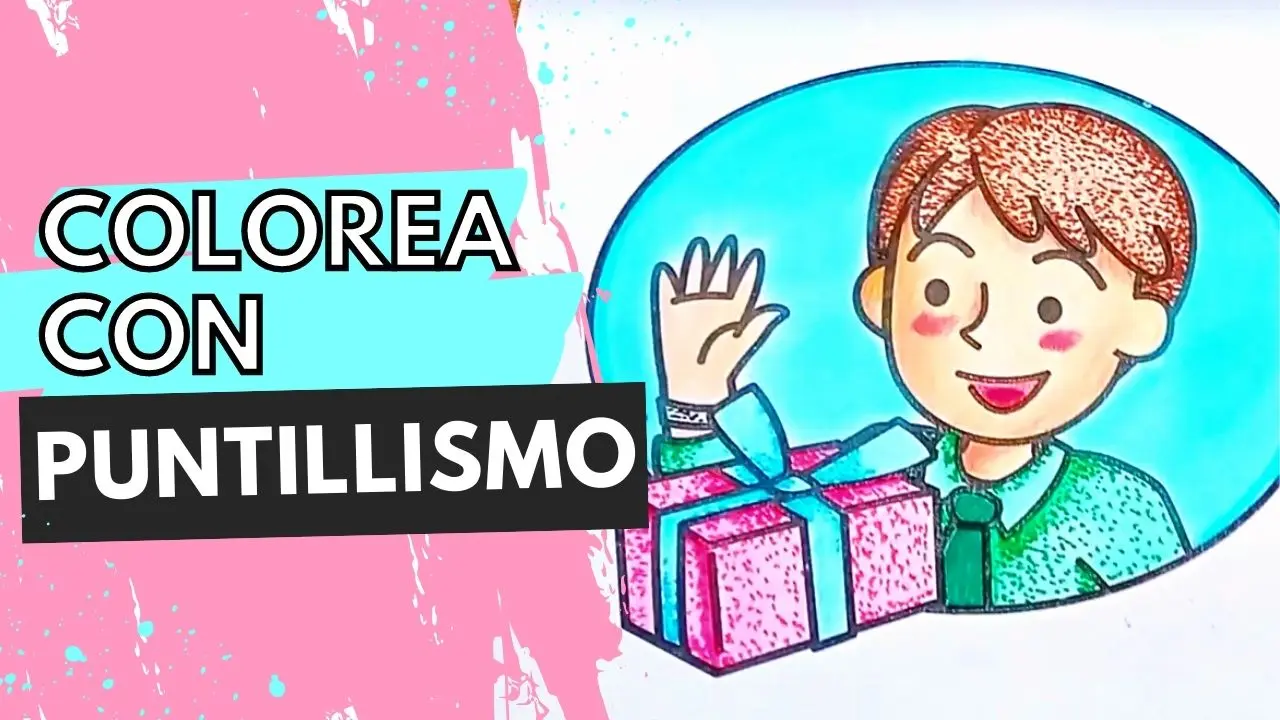
- Dotted weave: Did you know that you can not only make lines, but also dots? They have a static look and give you an incredible effect. It is also known as pointillism.
- Multidirectional weave: In this case order is not an option, you just make lines in whatever directions suit you best. The lines will be guided by you!
What is weaving in art?
Weaving in drawing consists of a combination of dots, lines or symbols to form sequences that later generate volume and shadows. Weaving in art is a very useful technique, which is why it is not limited only to drawing.
For example, in the case of photography, dot weaving is used to create the reproduction of midtone images.
In painting, weaving can generate multiple textures through ordered patterns. And in screen printing, weaving is used to create realistic images, through a process called four-color process, which consists of stamping various inks onto the same base.
How to apply the hatching technique?
The time has come to color with this very special technique! We will explain step by step how to color with the hatching technique, using various tools and combining them to get a beautiful composition. Let's get started!
Step 1 (Optional): Outline the contour of the drawing
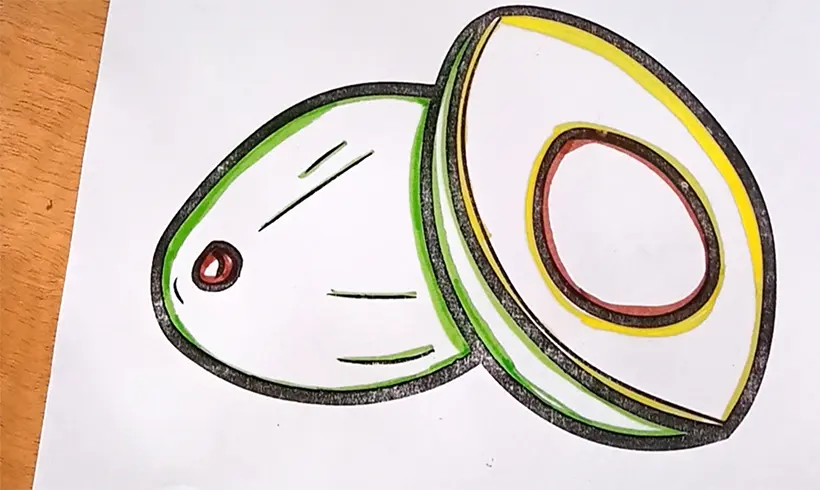
This is an optional but highly recommended step, because by doing it you can avoid going outside the line We always do it! But if you trust your steady hand, then you can skip this step.
Step 2: Make parallel lines in one same direction.
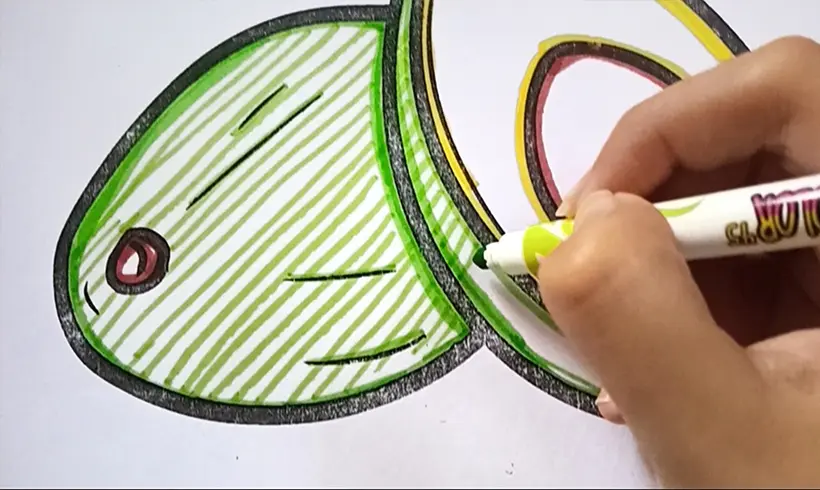
We start by making lines in one same direction, spaced apart from each other to fill in the whole drawing. They do not have to be perfect! You can do it freehand or use a ruler. Whichever you prefer.
Step 3: Make parallel lines in the opposite direction.
Now, layer on top of the lines you already made others, but in the opposite direction Until you get a checkered effect! Don't you think it looks really cool?
Step 4: Use a darker shade for the shadows:
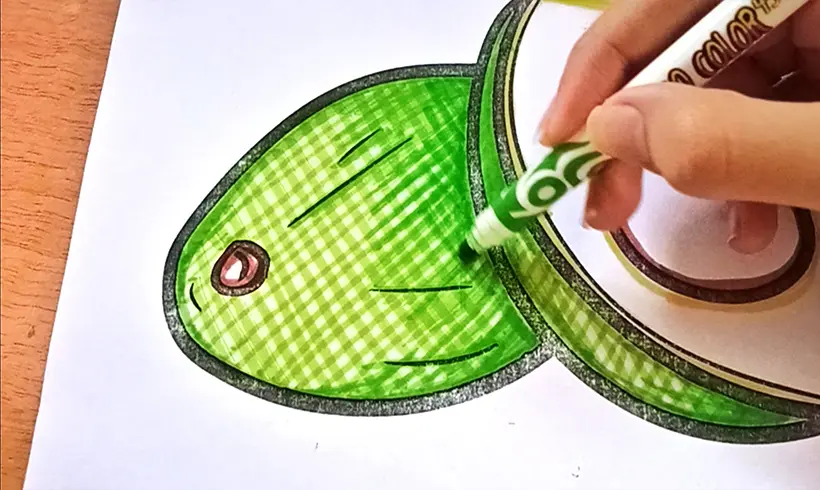
Use a darker color to generate the effect of shadow and volume in the right spots. In this case we did it with a dark green behind the other avocado. Just keep going with the lines you made at the start!
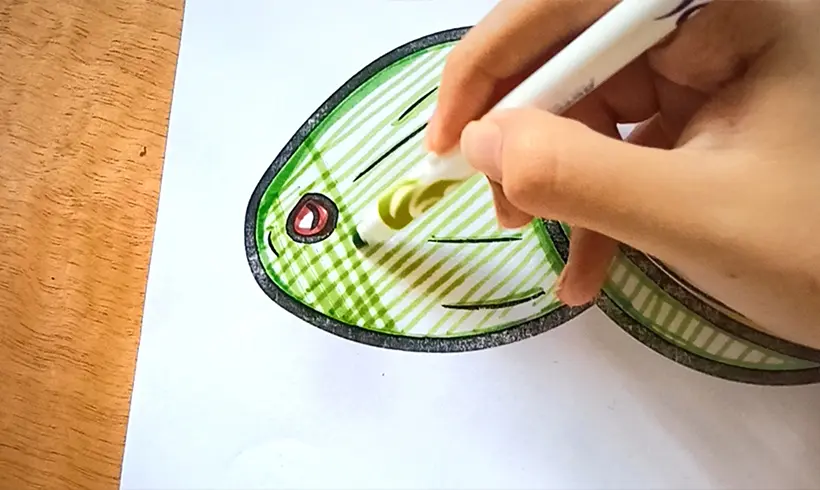
Step 5: Use a yellow color to make areas with light.
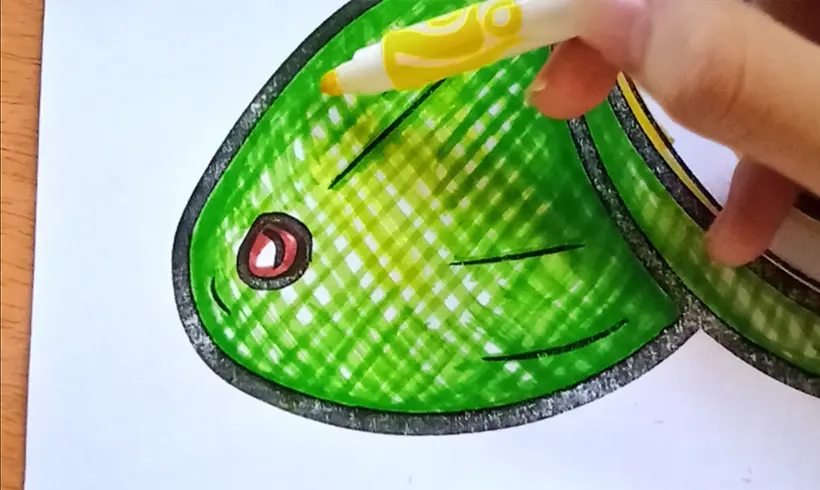
We use a yellow color to make a visual effect in the center of the avocado. By doing it and combining it with the light green, you get an even lighter and brighter green That is the effect of visual perception! Keep in mind that the ink already has to be dry so the colors do not mix.
Step 6: Apply the previous steps on the next avocado.
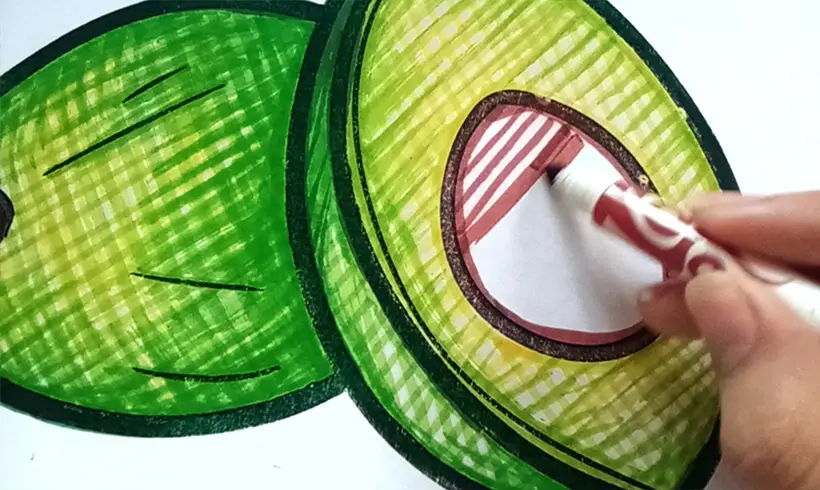
We apply each of the previous steps with the other avocado. First a base color and the line technique, then we layer the colors, we use a dark shade for the shadows and a yellow to lighten the softest areas of the avocado.
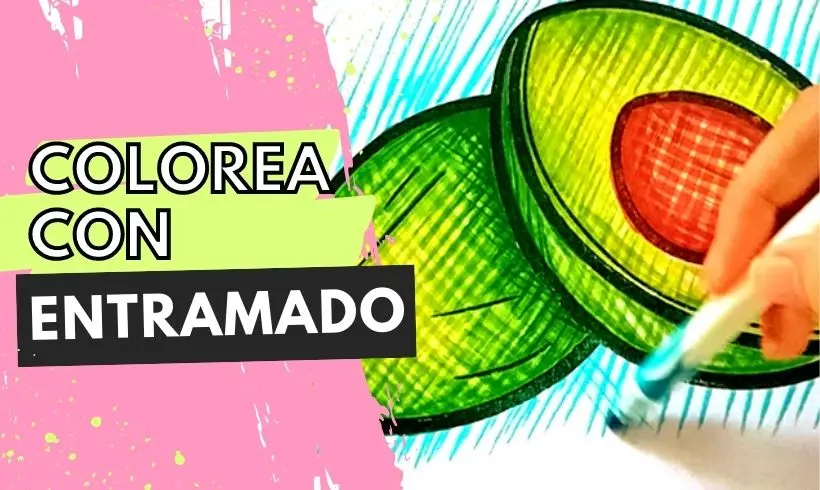
Step 7: Apply the line and weave technique for the background.
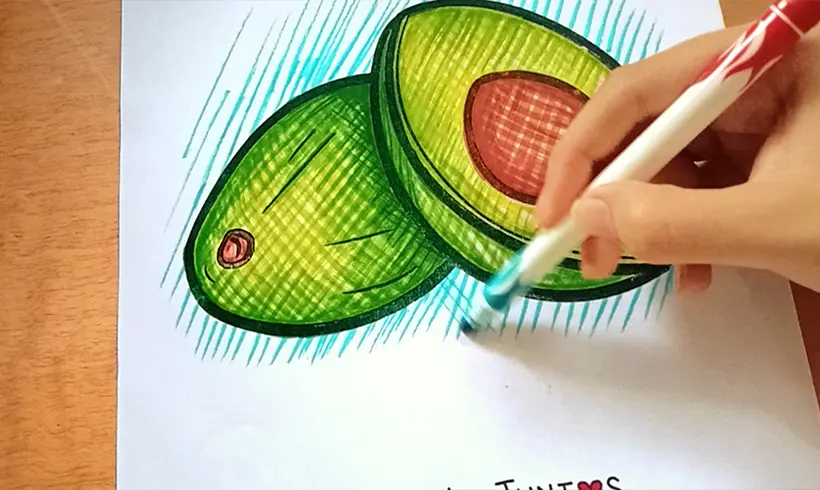
With a light blue color we apply the line technique for the background, because these cute avocados could not be floating in the air! Then we layered the lines to make the hatching and achieve a checkered background. Did you like the result?
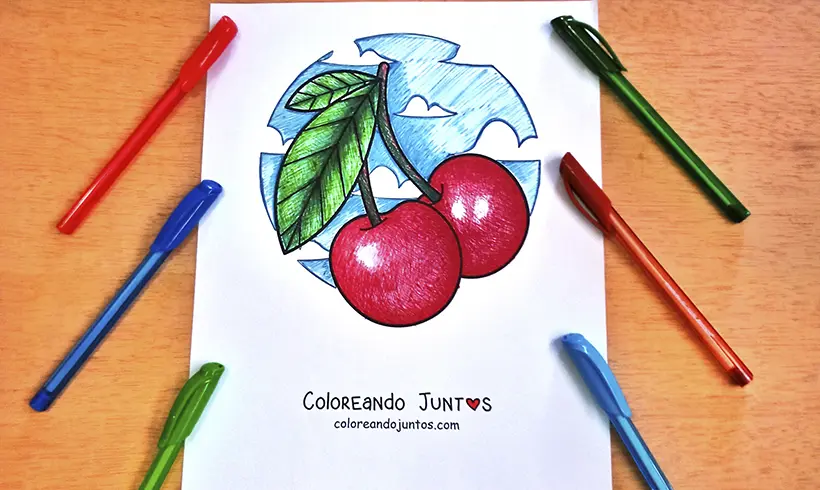
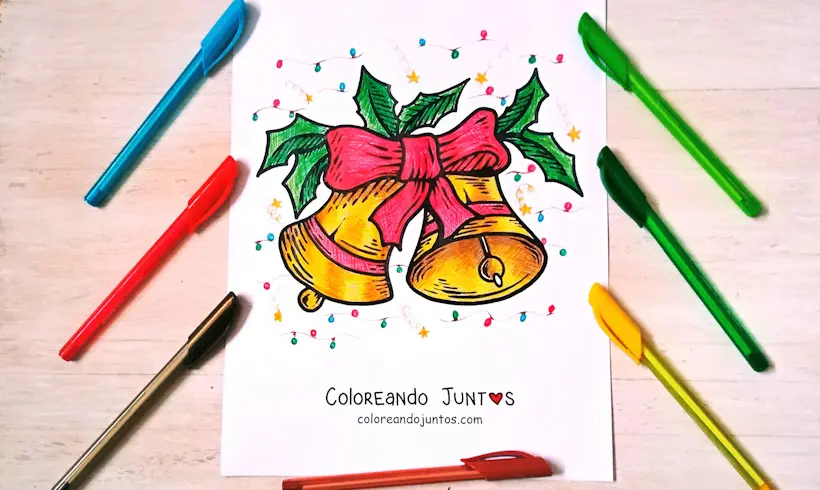
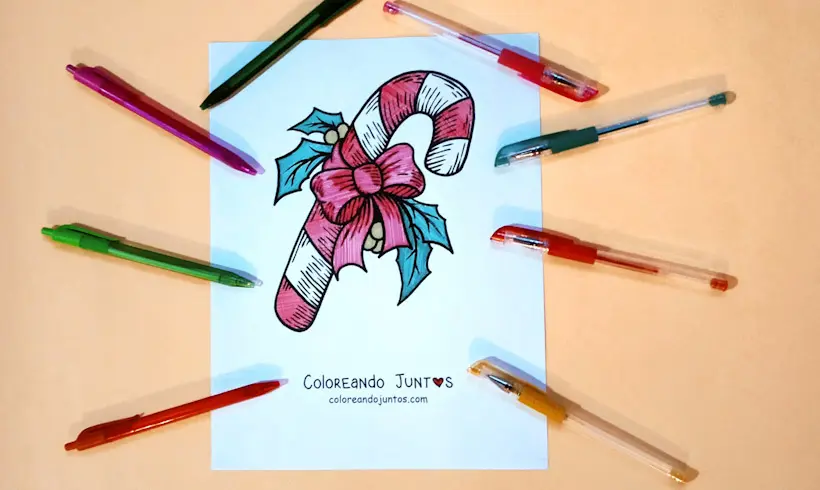
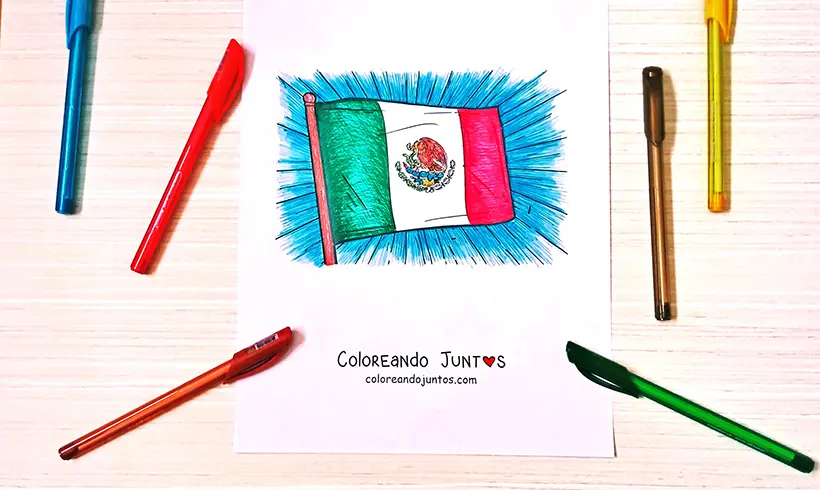
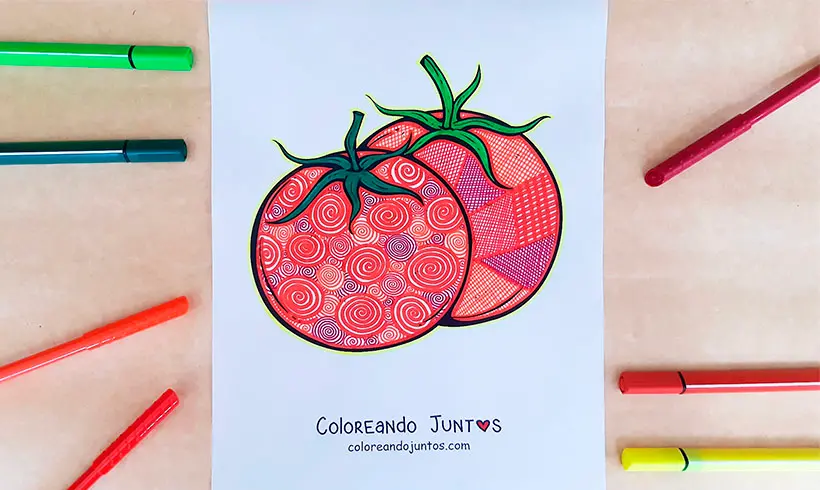
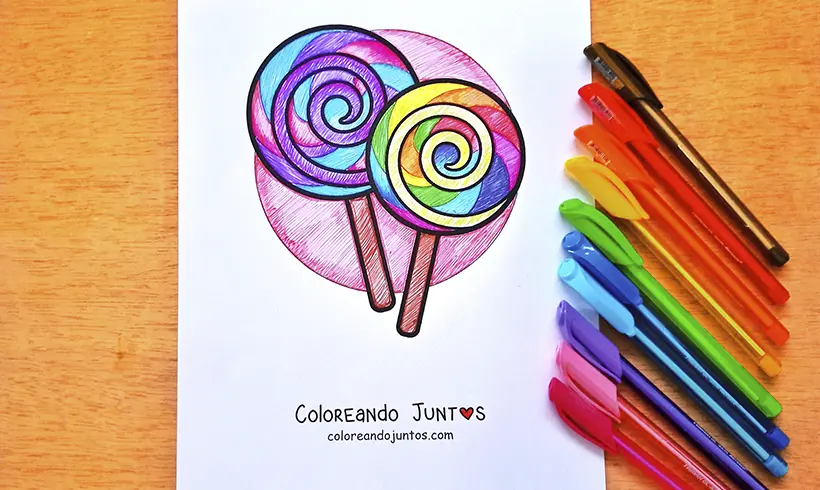
Examples of hatching applied
Techniques you can combine with hatching
Hold on there, little artist! There are still a couple of things we want to teach you about hatching. Just like the others, it is a technique that can be combined with others to get a much more interesting and fun drawing.
That is why we will explain what other techniques we use at the same time as weaving to color, so your drawing ends up with many more details and looks beautiful. Are you ready? Let's get started!
- Shading: To achieve shadows using hatching, you make a greater number of lines in the area you want to shade. They can be lines in different or the same directions, what matters is the amount you make. They will surely show up much more!
- Blending: With hatching you can blend different colors. You start by applying the lightest color in one corner, and the other in the other. By making several layers of lines you will achieve a combination in the middle of both. Another way is to make lines around a base color.
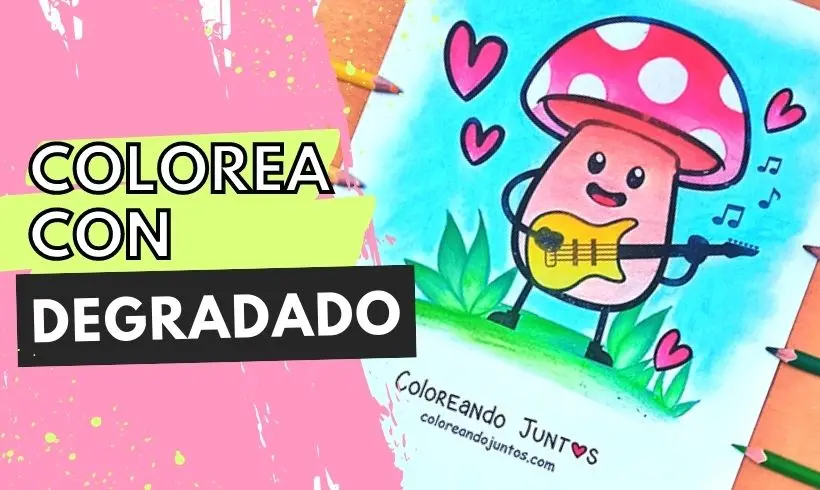
- Gradient: Even though it may not seem like it, you can make a gradient with weaving. You start by applying a layer of color, and then you apply another from where the gradient will begin. Little by little you decrease the intensity of lines, from the darkest area to the lightest Give it a try!
Those are the techniques we use with hatching, but surely there will be many more possibilities we can apply using this amazing technique. Can you think of any? Do not hesitate to tell us! That way we learn new ways to color together.
Tricks and tips for coloring with hatching
If you have made it this far, it is because you are looking for something more about hatching. For that reason, at Coloring Together we prepared a section to give you some tricks and tips to apply the hatching technique, so that, when you color, it will be easier for you to apply this technique.
- There are several ways to paint with hatching, you can do it with lines very far apart to achieve a minimalist style, or close together to get realistic results. Think carefully about what kind of finish you want to achieve!
- Do not be afraid to combine colors to get very interesting shades. It does not matter if you have colored pencils, pens or markers, take a separate sheet of paper, combine the colors you want, and see if they give you the color you wish. This way you will avoid ruining the drawing, in case two colors do not combine well.
- If you are weaving with markers or pens, you have to make firm lines and be very sure of them, since they are materials that cannot be erased, unlike colored pencils, which erase a little more.
- Remember: the more lines, the more darkness; the fewer lines, the more light. If you always keep that in mind, then you will know where, when and how to shade your drawing with hatching. You will surely love the results!
Our artists are delighted to be able to help you, but do not forget that this is the way they apply this technique. Keep discovering, as you color with weaves, which forms feel most comfortable for you when doing it.
If you are ready now and have your tools at hand, what are you waiting for to apply the weaving technique? Let's get to work!