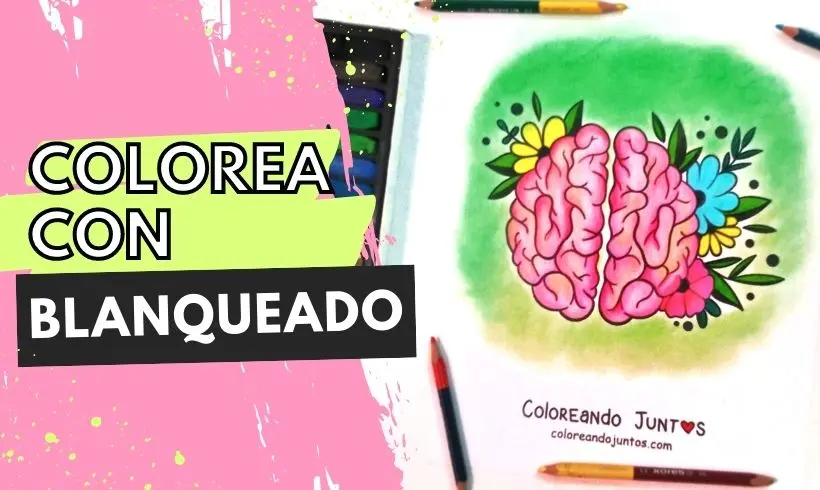
Whitening: Features and Tips to Apply It
Have you ever heard people say that the color white is useless? Do you believe that? Because we don't! And we'll prove it to you in this section of Coloring Together.
This time we'll show you how to apply the whitening technique, so that your art looks so much better. It removes the pores from the paper and blends the colors more evenly. Let's go! Grab your white color, the time has come to make the most of it. What do you think? Are you up for it?
What is Whitening in art?
Whitening is a tonal artistic technique that consists of softening certain colors using a white color. Thanks to applying this color, the colors used previously are blended together, and at the same time a pastel tone is achieved.
It is a very useful technique if you want to get lighter colors. Plus, thanks to whitening it is possible to make smudges disappear, since it has the property of combining and blending the color with the paper. This way it removes the paper's porosity effect and produces a much more even texture.
What does Whitening involve in painting?
Whitening in painting consists of applying bleach to whiten a particular color. Unlike whitening with colored pencils, bleach is used to get a variety of highlights in the artwork.
However, it is a material you need to be careful with, since in chemical terms it affects the paper's pH and can ruin the surface. You have to be very careful when using it!
If you don't want to use bleach, you can simply use the color white and combine it with whatever colors you like. You'll notice that, by using a certain amount of white, the tone will be more pastel than before.
How to apply the Whitening technique?
Now that you've made it this far, the time has come to explain how to apply the whitening technique. What will you need? Just your colored pencils, a white color, and lots of creativity. Ready? Let's get started!
Step 1: Apply a layer of a base color
Choose a base color, and apply a first layer. Remember to make circles, that way you'll avoid scratches and unwanted lines. If you're not happy with the shade of one layer, then apply a second one. Play with the intensity and the tone!
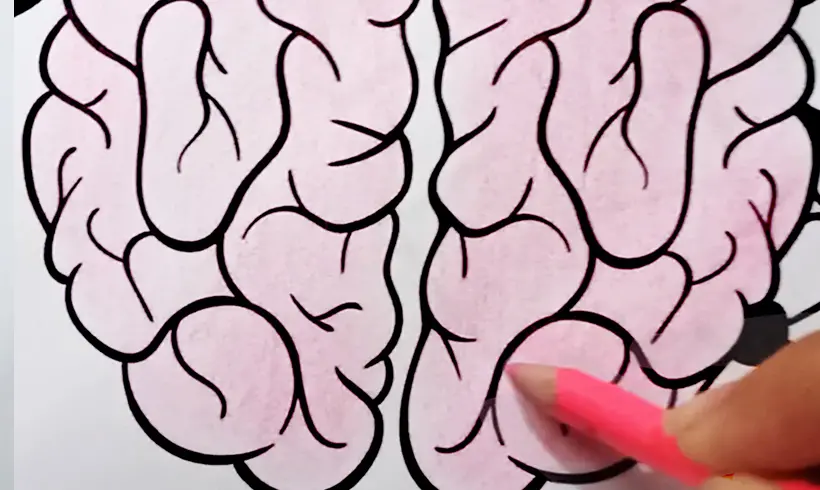
Step 2: Color with a white color
When you're done, use your white color and color the whole area you want. Try to apply a bit of pressure while coloring, that way you'll avoid the paper's porosity effect and boost the color's pastel effect. Look how good it looks!
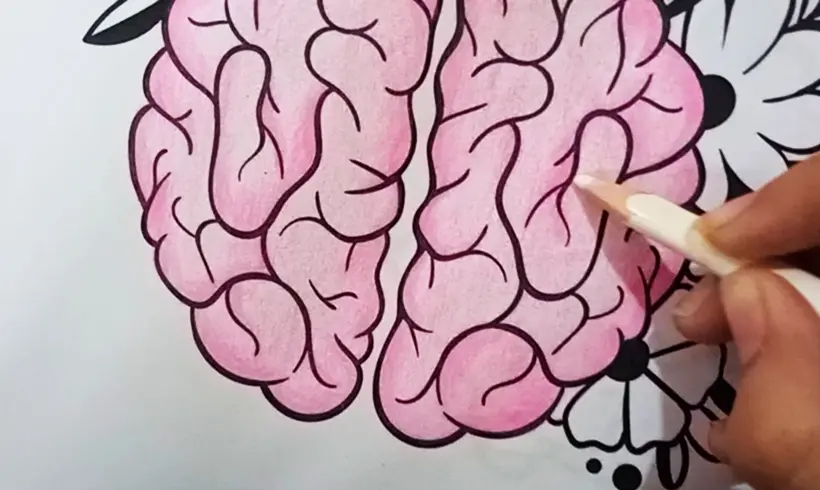
Step 3 (Optional): Use other colors and combine them.
In this case I used a flesh or peach color and combined it with the pastel pink I had gotten earlier, that way I got a tone a bit closer to the color of a brain.
Keep in mind that, if you want to blend that tone better with the base color, then you can apply a layer of white again.
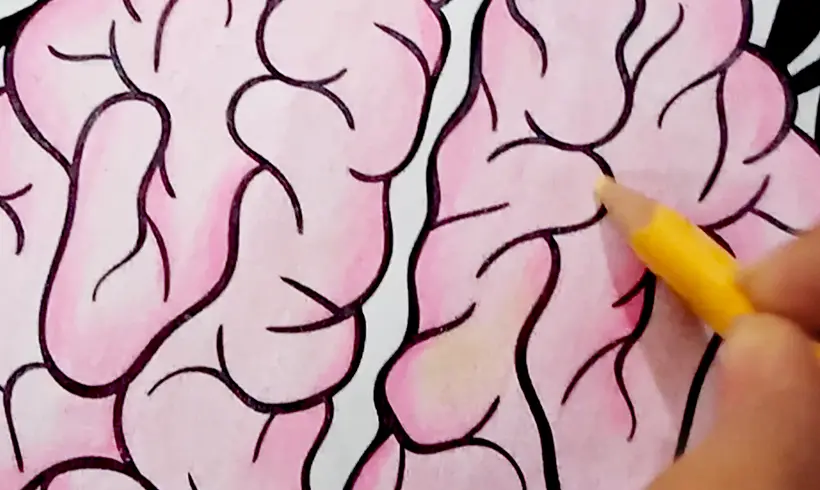
Step 4: Repeat the procedure with other dry colors. And have fun!
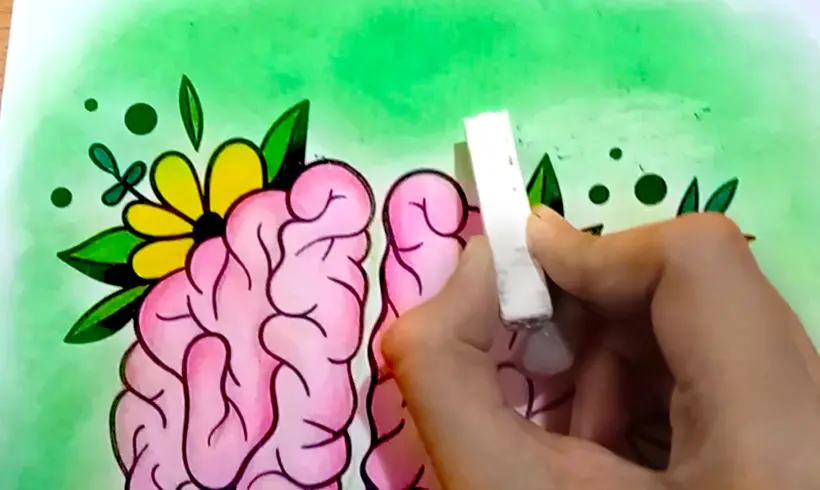
You can apply the whitening technique with other materials Like pastel chalks! In this case I painted with two shades of green, and after blending them, I went over with the white chalk to soften the tones. And done! Just like that. Don't forget to try it.
Examples of Whitening applied
Techniques you can combine with Whitening
If you've made it this far, it's because you still want to learn more about the whitening technique. Now we'll mention some of the techniques that can be applied together with whitening. The more the better!
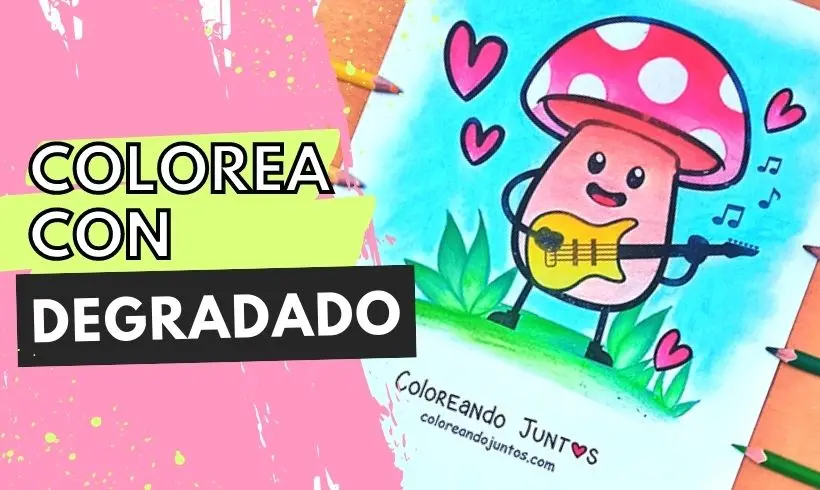
- Gradient: When you make a gradient it is a good idea to apply the whitening technique. Not only to give a pastel effect, but because with its help you'll be able to blend the tones better and the transition will look natural.
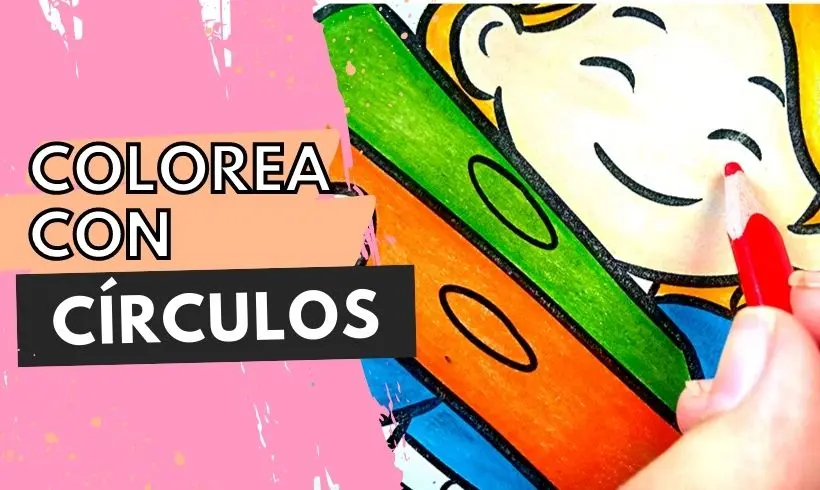
- Coloring in circles: in general, if you want to remove the porosity effect and blend the colors, the best thing is to apply the whitening technique. You'll see that the result will be incredible!
Tips and tricks to apply the Whitening technique
It's time for us to give you some tips and tricks to apply the whitening technique. All our artists are delighted to help you a little bit more.
- Use the color white only on the last layer. The first layers are for accentuating the shades, but the last one is for blending the tones and removing the paper's porosity.
- Don't depend on the color white. Although it is a great tool and the reason for this section, it is not the only way to remove porosity or to combine colors. They can be analogous and light tones.
- For example, if you want to combine red and yellow, you could use a flesh or peach color and color over the top as the last layer. You'll see that the two combine and that it also partially removes the paper's porosity.
- Don't be afraid to experiment with what other materials you can apply the whitening technique to. With oil pastels it works very well, just like with pastel chalks, but have you tried paints? Maybe it'll look great.
For now that's all we have to teach you. Do you already have your white color handy? We're dying to know what you'll discover while practicing this technique.