Burnishing with Colored Pencils: Features and Tricks to Apply It
We want to make a drawing with a smooth, polished effect. Do you know how we could do it? No idea? At Coloring Together we have the perfect technique! It's the burnishing technique, and this time we'll teach you how to apply the burnishing technique with colored pencils.
You don't have to worry, you don't need to be an expert artist to use burnishing, quite the opposite. If you read everything we have on this page, we're sure you'll leave having learned something new. Let's paint with burnishing!
What is burnishing?
The burnishing technique with colored pencils is a technique that consists of coloring until you get a very soft, polished texture. To get these effects, you usually have to combine several shades and other techniques until you achieve the desired effects.
To carry out this technique effectively, you must color while pressing on the paper, though not too hard so you don't tear it, but enough to blend the colors.
Burnishing is also used to blend colors. In other words, you don't necessarily have to use this technique to get a smooth texture; you can also use it to blend colors and get various shades.
How do you get a smooth texture through burnishing?
As we already mentioned, the burnishing technique can be used to get a smooth, polished texture in your drawing, but how do you get that texture? We'll tell you a few methods you can use to achieve it.
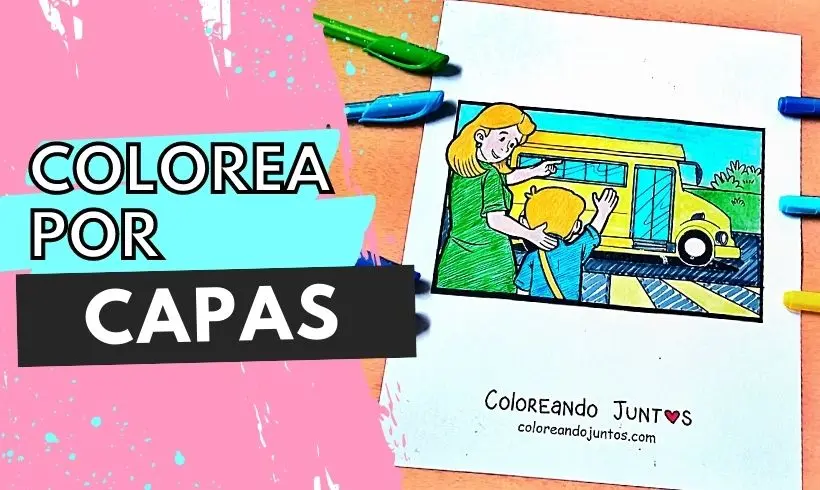
- Apply the layered coloring technique. By making layer after layer, not only will the color intensify, but the paper's porosity will decrease and you'll get a more polished finish.
- Mix the shades with white. In other words, you can apply the whitening technique to unify two or more colors and soften them in the process. You'll see how good they look.
- Use a piece of paper or cotton and rub it over the paper. With the friction the color will blend better into the sheet and you'll get a smoother result. Give it a try!
- Mix the colors with another color from the same palette. In other words, if for example you used red and orange, you can use a flesh or peach color on top. This way both colors will blend together.
How do you apply the burnishing technique?
The time has come for us to explain the most important part of this page. We'll explain step by step how to apply the burnishing technique on your coloring pages. Excited?
Have your colored pencils on hand, and don't forget your white pencil, because once you finish reading our procedure you'll want to run off and paint.
Step 1: Apply a base color layer
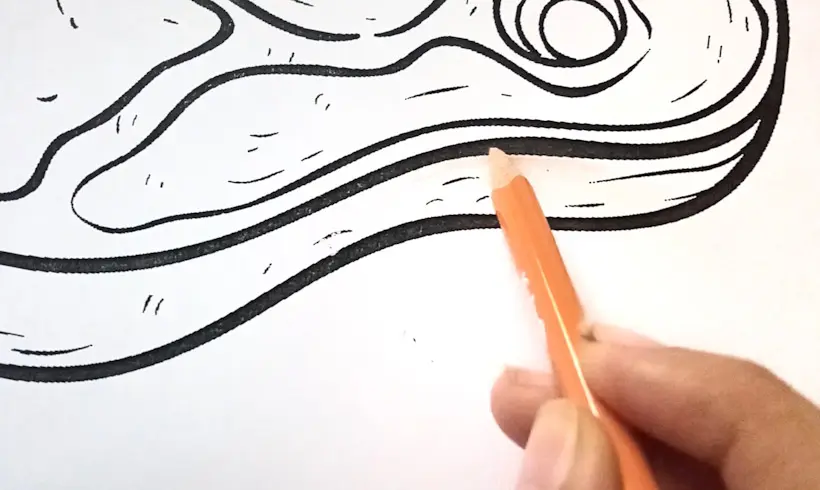
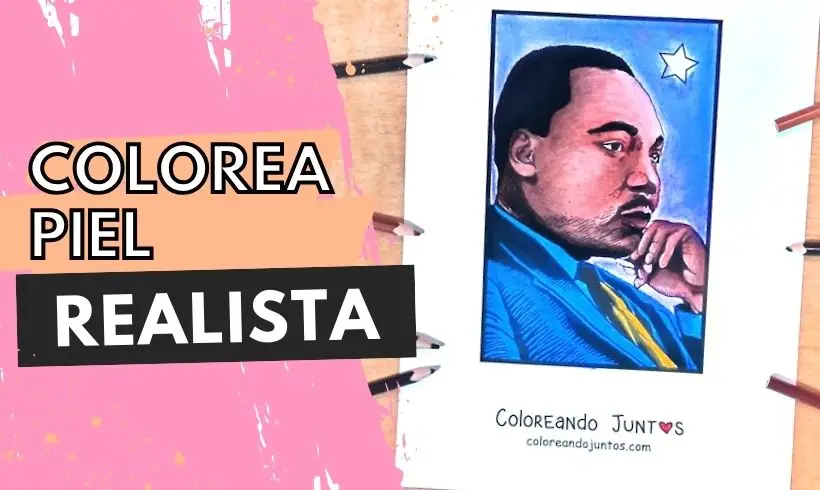
Select the color you'll use as the base for your drawing. It's very important that before that you establish the color palette you'll use. Then, color a first very light layer. If you think it came out too light, you can apply a second layer of color. In this case, our base color was peach or light skin tone.
Step 2: Use a darker color to add details

After you have the base layer, we look for an analogous color, one from the same color palette but a little darker, to darken some areas. In this case we didn't use it to make shadows, but to darken the flesh and to set the bright areas. Color gently, without pressing the color hard.
Step 3: Use a light color to blend the previous colors
To unify or blend the colors, use a very light color from the same color palette, or failing that, white. In this case, we decided to use the same base color we used in the first layer.
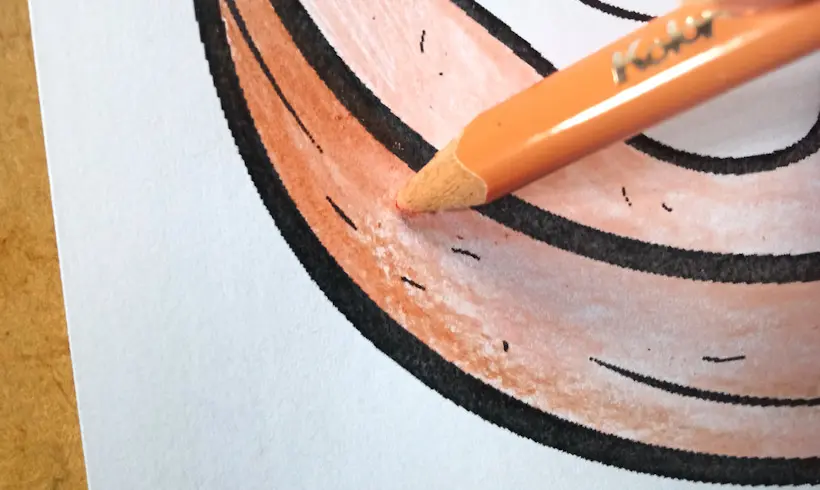
Step 4: Repeat the procedure with other colors
Find the base color and color lightly all over the area you want to paint. If you didn't get the intensity you wanted, keep applying layers until you reach the right tones. In this case, we used red for the flesh. I applied several layers until it had an intense tone.
Step 5: Add details to your drawing
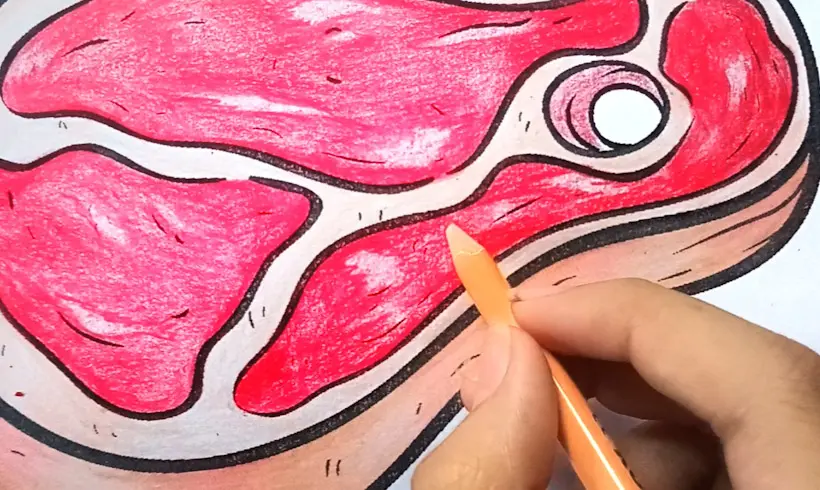
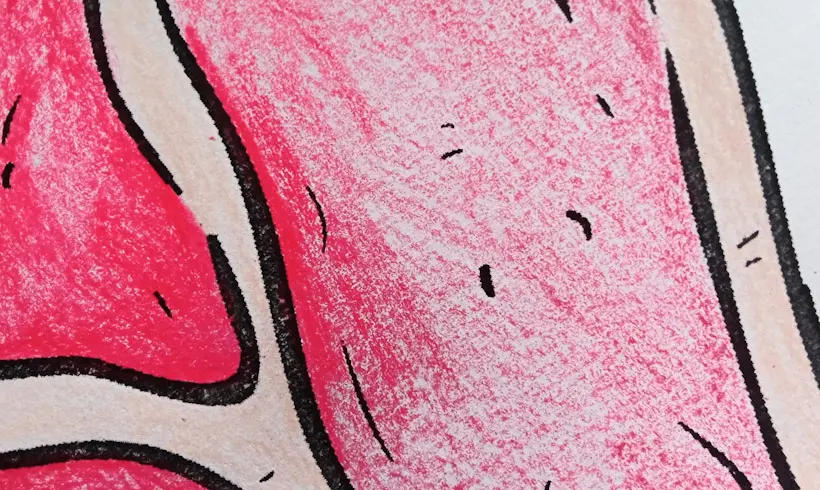
Since flesh usually has more translucent details in some areas, while I was coloring, I left some spaces to mimic the texture of flesh. If you want to get a realistic effect, keep in mind which parts of your drawing should be lighter than others and play with the layers. Don't forget to unify with a lighter color. And that's it!
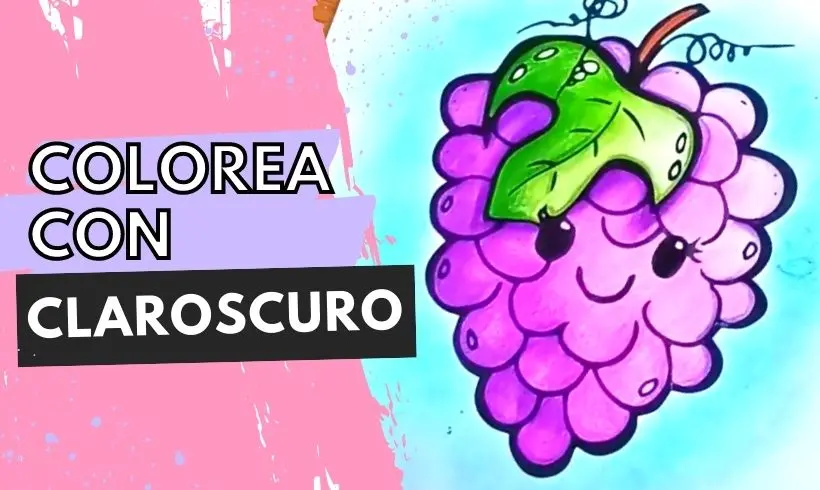
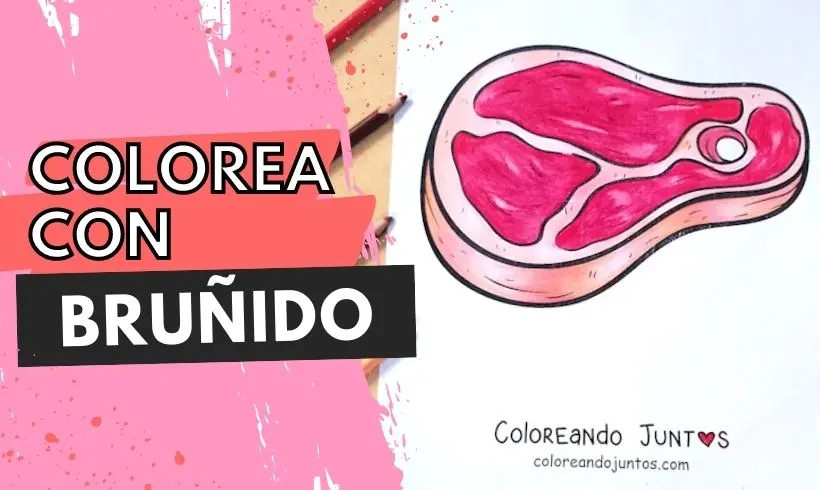
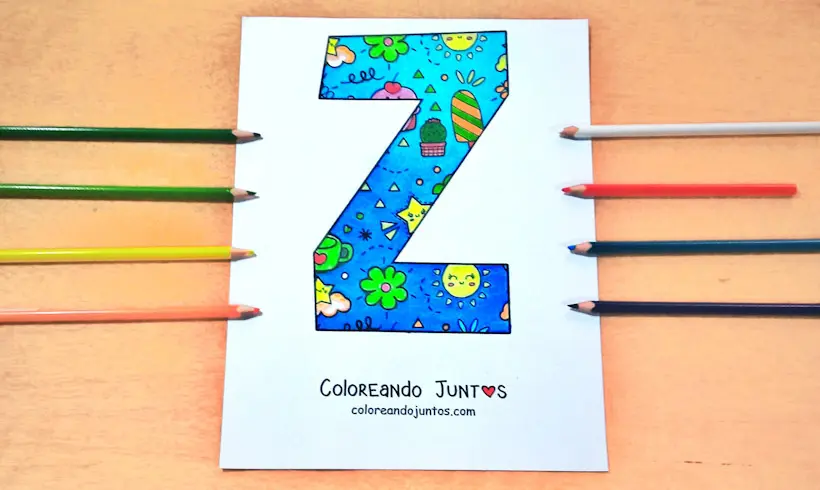
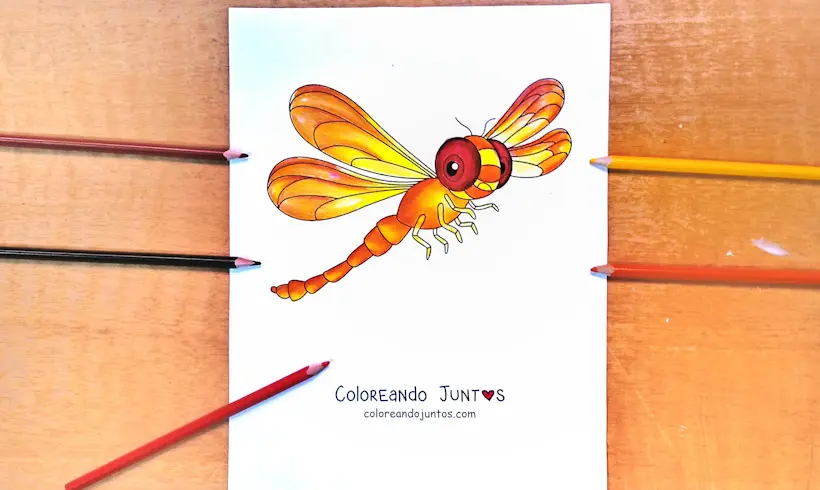
Examples of burnishing with colored pencils in action
Techniques that can be used with burnishing
Below, we'll mention some techniques you can use together with burnishing so your drawings turn out even better. Some of them are essential for achieving burnishing, so don't forget to use them.
- Whitening: to blend colors or remove the porosity of the surface you color on, it's essential that you apply the whitening technique. It can be with white, or with another lighter color from the same palette.
- Layered coloring: Apply several layers of color to intensify the shades without damaging the paper. In other words, instead of pressing the color hard from the first layer, you can build up layer by layer of color until you remove the paper's porosity.
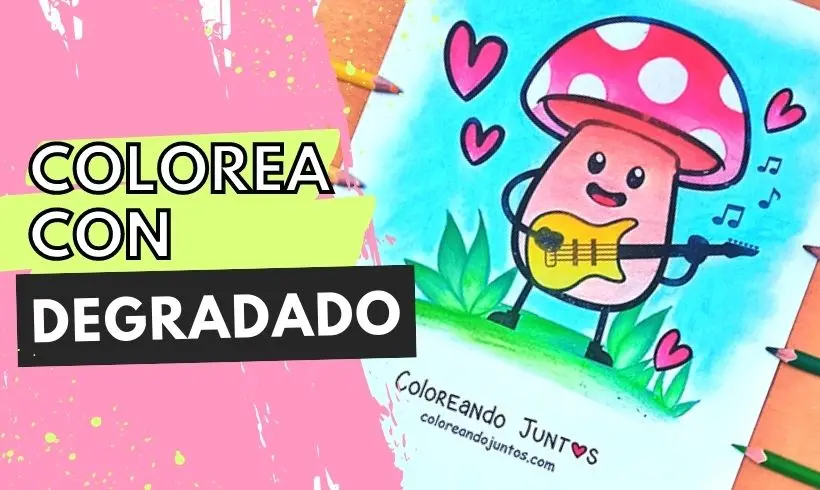
- Blending: With the burnishing technique you can create very beautiful blends in your drawing; you can use several colors and unify them with white or a lighter color. Give it a try!
Tricks and tips for applying the burnishing technique with colored pencils
You're almost at the end! But before you go, we want to finish teaching you everything we know. In this section we'll tell you some tricks and tips for applying the burnishing technique with colored pencils. Ready to grab the most interesting tips?
Remember: these are the tips our artists give because that's how they use the technique. If you know something else you'd like to share, we'd be glad to hear from you!
- The whitening technique and layered coloring are essential for burnishing and getting a smooth texture. We recommend that you do the layered coloring first and use whitening last.
- When you're going to apply the whitening technique, make sure it's the very last layer, or that at least all the colors you're going to mix are already there.
- If you're not sure about the colors you want to mix, we recommend that you do it first on a separate sheet and make sure they mix the way you want. That way you avoid disasters on your sheet!
- Whenever you can, use a piece of paper to soften or smooth the colors. You may not see immediate results, but in fact rubbing the paper over the sheet helps the colors blend better into the surface. Give it a try!
- Don't press the colors hard. To get the smooth texture, while you do need to press the pencil tip a little, don't do it from the first layer. Once you're going to paint the last layer of color, then press hard. This way you avoid wearing down the lead so fast and you don't wrinkle the sheet.
That's everything we have to teach you! The rest will depend only on you. From now on the trick is to be consistent and practice a whole lot. Let's paint!