Chiaroscuro or Shading: Features and Tricks for Applying It
Want to give your drawings a unique, original touch and don't know how? Then you've come to the right section, because this time at Coloring Together we'll teach you everything you need to know about the shading or chiaroscuro technique.
To get realistic finishes, or simply to make your art less flat and more interesting. It's time for your drawings to take on style and personality!
What is Chiaroscuro?
The chiaroscuro or shading is an artistic technique in which a drawing or composition is given lights and shadows. This is achieved through the application of techniques that darken and bring out the light in specific places.
The origin of shading is said to date back to ancient Greece, when a Greek painter, known as Apollodorus Skiagraphos, drew shadows in his artistic compositions to create an effect of depth in them.
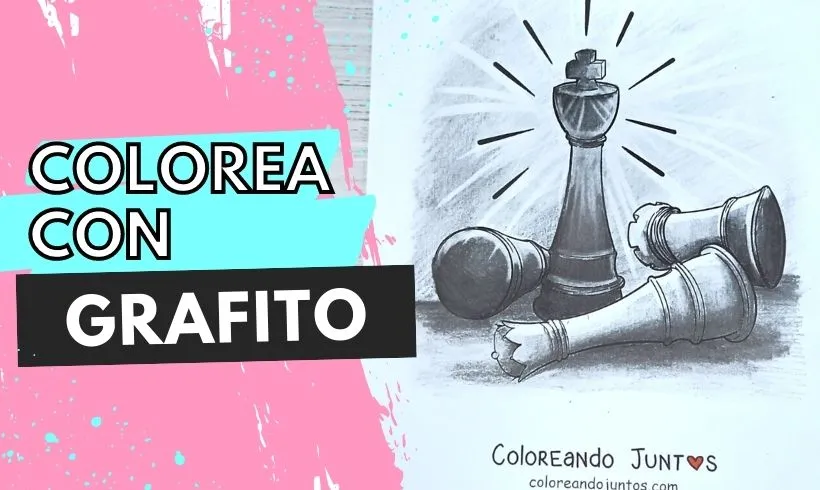
After that, Leonardo Da Vinci used charcoal and black chalk to create lighting and shading effects. Thanks to that he began to explore shading to give volume to certain elements of his works.
What does chiaroscuro involve?
Chiaroscuro or shading involves applying various techniques to create the illusion of form in an element of the painting or drawing, with the goal of achieving a three-dimensional effect.
Shading represents a progression of darkness, going from the darkest (the deepest areas) to the lightest areas (the most surface areas). Thanks to chiaroscuro, the light in the work is brought out.
The shading technique is applied to increase realism in a composition. Thanks to shadows, a sense of space and volume is created, giving certain elements a realistic touch.
What is the chiaroscuro technique used for?
The chiaroscuro technique is used to create contrast in the drawing, creating textures and differences between the colors.
It also lets us manage the amount of light in the composition, and likewise, manage the amount of darkness. These two elements help us generate a realistic effect in the work.
It's generally a technique applied with a graphite pencil or charcoal, however, materials like pens or colored pencils are not excluded. There are many materials you can shade with! It's a matter of playing with the layers and the number of lines you use.
How to apply the chiaroscuro technique?
Alright, now we'll teach you how to apply the chiaroscuro technique through a series of steps.
This is the way our artists apply this technique, so it doesn't mean it's strictly the only way. Everyone has their own style! Don't forget it.
Step 1 (Optional): Outline the contour of the drawing
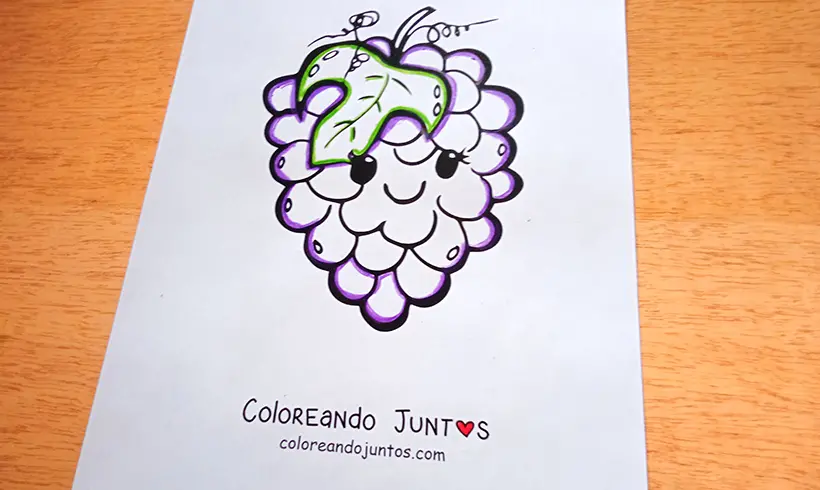
This step is optional. It involves outlining the whole drawing with the base colors you'll use, this way you'll avoid going outside the lines. But if you trust your steady hand, then it's not necessary!
Step 2: Apply a first layer of color.
Take your base color, and color the whole area you outlined before without pressing down hard on the color. That would be the first layer. If it came out too light, color over it again, in a second layer.
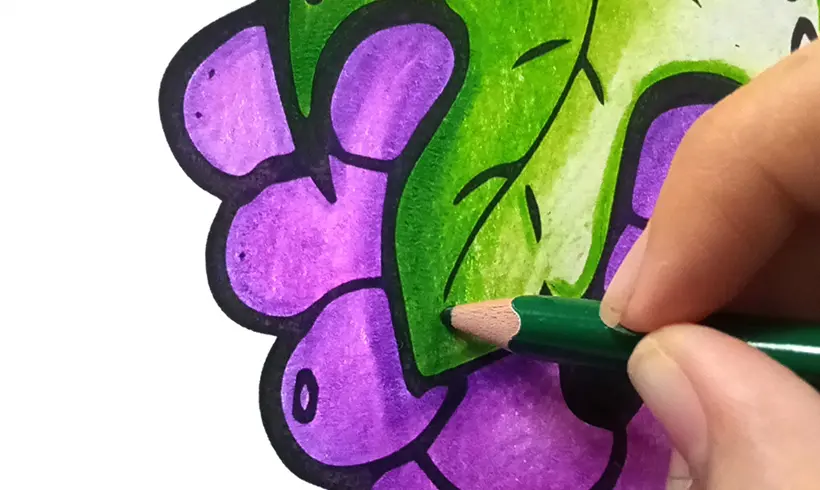
Step 3: Establish the light and shadow area of your drawing.
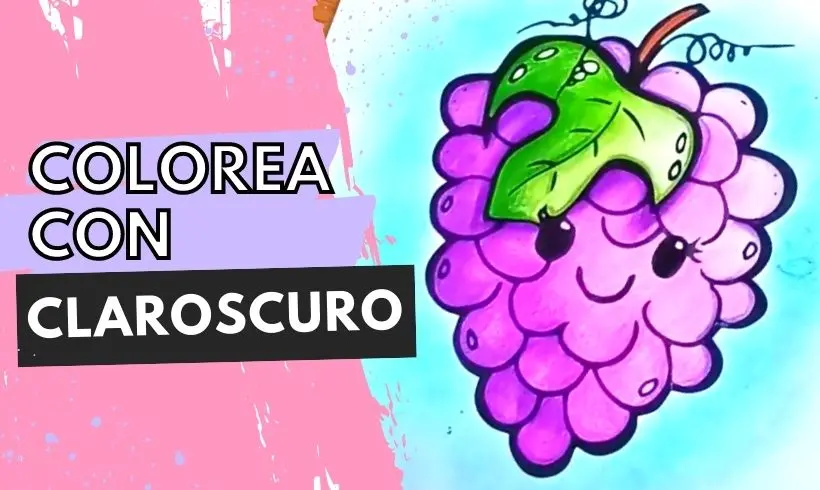
In this case, we decided the light would come from the right side of the drawing, so that light would generate a shadow on the left side. The same principle applies to everything! If the light comes from above, the shadow goes below. Always keep in mind that the shadow goes on the opposite side from the light.
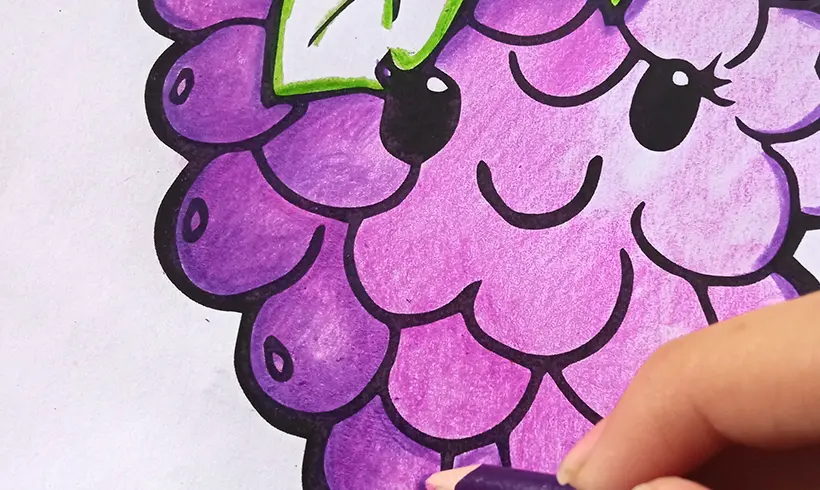
Step 4: Make another layer of color.
To make shadows on the left side of the bunch of grapes, two and even more layers of color were applied, with the goal of darkening that area and bringing out the light on the right side. Remember you have to color without pressing the crayon down too hard!
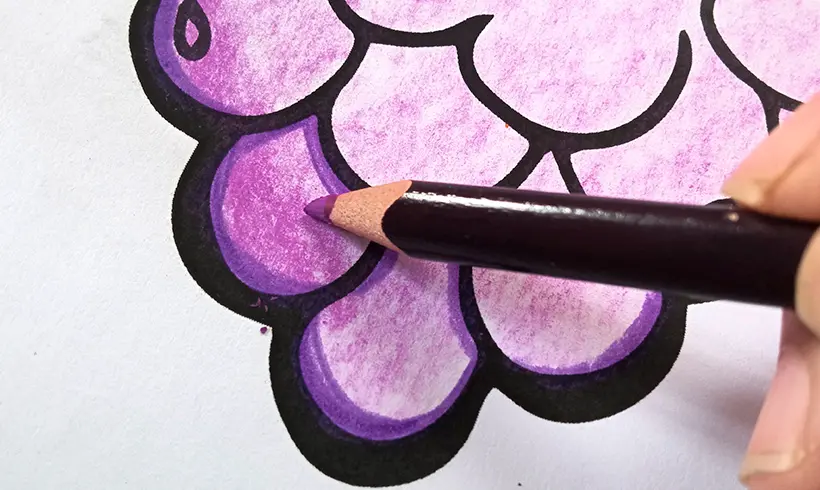
Step 5: Take a color analogous to the base to accent the shadows.
If you took a light color as the base tone of your drawing, then once you've made several layers in the dark area, take a darker analogous color to accent the shadows. In this case, our base color was a light purple, and we took a dark one to increase the level of the shadows.
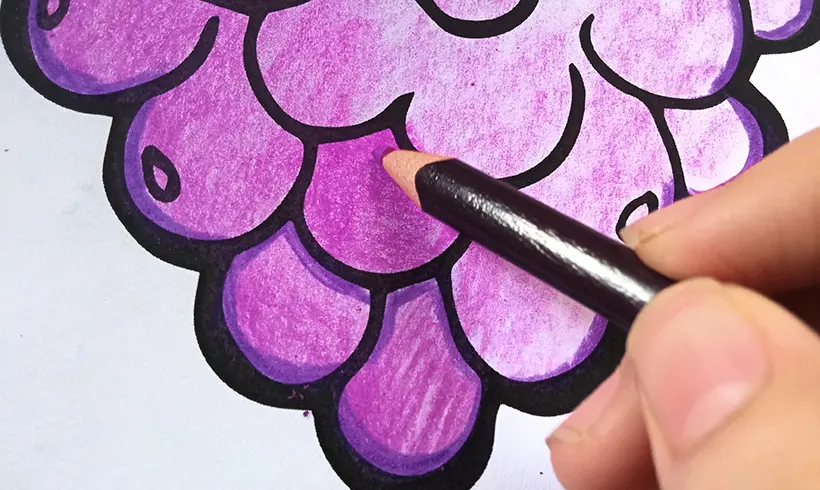
Step 6: Repeat the procedure in all the areas you want.
Take a base color and apply one or two layers, then after that choose a darker analogous color for the shadows And done! Color once, twice or more; as many times as you think necessary until you get the desired result.
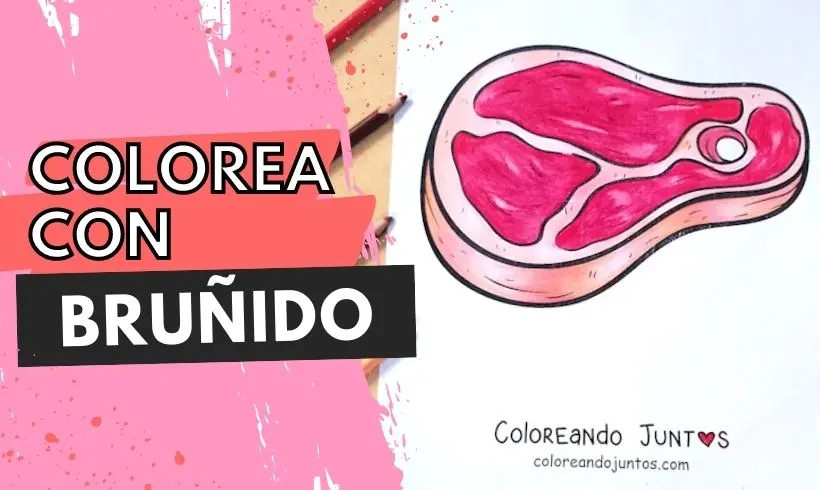
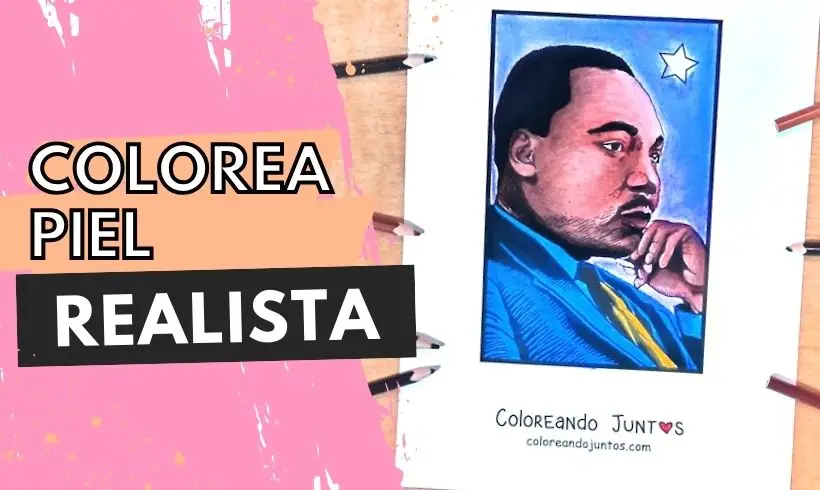
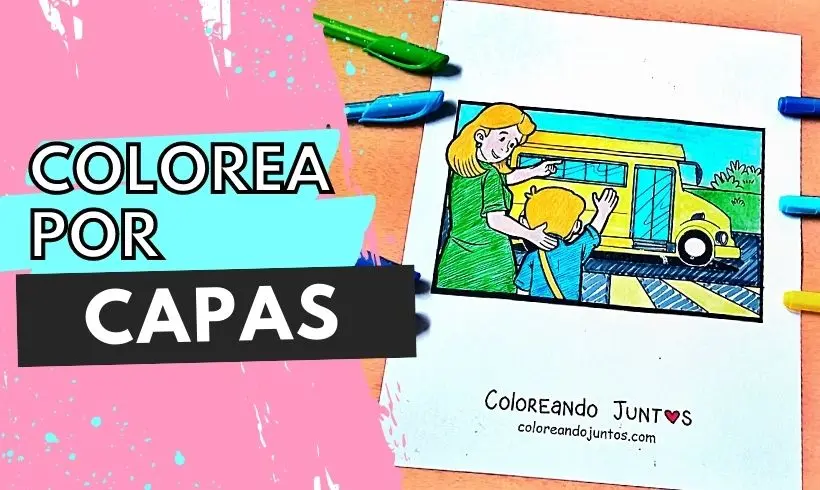
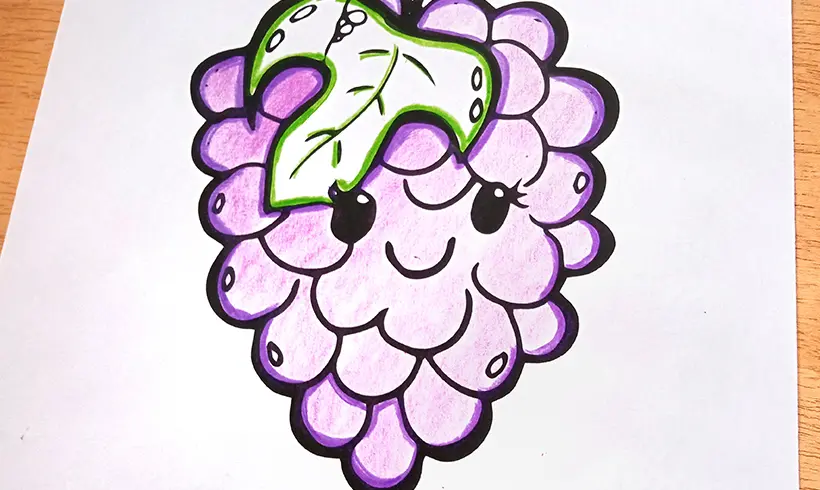
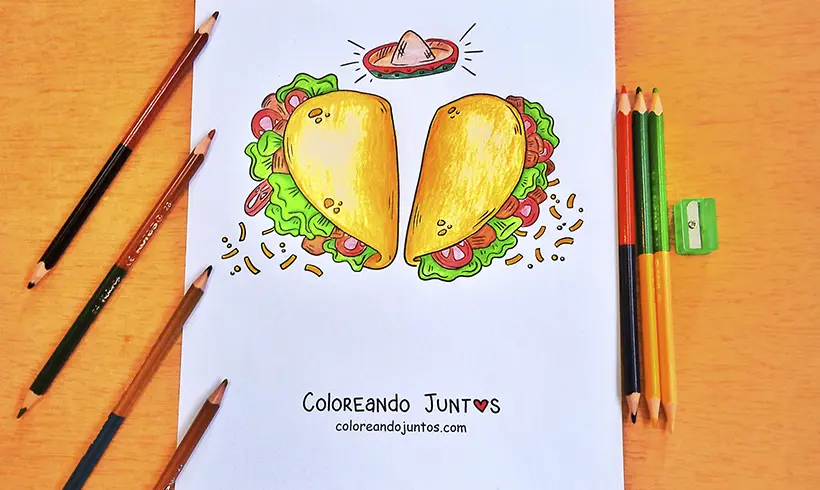
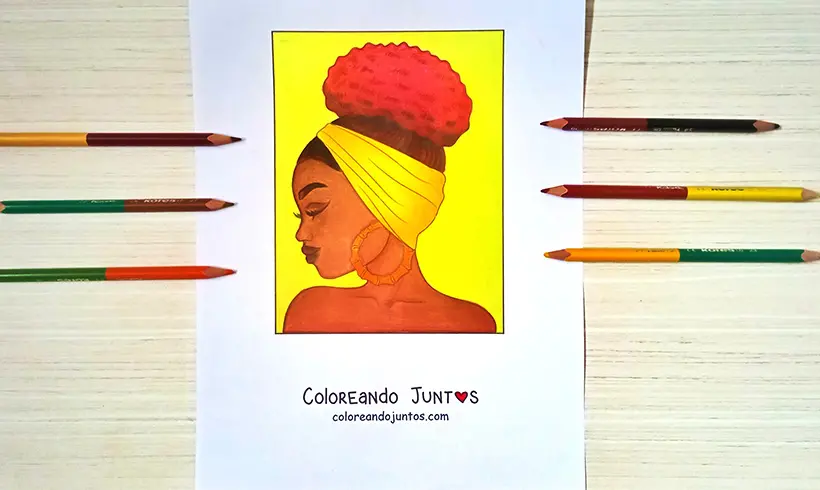
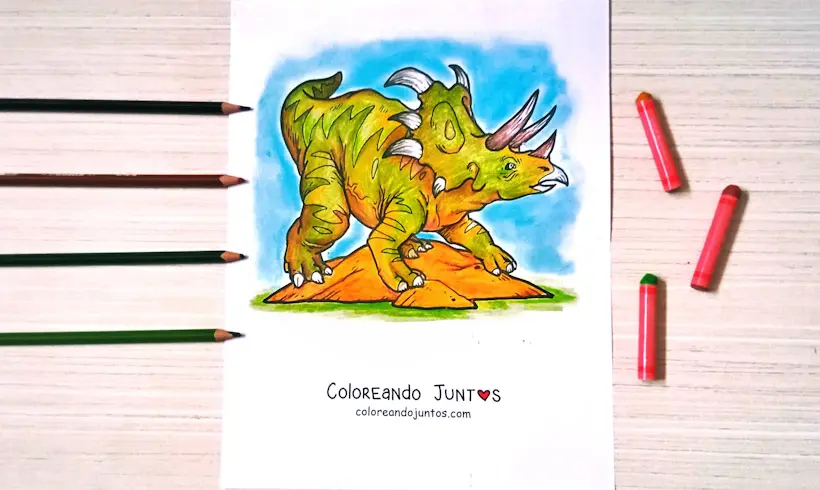
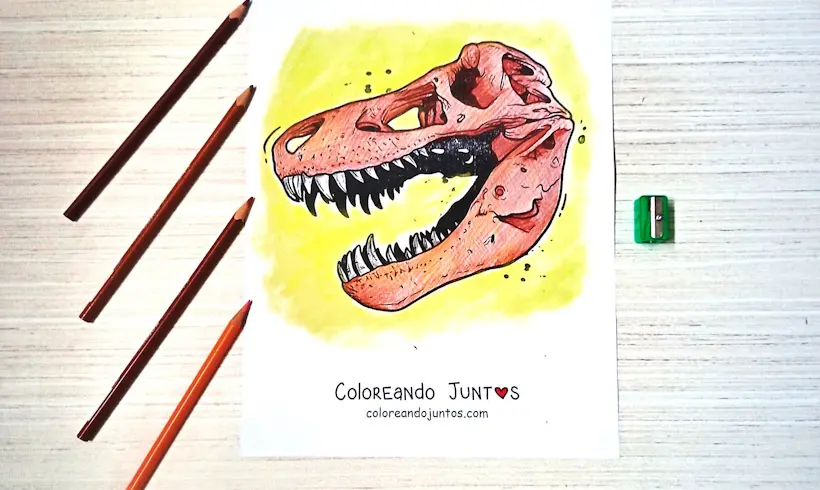
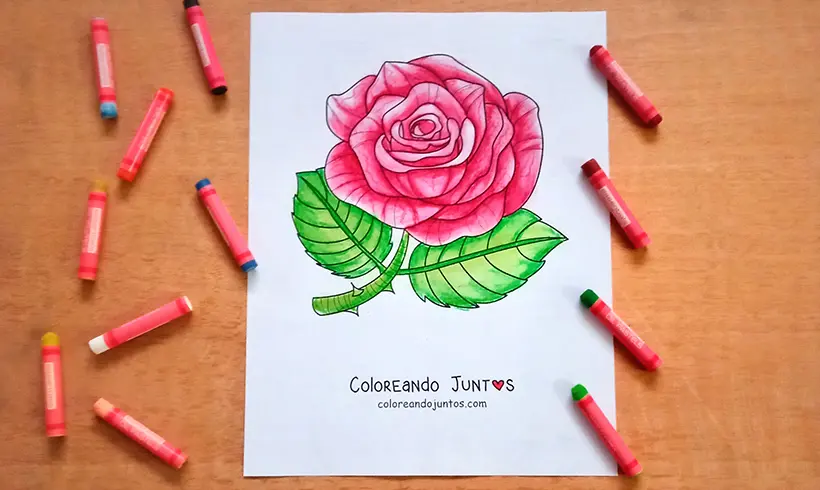
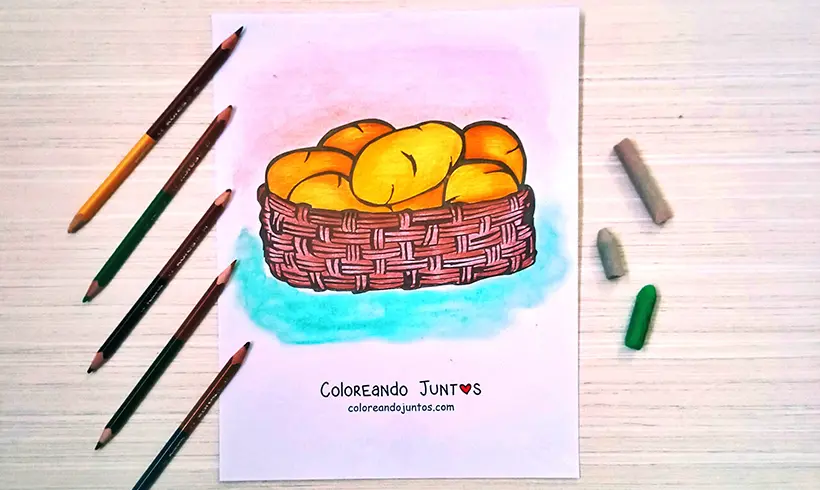
Examples of chiaroscuro applied
Techniques you can combine with chiaroscuro
Are you ready to apply the shading technique? Wait! If you still have doubts about how to apply the chiaroscuro technique, then here we'll explain which techniques you can use so your shading comes out perfect.
- Linear: It involves making continuous lines in the same direction to generate shadows in a specific area. You can play with the thickness of the lines by making them with the tip of the color, or with the tip laid down flat.
- Pointillism: It involves making dots in the areas that need shadow, or across the whole composition. The more dots you make in the same spot, the more shadow you'll make.
- Blending: blending serves to soften the shadows of a drawing, and achieve a smoother, softer texture.
- Crosshatching: It involves shading the drawing by making crossed diagonal lines, so that it generates a kind of mesh or checkered texture. The closer together the lines are, the darker the shadow will be.
- Scumbling: it involves making many circles close together to darken a specific area as much as you want. The farther apart the circles are, the lighter the shadow will be.
Tips and tricks for applying the chiaroscuro technique
We want to help you improve quickly with the chiaroscuro technique. That's why we decided to make this space to give you some tips and tricks for applying the chiaroscuro technique.
- You have many ways to shade, whether with scumbling, crosshatching or linear, don't be afraid to try each one! Individually, they'll give you unique textures and shadows.
- If you shade with colored pencils, or pens, keep in mind the number of layers you apply, since the more layers of color, the darker it will become.
- To shade with colored pencils, avoid using black Never do it! Black is an invasive color that stains easily. That's why we recommend using an analogous color, one that can generate shadows for you, but without staining the other tones.
- If you're not sure about the result you'll get when shading with two colors, then use a separate sheet of paper and do a test. This way, you'll be able to see the result, and if you don't like it, you'll be able to try with other colors and avoid mistakes.
- Keep a little piece of cotton or a bit of paper handy, so you can blend with it in case you want your shadows to soften a bit. We always do that!
Alright, we've finished explaining everything we know. From here on out, it's all in your hands. Practice a lot! And soon you'll see results.