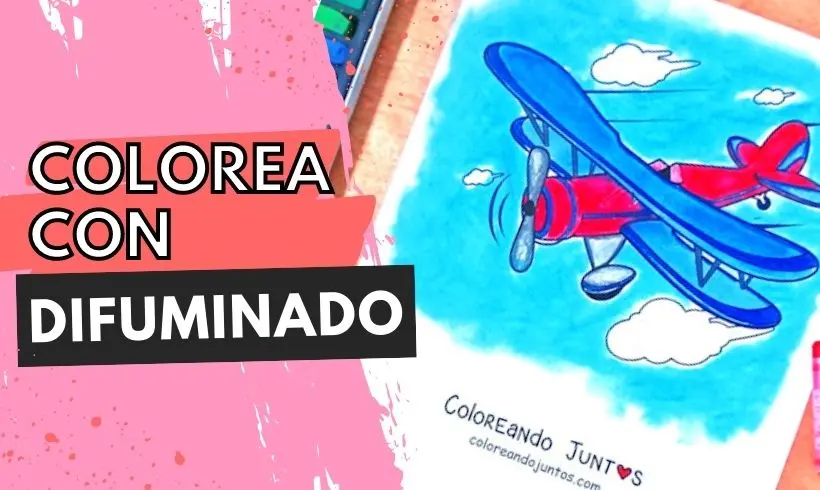
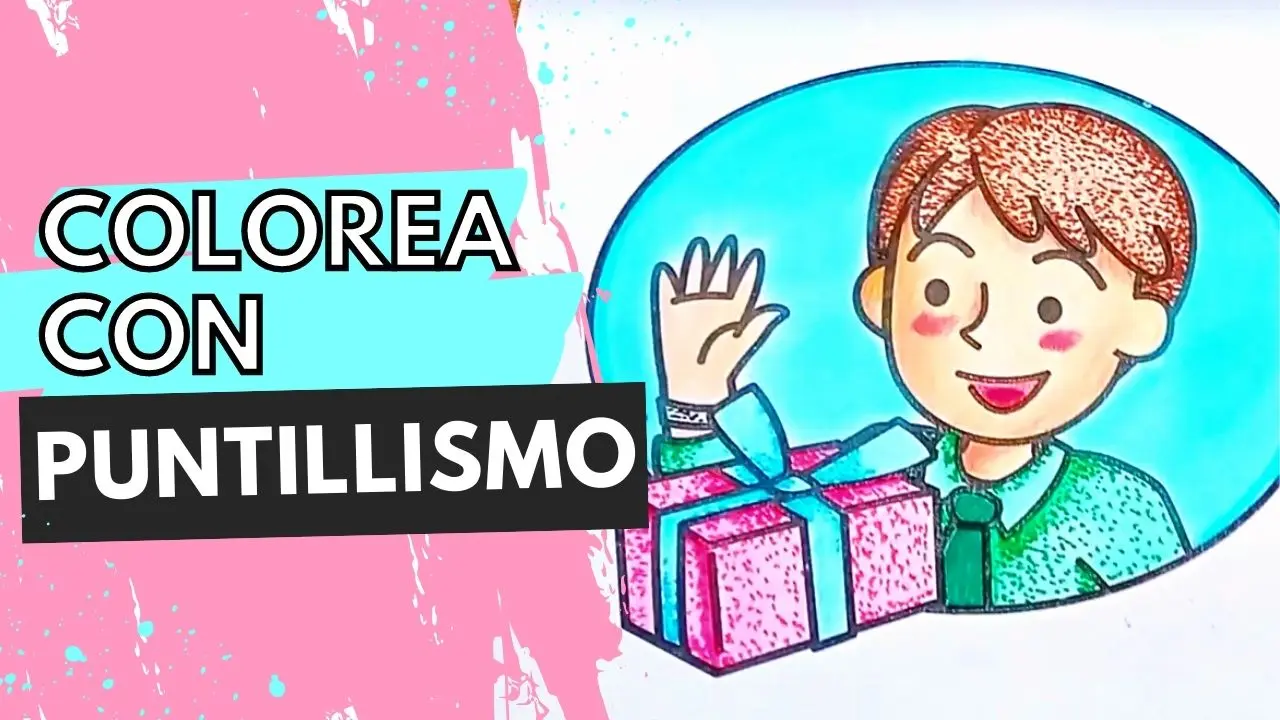
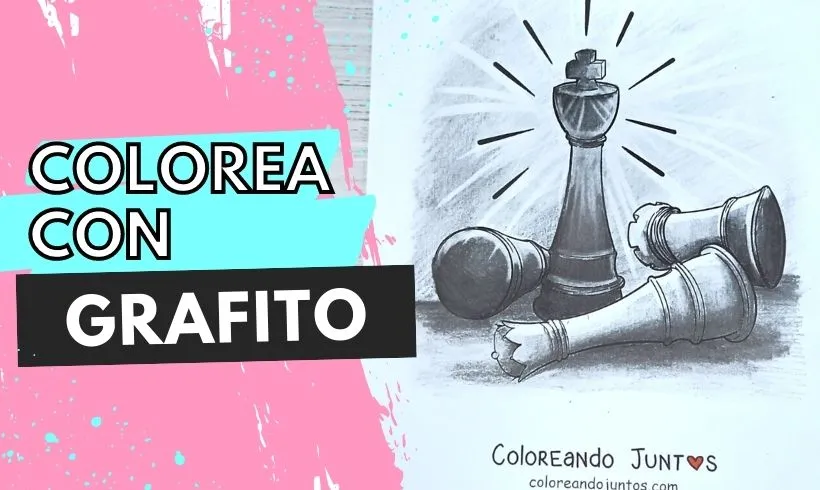
Color with a Graphite Pencil: Features and Tricks to Apply It
The team at Coloring Together has run out of colors; however, that's no obstacle to coloring. Did you know that drawing in black and white is an interesting technique that gives better results than you might think? In this section we want to show you the power a simple graphite pencil can have.
The best way to learn is to dare to practice and step out of your comfort zone. Don't miss this chance to improve as an artist, to learn new techniques, or to get better at the ones you already knew. Let's draw our coloring pages with graphite pencils!
What is graphite?
Graphite is a naturally occurring mineral element classified as a semimetal. Graphite is the most stable form of carbon, and it has various uses in science, especially in thermochemistry, to define the heat of formation of carbon compounds.
However, our interest is focused on its use as an art material, right? First, you should know that graphite was already being mined back in the 13th century, and even so its artistic potential wasn't recognized until the mid-16th century. Later, it was at the end of the 19th century that synthetic graphite began to be marketed.
Today, graphite is the main material in pencils, since it's easy to use and erases easily. They come in different forms and scales. It's definitely a tool you can't do without!
History of the graphite pencil
Graphite is a material that was first mined in Bavaria, around the 15th century, and some time later, a deposit of very pure graphite was found in Borrowdale, in Great Britain.
It's said that this discovery happened because a storm knocked down an old oak tree. As it fell, it revealed a dark substance that the shepherds in the area began to use.
In the beginning, solid graphite was taken and wrapped in sheepskin. And it wasn't until the 16th century that the first graphite pencils began to be made, which actually consisted of square bars enclosed in wood. It wasn't until the 18th century that the wooden casing was invented by the Italians Lyndiana and Simonio Bernacotti.
Later, in 1795 Napoleon's engineer, Nicholas Conte, found a way to make artificial graphite rods using powdered graphite, without impurities. He mixed graphite, clay, and water, and shaped the resulting paste into a bar, then molded it with wooden cylinders.
This resulted in the shape of today's pencil. At the time it brought notable benefits, since it reduced the amount of graphite per pencil. After that, the American William Monroe improved or perfected the manufacturing process of this graphite to the current model.
Graphite pencil artists
Drawing is an art form that is usually shown in black and white, and many popular artists who were known for their color works were initially draftsmen.
Leonardo Da Vinci is the Renaissance artist par excellence, and he specialized in so many areas that it's no wonder he was a great draftsman. In his notebooks there are hundreds of graphite sketches of the human figure and more.
Michelangelo is another artist recognized for his skills in disciplines such as sculpture, architecture, and painting, but did you know that before all that he was an outstanding draftsman? Before each work he made numerous anatomy sketches in graphite, which allowed him to approach his compositions precisely.
On the other hand, we have the Dutch artist Rembrandt Harmenszoon van Rijn, an artist who, in drawing, specialized in portrait sketches and animal studies. He also liked to create compositions that depicted everyday life. Although he generally used black or brown ink.
Another artist worth highlighting is Jean Auguste Ingres, who was known for his oil paintings with Gothic overtones. However, he made numerous drawings focused on graphite portraits, which, at the time, were highly praised for their precision in capturing the subject's physical appearance.
Numbers and letters on graphite pencils
When you go to buy a graphite pencil, you need to keep in mind the numbers and the letters, since each of them will tell you about the hardness of the lead and how intense it draws.
The letters will tell you the hardness and intensity of the lead, and the abbreviations come from English. In the case of H, it's for “hard,” B for “black,” and F for “fine.” Then we have the numbers that tell you the hardness of the pencils.
For example: a 6B pencil will be blacker and softer than a 2B. And a 6H will be harder than a 2H, plus it will have a lighter or fainter stroke. It's super important that you know how to identify them! Because the intensity of the pencil will help you create better volumes in your works.
An HB pencil is a very common pencil, the kind we usually use for school or homework. This pencil is a middle ground between H and B, that is, it has medium hardness and intensity. That's why they're ideal for making sketches and simple drawings. For practicing they're perfect!
How do you color with graphite pencils?
Grab your pencils! It's the moment you've been waiting for. In this section we'll teach you step by step how to color with graphite pencils. Do you want to set color aside and make a black-and-white work? Then graphite pencils are a great option.
Step 1: Apply a first layer
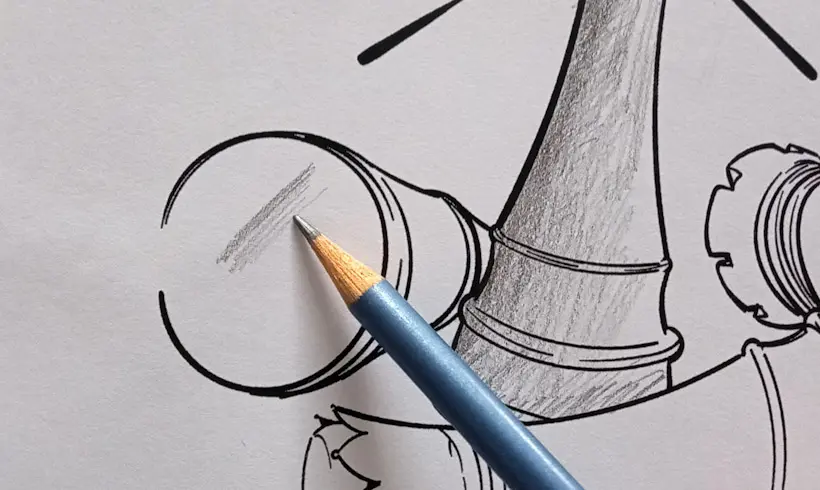
With your pencil, apply a first layer with your graphite pencil, without pressing hard. To do it, it's best to hold the pencil tip on its side, so you get thicker strokes. If you do them with the pencil point you might get unwanted scratches, be careful!
Step 2: Apply a second layer of graphite
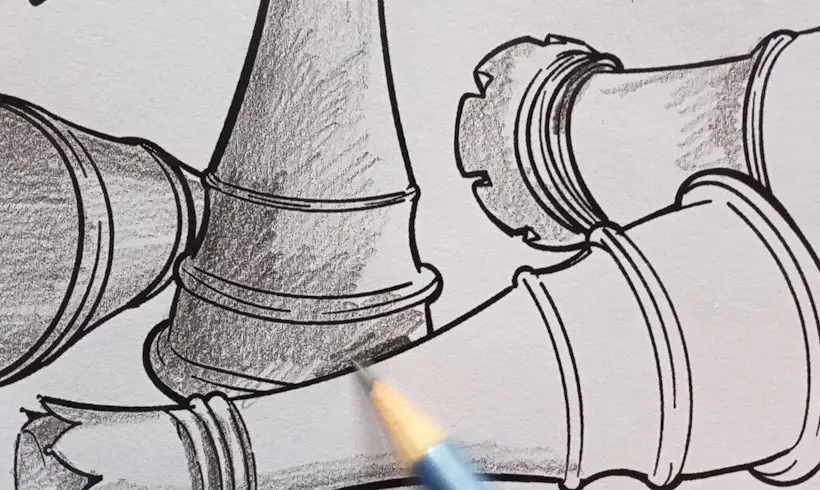
To gradually darken some areas of the drawing, apply a second layer of graphite, that way you can create volumes and give your art realism. You can blend the first layer and add the second on top, or instead, blend once both are down. The important thing is that little by little you darken the areas of your choice.
Step 3: Repeat the procedure as many times as needed
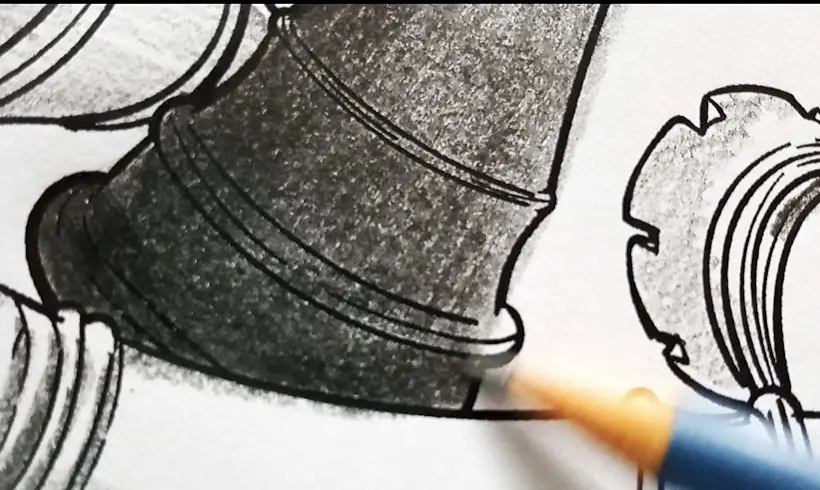
Drawing with a graphite pencil is a technique you achieve by working in layers, so you must keep making layer after layer, and as you increase the number, gradually increase the pressure you put on the paper. But not too much! Because you could damage the sheet. Little by little you'll notice how some areas are darker or “blacker” than others.
Step 4: Blend
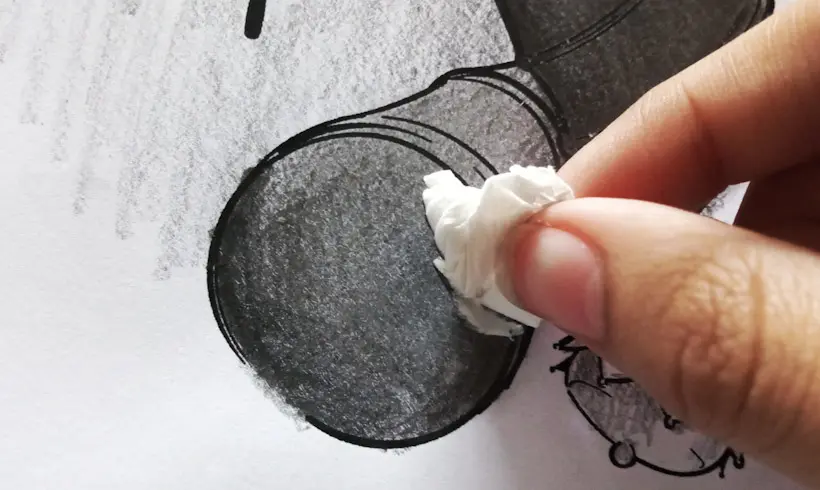
Once you've finished with the last layer of your drawing, take a piece of paper or cotton and blend carefully. For small areas you can use a cotton swab. Blending will erase the lines and make your drawing look more uniform.
However, there are artists who prefer to leave the hatching effect in their works, so if you want to do that then it's better to skip this step.
Step 5: Add details and highlight areas with an eraser
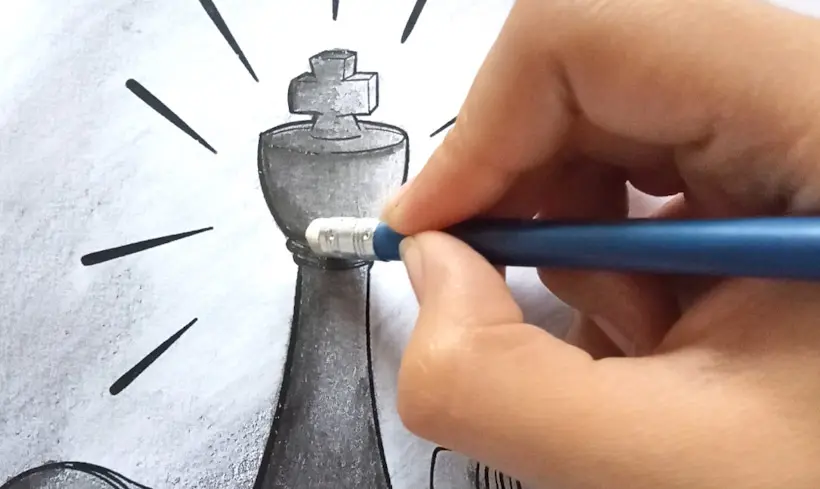
One way to make highlight areas is with an eraser. You just have to find one of the right size and erase, after all it's graphite! And one of its properties is how easily it erases, so take advantage of this property and paint the highlights in the right areas.
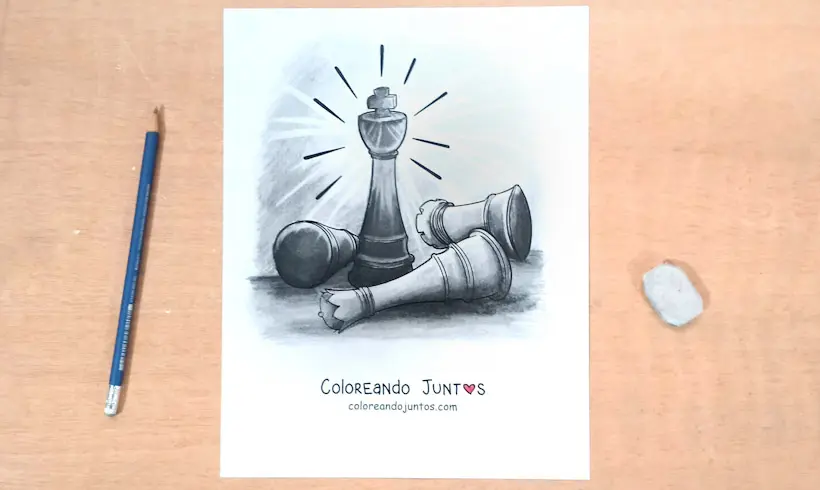
Examples of graphite pencil in action
Techniques to use with graphite pencils
In this part we want to tell you about some techniques you can use with graphite pencils. By knowing them you'll be able to combine them and turn your coloring pages into true works of art. What do you say? Do you like the idea?
- Hatching: Hatching is a common technique used with graphite. It consists of coloring by making lines in one direction and then layering another set of lines in the opposite direction.
- Blending: Blending graphite is a common technique because it lets you create a volume effect, make transitions between tones, or soften dark tones. Give it a try!
- Gradient: Although it may not seem like it, it's possible to make a gradient of grays with graphite. To achieve it you have to play with the number of layers you apply and the blending. Remember to intensify the color in one corner and then gradually decrease the intensity.
- Erasing: With an eraser of the right size you can create unique highlight effects. Especially because graphite is a material that erases easily. Take advantage of this property and don't be afraid to use the erasing technique!
- Shading: It's hard to color in black and white without shading, since shadows allow your drawing to have volume and form, so you get closer to a slightly more realistic result. Give it a try! You'll see how good it looks.
Tricks and tips for coloring with a graphite pencil
We're almost done, but first we wanted to teach you some tricks and tips for coloring with a graphite pencil. This way you'll have all the tools you need to start coloring with your pencils. Ready?
- Graphite is a material that smudges easily, so we advise you to have something to cover your hand so it doesn't get smudged and, as a result, smudge the sheet. You can use a sheet of paper, or a fingerless glove.
- Don't color with the pencil point. The idea when drawing with a graphite pencil is to color the whole drawing with soft strokes, not hard ones, so it's best to avoid the point. Instead, lay the pencil on its side and make strokes with it flat. You'll see the difference!
- Don't blend with your finger. Fingers tend to have the natural oil of the skin, and graphite isn't a material that requires the heat of friction (like oil pastels) to blend, so to avoid smudges on the sheet and keep better hygiene, blend with a cotton ball or toilet paper.
- Don't be afraid to try a whole grayscale. If coloring in black and white still doesn't quite convince you, do a practice run on a separate sheet and make all the gradients you can.
This way you'll be practicing for painting a drawing and at the same time you'll get familiar with the number of layers and the intensity you can get from your pencil.
That's all for now! We have nothing left to teach you, so from now on the path must be traveled by you. It's in your hands whether to improve or not! So what's left is for you to grab your pencils and start coloring.