Blending: Features and Tips to Apply It
Are you ready to paint the sky with a soft, fluffy texture? Not sure which technique would be ideal? Well, in this section we have just the one for you. At Coloring Together we will teach you how to blend: everything you need to know about the blending technique and how to apply it.
We thought that teaching you everything we know would be a great idea, so you can round out your knowledge with something extra. What are you waiting for to get started?
What is blending?
Blending is an artistic technique in which you create a transition of colors and tones, to achieve a soft and delicate finish. It is a very useful technique for combining colors and creating transitions between them.
In drawing or art, to blend means to spread out the lines or the color made in a composition, so that they lose intensity. It is also a widely used resource for shading certain areas of a drawing.
Thanks to the blending technique, you can achieve soft effects in a drawing, which is why it is a very useful tool if you want to create textures that do not require hard, straight lines. Have you tried it yet?
Origin of blending
Blending has its origin in the ”sfumato” technique. This is a Renaissance technique, created by the famous painter Leonardo Da Vinci, which consisted of giving objects vague and blurred outlines.
Leonardo Da Vinci used this technique to create atmospheric representations, give a sense of smoke, beyond something sharply focused. This technique is a fine shading that produces a very soft transition between tones and colors. The most amazing thing about this technique is that they used oil paint to apply it.
The word “sfumato” comes from Italian, derived from “fumo” (smoke) and (sfumare), which means to soften or to evaporate. Therefore, «sfumato» means blurry, soft, or blended.
Why blend?
Blending is a technique applied to achieve various effects, which makes it a very useful resource if you want to gradate, model, shade, or unify some parts of the drawing. That is why you blend in order to:
- Merge and gradate: this consists of softening two color values that are placed side by side. So, if you have two shades and want them to gradate, the best thing is to blend with some tool and soften the colors.
- Unify: sometimes the porosity of the paper can play a trick on us, or two colors we wanted to blend together did not. For that, the ideal thing is to blend, because thanks to this technique the pigment of your material will unify properly with the surface of your drawing.
- Shade: sometimes the shadows turn out darker than you want, so if you want to reduce the intensity, you blend. It is a very useful technique if you work with charcoal.
Materials for blending
- Blending stump: the blending stump is used to soften the colors and the outline of whatever you are coloring, and since it has a pencil shape, you can blend even the smallest details.
- A tissue: It is a homemade tool, but one that can be used to blend and soften colors or graphite.
- Cotton: Whether a cotton ball or a cotton swab, both will work well to blend colors. The swab is useful, especially when it comes to small areas.
- Finger: The finger is a simpler tool for blending; however, it is only recommended with certain materials, like oil pastel. Be careful! If you do not want to smudge the paper by accident, it is better to wash your hands every time you blend a specific area.
How do you apply the blending technique?
Are you ready to take on the challenge? Go ahead and paint a drawing using the blending technique.
Wait, you still do not know how to do it? Then we will explain step by step how to apply the blending technique so that your coloring pages have a soft and beautiful finish.
Step 1 (Optional): Outline the contour of the drawing

This step, although optional, we highly recommend, especially when it comes to chalks since the corners can be left white. To avoid this, outline the contour of your drawing. If you can make a double outline, even better.
Step 2: Start coloring the area with the material you want
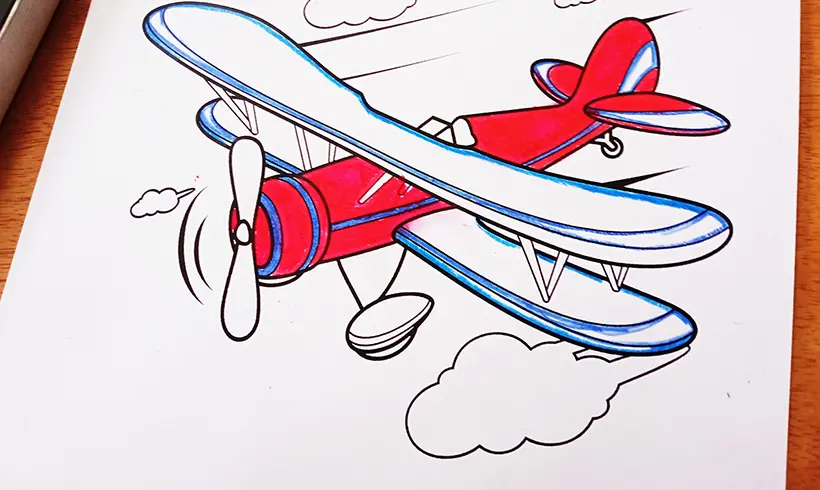
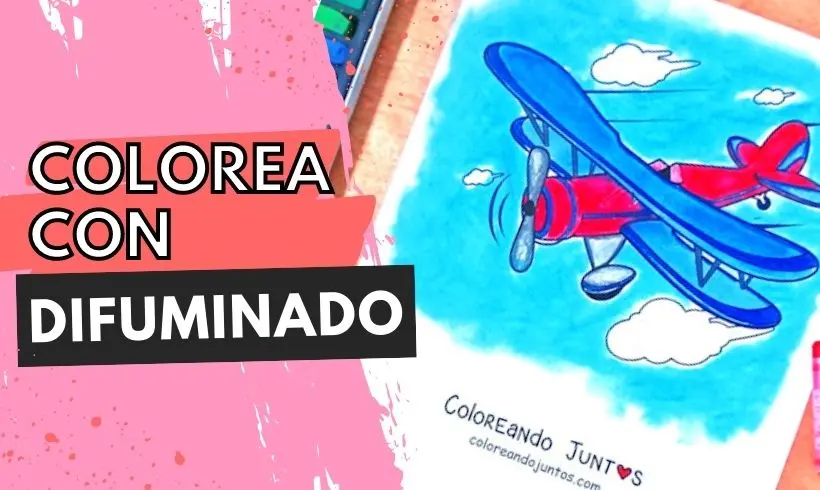
In this case we took oil pastel and colored the airplane red. Then, with our finger, we carefully blended the entire area we colored, so that the pigment of the material would bond well with the paper. With oil pastel it is better to blend with your finger.
Step 3: Use chalks to paint the wings
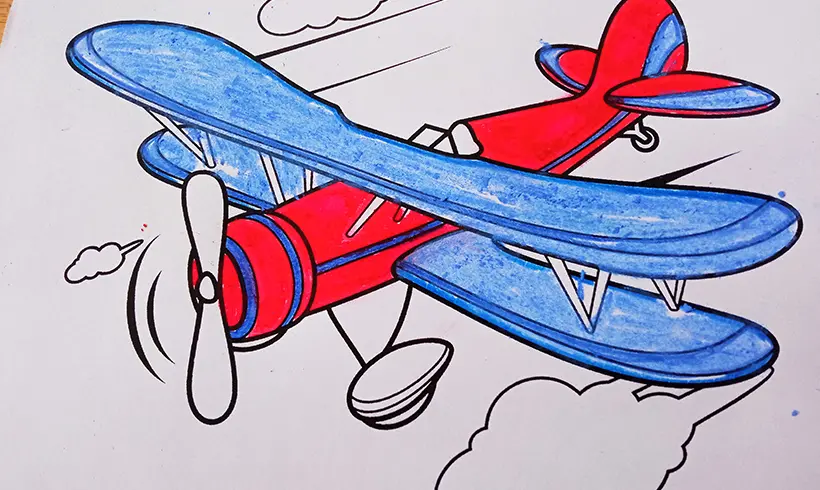
To paint this airplane we took pastel chalks for the wings. We colored everything with the chalks, and once we finished, we blended with a piece of paper.
Keep in mind that you can blend with whatever material you prefer, but if you choose to do it with your finger, do not forget to wash it when you finish, this way you avoid smudging the paper.
Step 4: You can use colored shavings to color
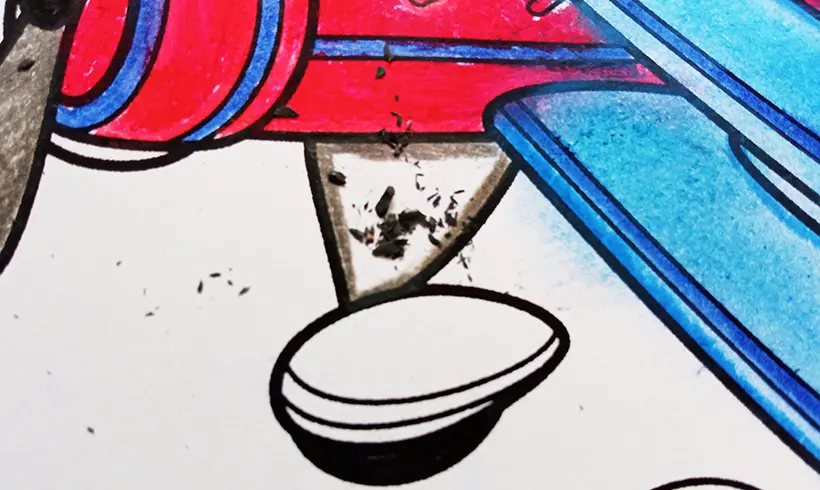
If you do not have chalks to color, you can use the shavings from colored pencils to blend. It is a homemade tool, but one that gives results very similar to chalk.
You just have to take them out with the sharpener and place them where you want to blend. And that's it! You can do it with a cotton ball, a tissue, or your finger.
Step 5: Use chalks for the background
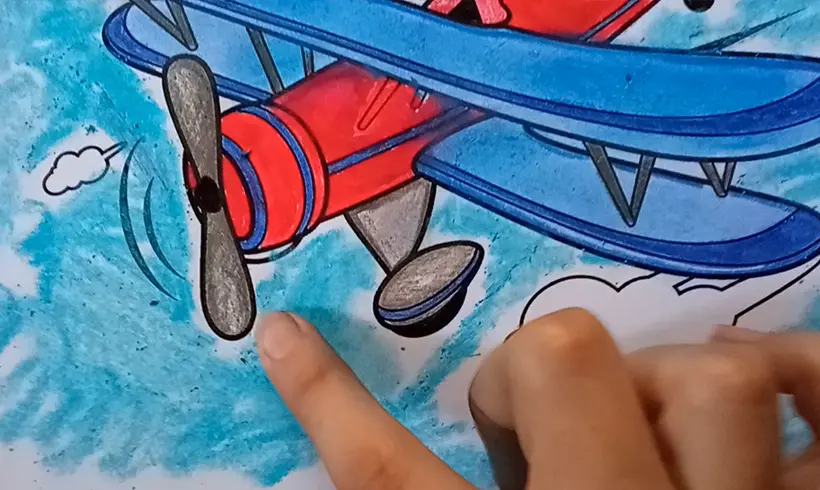
In this case, to use a variety of materials, we took colored blackboard chalks to paint the background. I started by making lines and circles across the background, and at the end I blended with my finger by making circles with it. Give it a try!
The reason I decided to use my finger on that part of the drawing was because it was already the background, that is, I did not have to worry about smudging the paper because I was going to paint it. In that case, it is recommended to use your finger to blend, as long as it is at the end of your work.
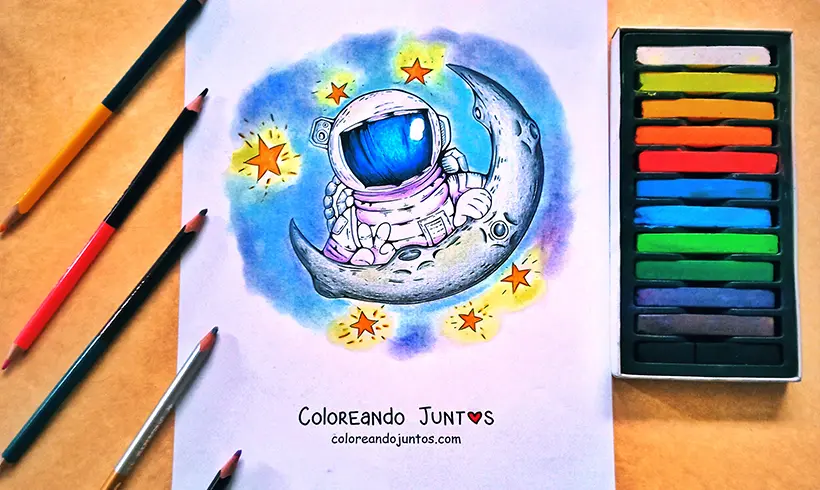
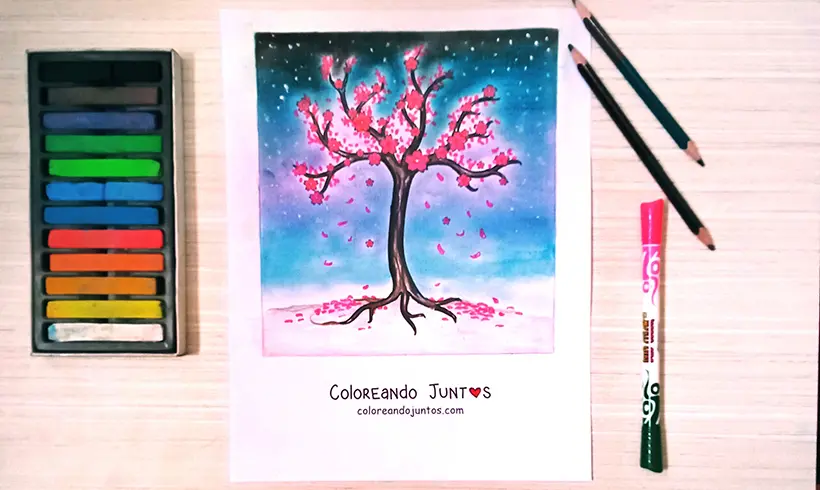
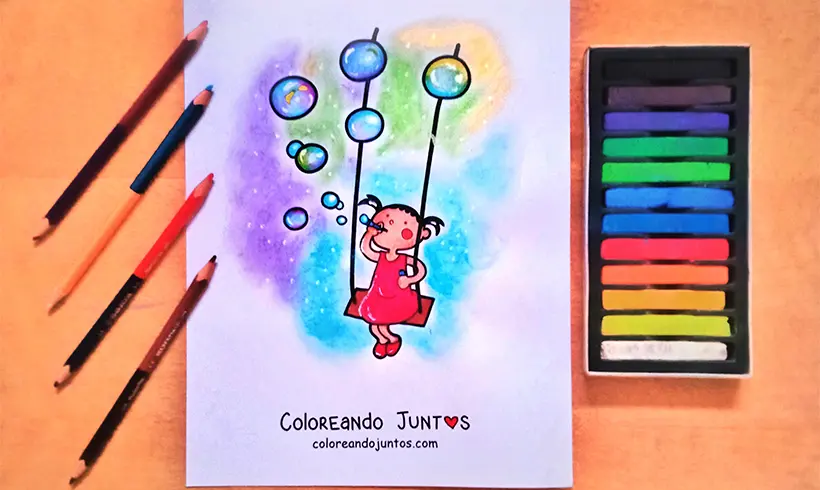
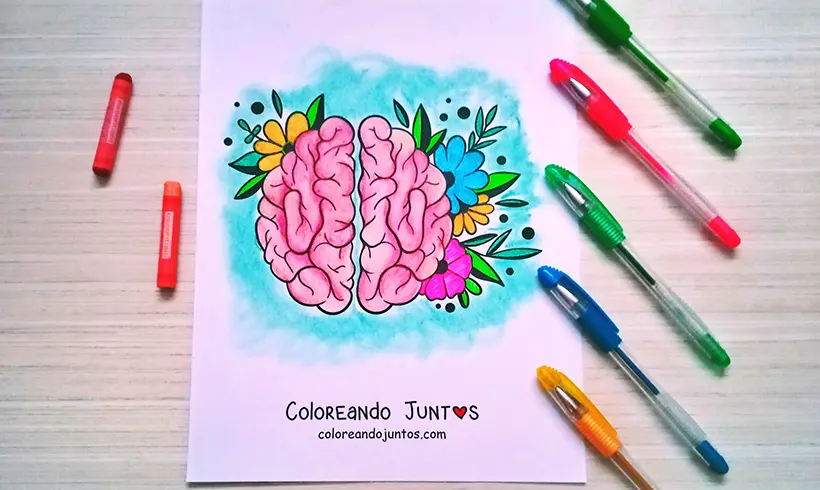
Examples of Blending applied
Techniques you can combine with Blending
If you still have doubts about how to apply the blending technique or which other techniques you can pair it with, then come along with us. We will tell you which techniques we apply with blending so that our compositions turn out even better. Ready?
- Shading: To shade while applying the blending technique, you just have to apply several layers. You blend the first one, and then you color over it again with the same color in the area you want to shade, and you blend only in that spot, without gradating the color.
- Tinting: Use two colors; first start with one, blend, and then apply the same procedure with the other. It is important that you do not reuse the same material to blend with both, because otherwise the drawing can get smudged.
- Gradient: to gradate two shades, you need to blend, whether with colored pencils, chalks, or oil pastels. This will help you create a transition between the two colors that looks natural. Keep in mind that if you use cotton or paper to blend, you should change it so as not to leave smudges.
Tricks and tips for applying the blending technique
We do not want you to leave without first having passed on all our knowledge to you. Our artists have decided to create this space and dedicate it to tricks and tips for applying the blending technique. They will surely come in handy. Ready to keep learning?
- You can blend with whatever you want; with a piece of cloth, a napkin, toilet paper, cotton, a sponge, swabs, even your own finger! That is why not having a blending stump does not stop you from applying this technique. Quite the opposite! Having one is not essential.
- If you are going to blend with your finger, try to wash your hands, or clean it, before switching colors to blend. It would be a disaster if you blend a red color and then run your finger over a green area. It would get smudged! And the results would not look very nice.
- You can blend two colors if you want to combine them, but before doing it on the drawing, do it on a separate sheet so you can check the result. You would not want to do it directly on your drawing and notice a dark, black smudge appear, right?
- To blend the edges of your drawing, use a swab, because since it is small, it will be easier to fill in those white spaces. Or you can also outline the contour of your drawing so they are not as noticeable.
- If you go past the lines while blending, use an eraser to reduce the color so that little mistake is less noticeable. Erasing with the eraser will not remove the pigment completely, but it will soften it.
Now then, we have nothing more to teach you, little artist. We are proud that you looked for all the knowledge you could to learn. How about you start putting what you learned into practice? With effort and dedication your works will turn out much better.