Oil Pastel: Features and Tips to Apply It
If you've ever used pastel chalks, you've surely heard that there is a very similar material, but with a greasier texture. That's right! We're talking about oil pastel.
We'll dedicate this whole section of Coloring Together to learning how to color with oil pastels. Are you ready to learn something new? Great, then come along on this journey, where you'll learn how to color with oil pastel. Let's get started!
What is Oil Pastel?
Oil pastels are materials that contain binders and a certain percentage of wax. These usually come in stick form and don't stain or stick to the paper.
They are materials with very bright colors that give the feeling of being oil paint. They are undoubtedly wonderful for coloring, and the diversity of shades they carry lets us get sensational results.
Origin of the Oil Pastel
Oil pastels were created in 1949 by Henri Sennelier. He created them for the painter Henri Goetz, who needed a new material for his friend Pablo Picasso, who was looking for a kind of colored wax.
From that moment on they became known as the "Sennelier oil pastel," and over time, new colors and base tones started to emerge, so that with them unique gradients could be achieved.
On the other hand, oil pastels are made of pigments that are mixed with oils and wax binders.
Sennelier oil pastels have a higher concentration of pigment, which gives them great coloring power and greater vividness in the tones. This brand of oil pastels uses a pure synthetic binder.
What materials should you use with Oil Pastel?
To use oil pastel you need to use certain tools that let you make the most of this very special material. First, to get a good result, you need to blend it, so that the colors come together to get a smooth texture.
For that you need to blend with your finger. However, if you don't want to get your hands dirty, you can use a blending stump. With this tool you'll get the friction and heat needed to partially melt the oil, and that way the colors will adhere properly to the surface.
Regarding the kind of material or surface that can be used with oil pastel, it can really be any. One of the benefits of oil pastels is that they adhere relatively easily to different surfaces, like papers, cardboards, canvases, wood, and even surfaces like plastic.
How to use Oil Pastel?
Oil pastel is a material that is used in layers. With them you can mix colors by blending with your finger. It is important that it's with your finger, since with its heat and the friction the material will melt partially, which will give the drawing a smooth texture.
By building up layers on the paper, you can apply various techniques so the drawing gets an amount of shadows and highlights that give your artwork realism. Would you like to try it?
How to color with Oil Pastel?
Now that you've finished reading all the interesting information we gathered for you, it's time for us to show you how to color with oil pastels. Are you ready to begin?
But wait, before that, it is important that you know that the methodology our artists use is not the only one. Try it in whatever way feels most comfortable for you! Also, in this little step-by-step we'll give you some tips and tricks for using oil pastels.
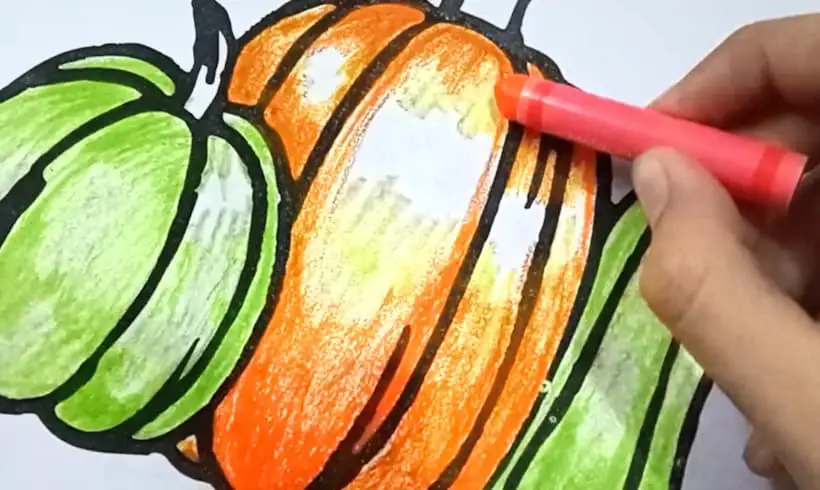
Step 1: Apply a first layer of color
Oil pastel is a material that is used in layers. Start by applying a first layer with a base color all over the drawing. This way you'll already have a first idea of the colors of your artwork. Be careful not to go outside the lines!
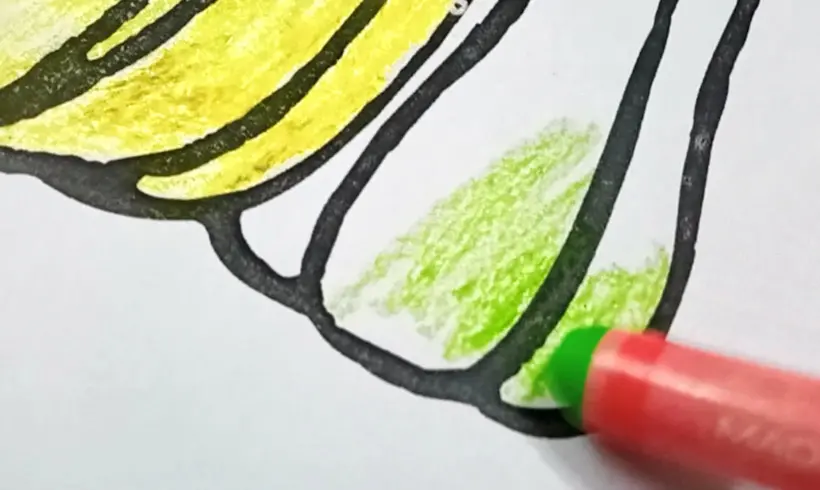
Step 2: Use a darker color, and add details to your drawing
With a tone a bit darker than the base, you can make shadows and highlights that will look incredible. This way your drawing will look more realistic and gain volume, like in this case. But you can also use a light one and combine them to soften the tone. It's all about playing with the colors!
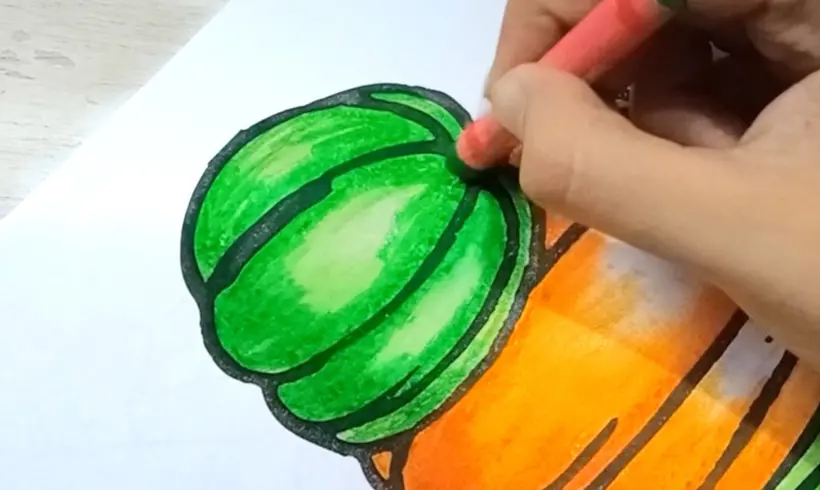
Step 3: Blend carefully!
Once you've applied the necessary layers of highlights and shadows, then you should blend with your finger or with a blending stump. When blending you have to rub the material hard and very fast, so that the heat generated melts the material. Keep in mind that you should hold the paper well so it doesn't bend.
Step 4 (Optional): Apply more layers of shadows
When blending, some colors may combine more than they should and not be dark enough to make a noticeable shadow.
If that happens, don't worry! Apply more layers of shadows and blend until you get the tone you expect.
Step 5 (Optional): Add details!
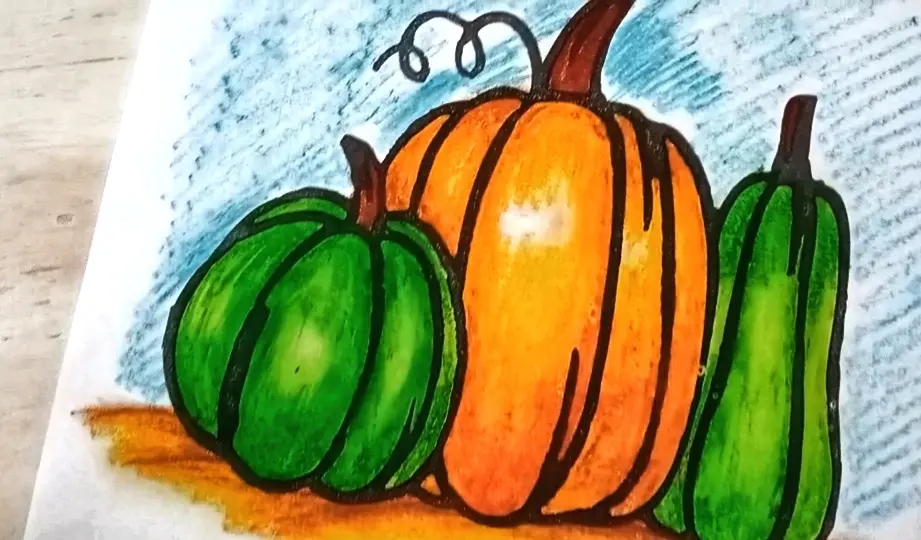
Oil pastel is a material that comes in sticks, so you'll have tips to make small details or create new elements in your drawing Try it! In this case we made a floor and colored the sky applying the hatching technique.
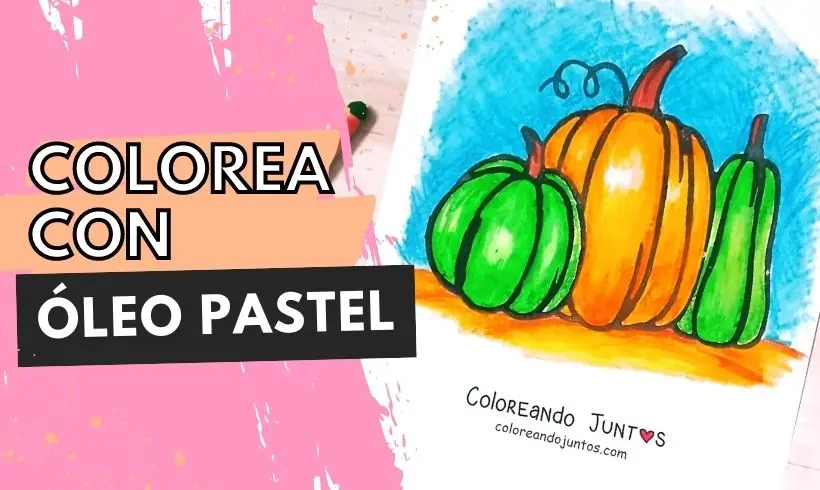
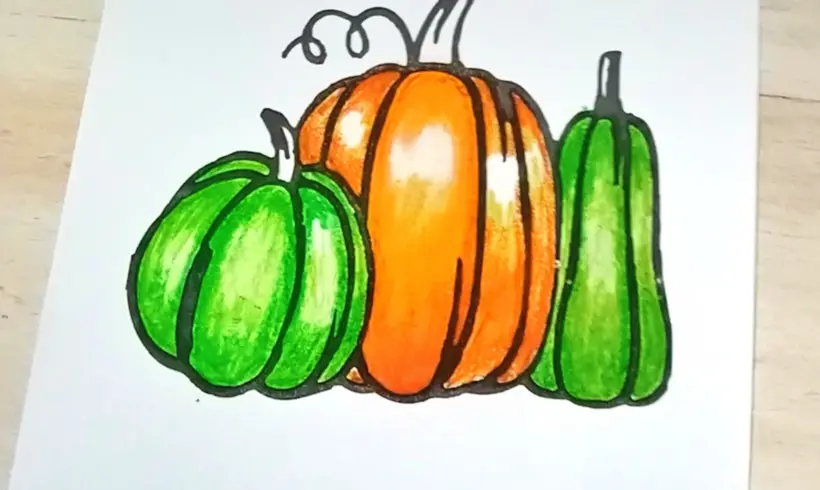
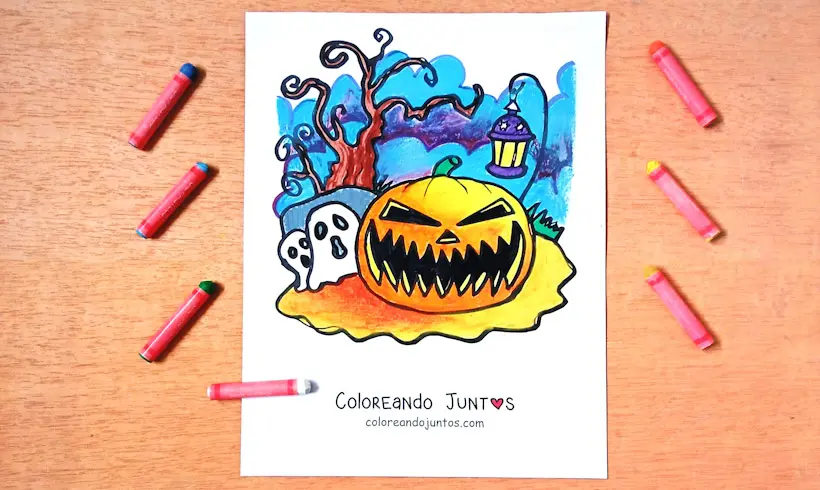
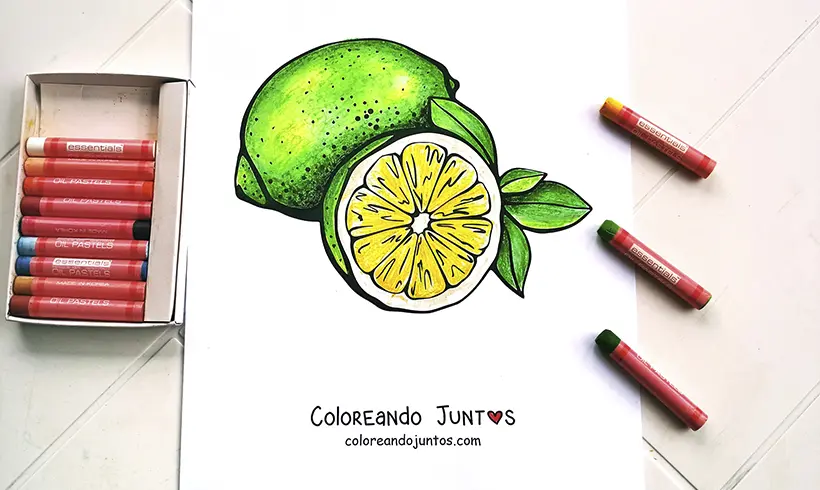
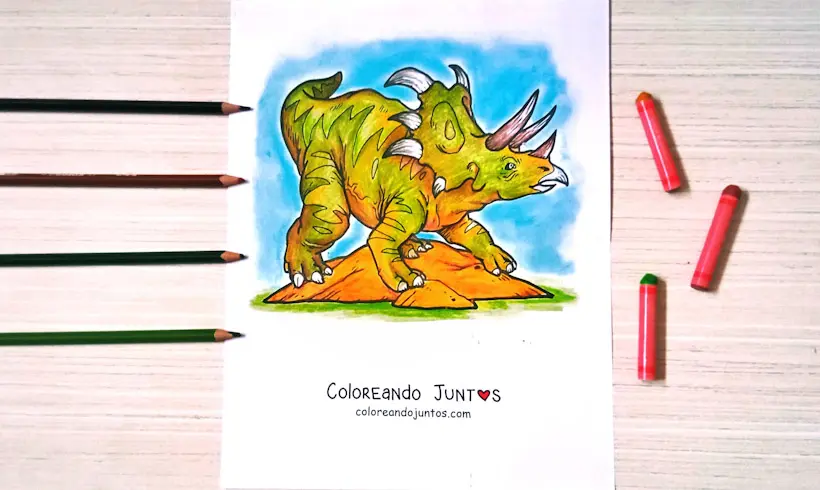
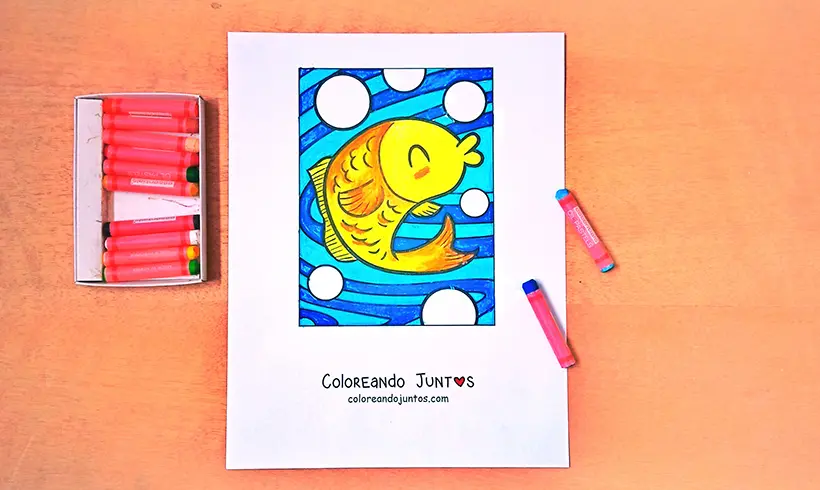
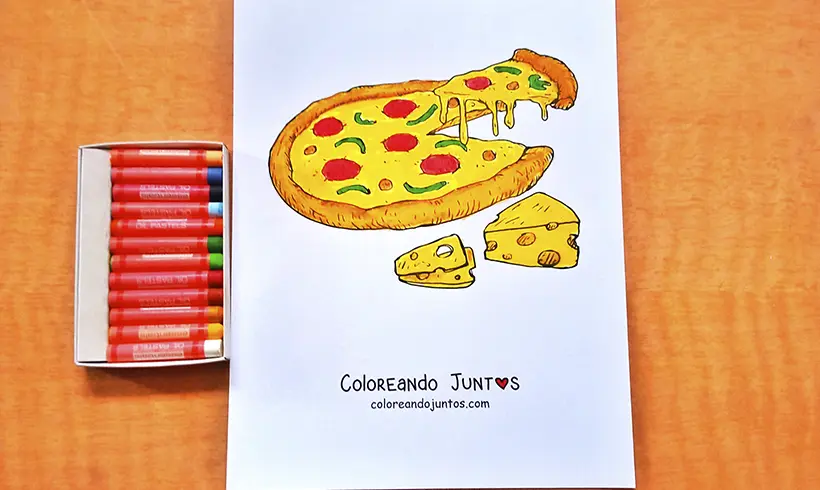
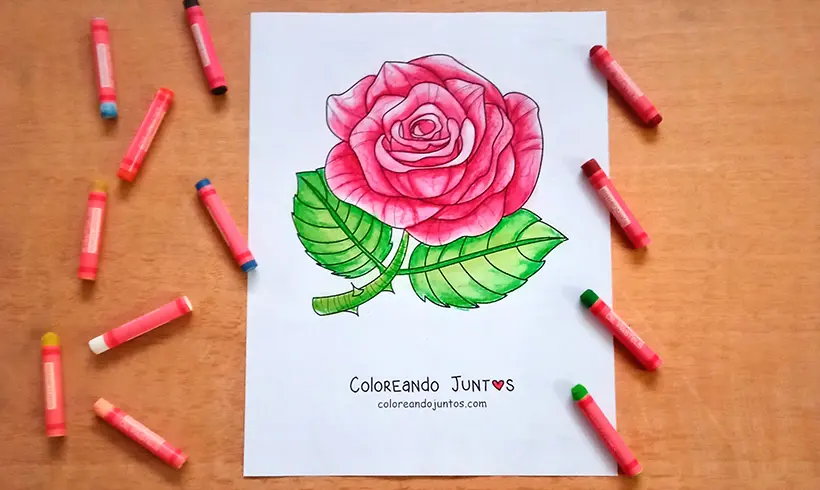
Examples of Oil Pastel applied
Techniques you can combine with Oil Pastel
If you're still not satisfied with all the information we gathered for you, we still have more things to teach you. You already know what oil pastel is and how to apply oil pastel.
Now we'll mention some techniques you can combine with oil pastel to create a unique composition. What do you say? Don't you think it's an incredible idea? Let's go! You'll have a lot of fun.
- Hatching: You can use the corners of the oil pastel to color by making lines. By layering coat after coat and blending with your finger you'll achieve a very interesting texture.
- Shading: Oil pastel is a material that is ideal to use in layers. That's why if you apply several layers and among them add some darker than others, you'll be able to make shadows and highlights that give your art personality.
- Whitening: In general, oil pastel sets come with a white color. Use it! Thanks to it you'll be able to combine two shades much better and they'll adhere better to the paper when you blend.
Tips and tricks to color with Oil Pastel
Do you want us to give you our secret for painting well with oil pastels? Alright, come closer... The secret is... Practice a lot! But beyond that, we have a couple of tips and tricks to apply oil pastel to give you so you leave with all the possible tools.
- Although the ideal is to blend with your finger, it is not completely necessary. Oil pastels are materials that can be blended in many ways, although not all of them will give the same results. Always keep that in mind!
- In case you decide to blend with your finger, clean it when you're about to change colors That way you'll avoid staining it!
- Always place the lighter colors first and leave the darker or stronger ones for last. For example, if you use yellow and red in the same drawing, blend the yellow first, and then apply the red. If you do it the other way around and aren't careful enough, you can stain the yellow color.
- Colors like red, purple, dark blue, or orange are strong colors that tend to stain easily. On the other hand, tones like light blue, yellow, pink, or green are softer and lighter tones that don't stain the other colors as much.
- If you have a white color, then it's not so necessary to blend with your finger or with cotton. Take the white color and color your whole drawing with it You'll see how the other colors come together!
- But careful! If you're going to use the white color on another drawing, then the best thing you can do is clean it. That way you won't stain with the pigment that may have been left on the white color.
- When you're going to shade, always do it over layers you've already blended, because if not, then when you blend, the shadows will lose intensity.
Alright, that's been all. What are you waiting for? You won't become a great artist if you don't practice. Let's get to work!