Blending: Features and Tricks to Apply It
The moment has come to blend colors in your drawings! Wait, you do not know how to do it? That is a problem with a solution. Come with us, at Coloring Together we will take care of teaching you how to apply the blending technique, how does that idea sound to you?
Let's go! We want you to learn and practice new techniques, this way your journey through the artistic world will be much more entertaining. Ready to start? Let's get to work!
What is blending?
Blending is giving a different tone to a color, according to the Real Academia Española. However, it has other concepts that vary depending on the field of study. For example, blending is also defined as delicately grading a sound or expression.
In art, blending can also indicate the way in which colors are harmonized in a given composition, through adding new tones or shades with other colors.
What does the blending technique consist of in drawing?
The blending technique in drawing consists of applying a base color from the corner of your drawing, and lowering the intensity of the strokes as you move from one side to the other. Then, with a piece of paper napkin or cotton, you soften the color by making circles over it.
However, there are many other ways to apply blending. You can use two colors, or three! And you apply the same principle. You start with one color in a corner of the drawing, and with the other tone in the remaining corner. You keep decreasing the pressure as you reach the center and you finish by passing a cotton over the top.
It is a technique similar to gradient, except that, in this case, you soften the tones more easily with paper or cotton. Also, you can use various shades and combine them to achieve different blends.
What does the blending technique consist of in painting?
Blending in painting consists of applying alcohol or baby oil with a cotton swab or cotton bud, to give movements or touch-ups to a painting. By doing so, you can achieve certain effects in the artwork.
With blending you can combine colors, or create unique textures. You could even achieve watercolor effects without the need to have any! But you must be careful with the amount of alcohol you use, because otherwise you could spoil the drawing.
How to apply the blending technique?
Are you ready to learn, little artist? In this section we will explain step by step how to apply the blending technique with your colored pencils. We attach images so you can observe the procedure of our colored drawing.
Take all your colors, choose an eye-catching palette for your drawing, ready? Excellent. You will also need a cotton ball so you can blend the tones better.
Step 1 (Optional): Outline the contour of the drawing
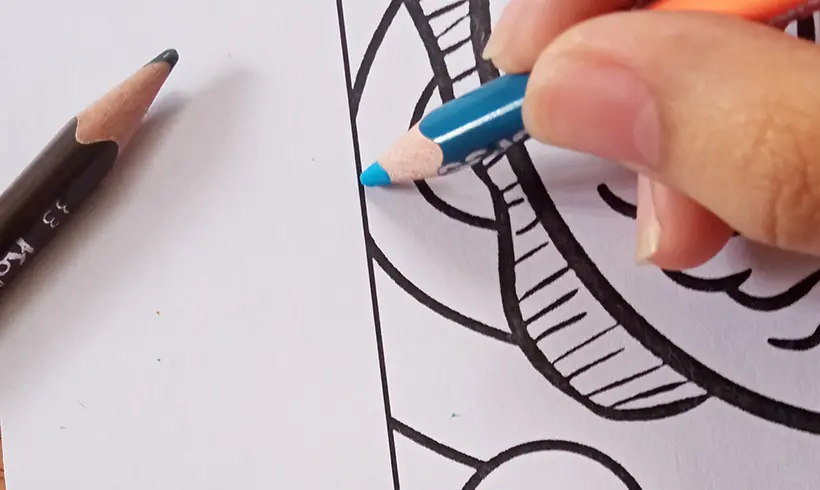
To avoid going outside the line, outline the drawing with the colors you chose. But you can skip this step in case you trust your steady hand!
Step 2: Apply a first layer of color from one edge.
Start coloring from one edge of your drawing, and as you progress decrease the intensity of your coloring, so that a transition shows between one corner and another. It is only the first layer!
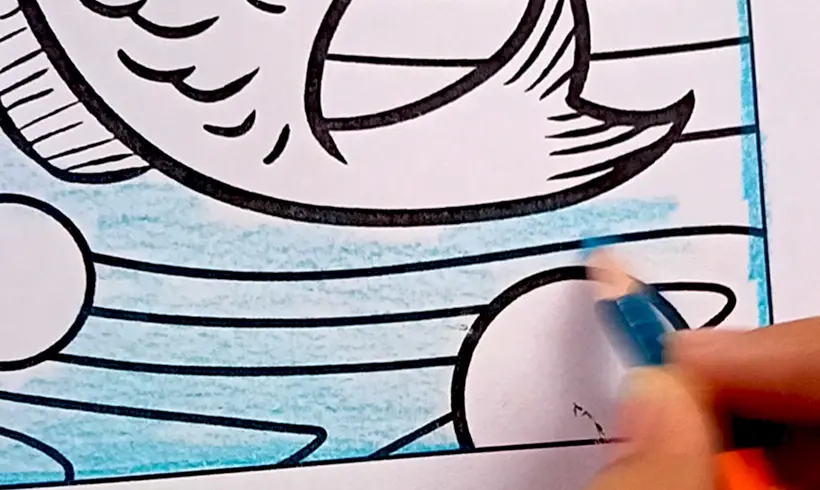
Step 3: Use another tone or color and color from the other edge.
To blend the drawing well, you can use another color that harmonizes with the first one you used and you color from one edge to the other, decreasing the color pressure progressively. You can also apply the color on top of the first one and combine them.
Step 4: Apply another layer of color on top of the ones you made.
Intensify the tone by applying more layers over them. Remember to do it gently and without pressing the tip of the color hard. Start by making more pressure in one corner and as you progress, decrease it. Where the tones meet, color gently and then use a cotton ball or paper napkin to unify the colors better.
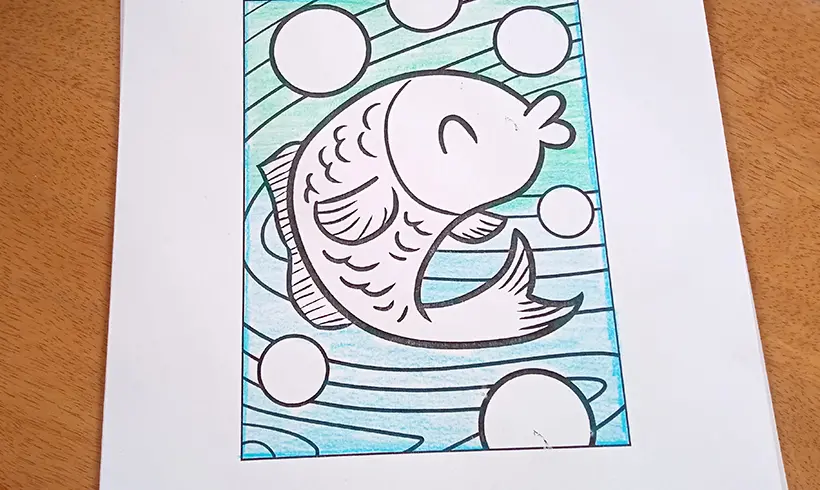
Step 5: Repeat the procedure on the other elements of the drawing.
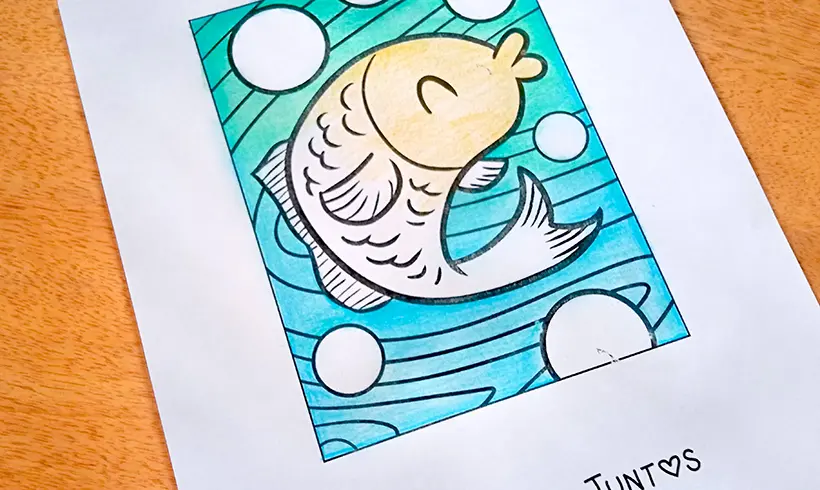
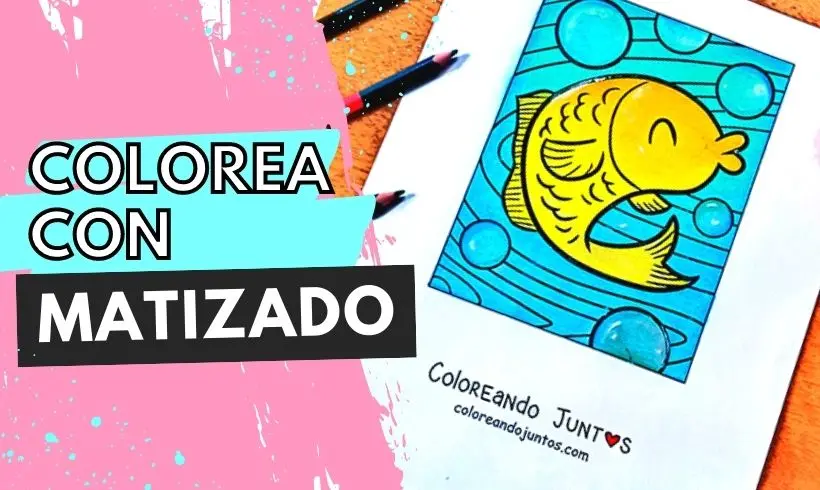
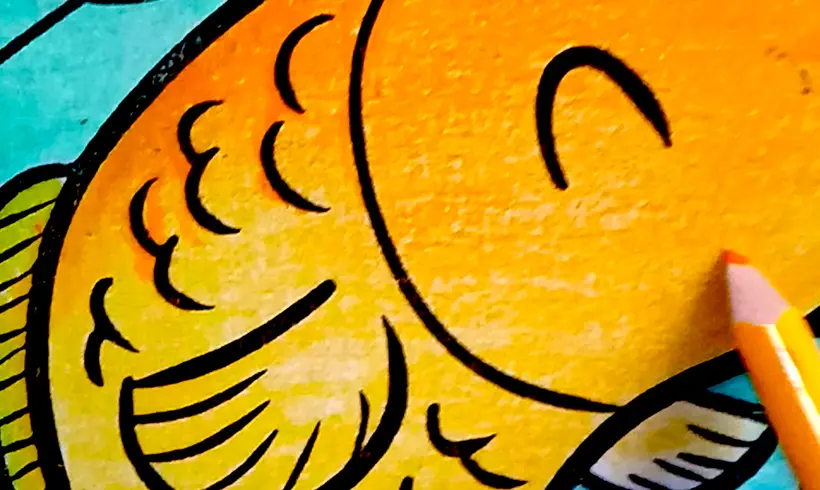
Repeat the procedure on what is left of the drawing. In this case we applied a yellow base color on the little fish. Start from one edge to the other and lower the intensity as you progress.
Step 6: Blend with a darker tone
It can be a dark or light one, whatever tone you want! The important thing is that you start from one edge to the other and combine the new color with the one you applied at the start. So that they can harmonize with each other and take on a new shade.
In this case, we used a dark yellow color. Do not forget to blur with a cotton ball or with a piece of paper! And there you go!
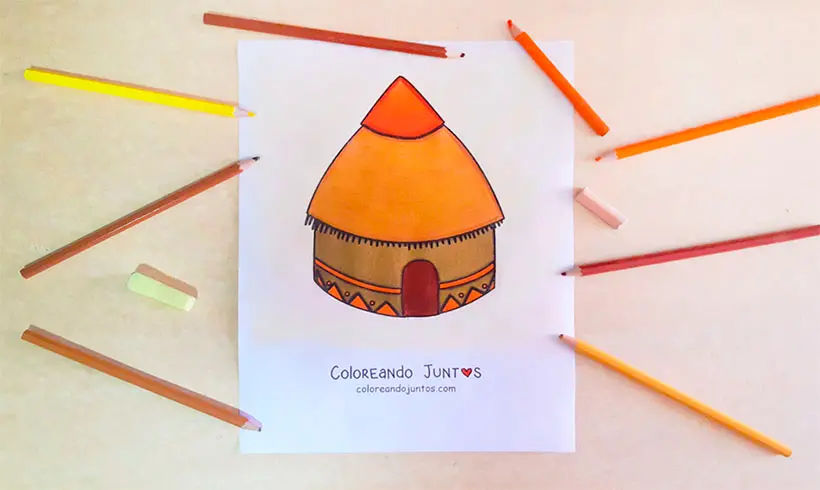
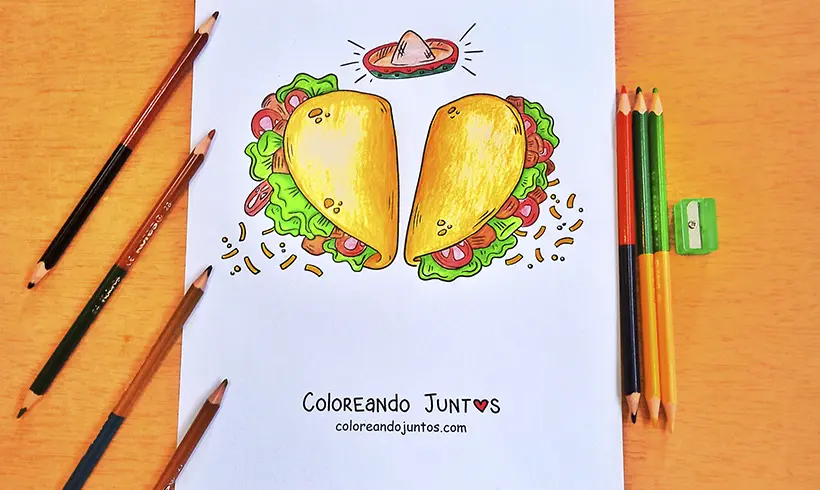
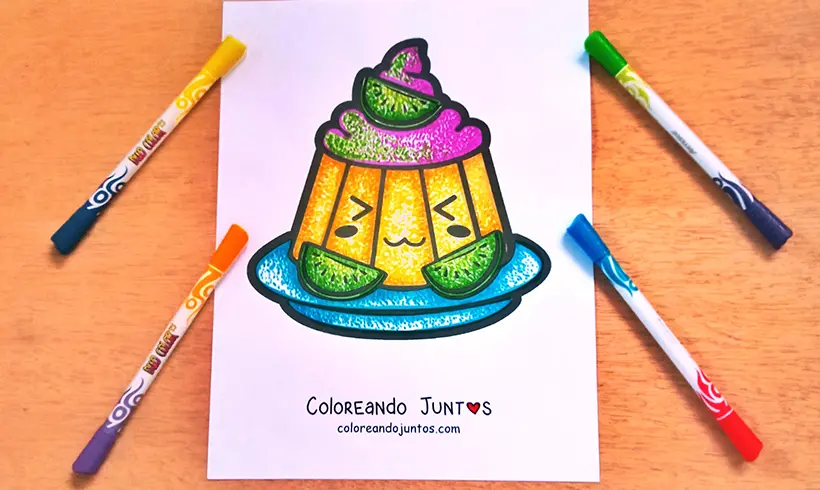
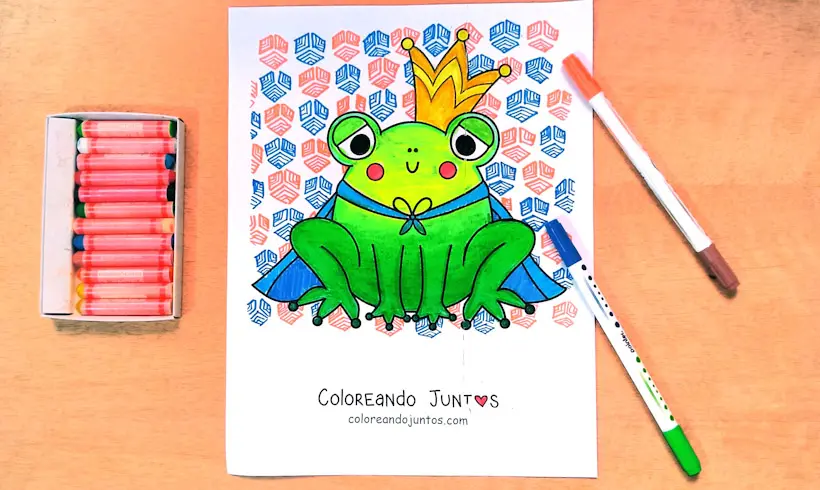
Examples of blending applied
Techniques you can combine with blending
If you are still not satisfied with what we have taught you in this section, then come with us. We will give you more details about what other techniques we use along with blending, to combine it or simply use it to harmonize our compositions.
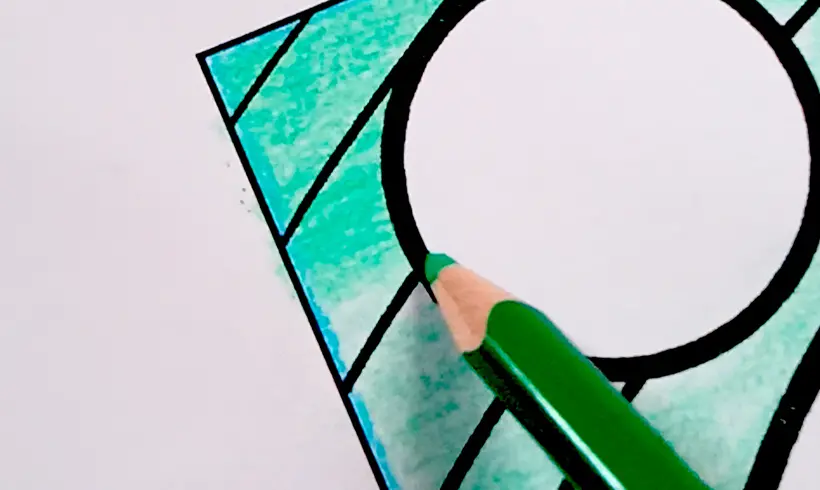
- Shading: If we want to make a transition of lights or tones, blending is the best option. It is a technique that will give a progressive and soft shadow.
- Whitening: If you want your blending to turn out even better, you could use a white color and color over your drawing. But depending on the quality of the color, you will have to exert more pressure so it unifies better with the sheet.
Tricks and tips to apply the blending technique
The moment has come to leave you our last bit of knowledge. Our artists have left some tricks and tips to apply the blending technique. We hope some of them will be helpful for you to create your incredible artworks. Ready?
- Blending is a technique that requires patience, especially when it comes to colored pencils, since you must make enough layers for the center of two colors to combine properly.
- Blending is achieving a transition of colors, very similar to gradient, that is why, you can make use of tools and techniques like whitening, to achieve that transition more effectively.
- If you use paints, you can blend much more easily than with colored pencils. Use a flat brush, and on each end you will place a different color. Then, run it over the surface from top to bottom so the blends unify in the center.
- If you have doubts about the tones you will get in a blend, then do it first on a separate sheet, and check that you will get the desired effect.
For now those are all the tips we have for you. From now on the progress you make in this technique will depend only on you. How about you start making a few strokes until you get the desired blends? Let's go! You will surely have fun.