Watercolors: Features and Tips for Applying Them
We got a huge urge to color with paints, but at the same time with something much softer that gives better effects. Do you have an idea of what material that could be? Watercolors!
Come on, at Coloring Together we'll teach you how to color with watercolors and how to use watercolors in your coloring pages. Ready to start? Get your brushes ready, it's time to paint.
What Are Watercolors?
Watercolor is a type of paint that dilutes in water and can be used on various surfaces, such as cardboard or card stock. The term can also refer to the technique, in which this type of paint is used to make artworks or artistic compositions.
This product is made of pigments bound with gum arabic, which lets the water dilute the colors so they can be worked in layers. That's why the water and the amount you use are very important for this technique.
History of Watercolors
Watercolors are believed to have emerged a century before Christ, in China, following the invention of paper, attributed to the eunuch Cai Lun, advisor to Emperor He of the Eastern Han dynasty.
The forerunner of watercolor was the fresco, in Europe, a technique that consisted of painting a mural using pigments in a water-based medium, over a wet lime mortar. For example, in the Sistine Chapel there is a painting made with this technique.
The first known artist to use watercolors was the painter Raphael. Later, Albrecht Durer in Germany also painted with watercolors in the 15th century.
For several centuries, many artists made their own watercolor mediums, as well as their pigments and other materials in their workshops. In other words, it was a material that each artist created to their own taste and in their own way, making use of whatever tools they had.
With the start of the Renaissance, interest in the watercolor technique grew, and it became a medium widely used in drawing. Watercolors were used to start drawings, and then artists worked over them with a nib pen, brush, or charcoal.
How Do You Work with Watercolors?
Watercolors are worked with water. The tone of the pigment will be determined by the amount of water you apply, so they can be more or less transparent. Water is without a doubt the most important part of watercolors. It's the first thing you need to practice!
To use watercolors, the surface you work on is also important. The most ideal thing is to use a thick type of paper, so that the water doesn't wrinkle the sheet and can be absorbed. However, it can also be used on sheets of paper or card stock, although the finish won't be the same.
To apply this technique correctly, you must apply semi-transparent layers and overlap them as you progress with the drawing. The amount of water you choose also plays a part in this.
If you use less water, the pigment will be darker and you'll be able to make shadows. If you use a lot of water, the layers will be lighter and the white of the sheet will show through more.
Watercolor Techniques
There are several techniques you can apply when using watercolors.
- Wash: it's a technique where very fluid watercolor is used. It consists of painting a flat color, achieving a uniform appearance. To get this effect you need to use plenty of water.
- Wet on dry: It's the technique most used with watercolors. A layer of paint is applied, and once it dries, we apply other layers of color over it. You should try it!
- Wet on wet: A new layer of paint, not too loaded with water, is applied while the previous one is still wet. This lets the colors blend together. The result is beautiful nuances!
- Dry on wet: it consists of applying the pigment with a dry brush over a wet surface or layer. It's a good technique if you want to create different shapes with soft edges in the painting.
- Transparency: Thin layers of paint are overlapped, one on top of another. In this technique you take advantage of the white of the paper to create effects and touches of light.
- Graded wash: it's a technique used to make transitions from light to dark. You start by loading the brush with plenty of color, and you begin in the area that will be darkest.
Then you clean the brush, load it with water, and carry the paint you put down at the start toward the other areas of the drawing that are being painted.
How to Apply Watercolors?
The time has come to learn how to color with watercolors! In this section we'll explain step by step how to apply the watercolor technique. Once you finish, your drawings will look much better. Let's begin!
Step 1: Mark out the area you'll paint with the base colors
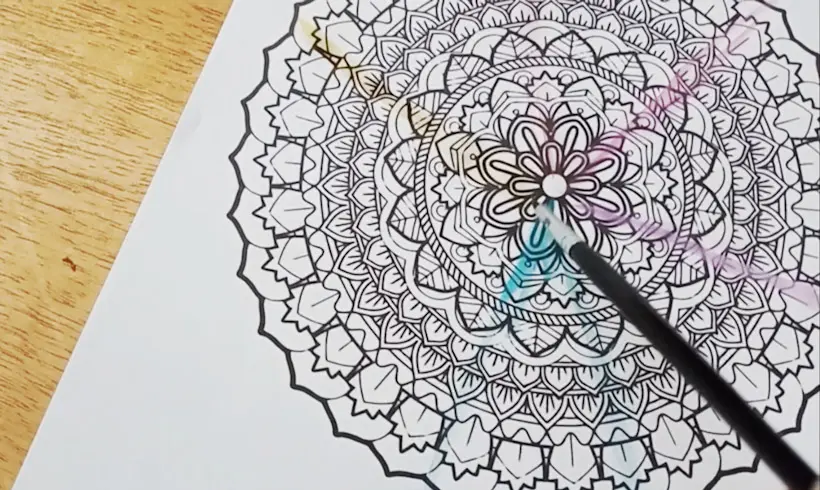
Sometimes it's hard to have a clear idea of how you want the drawing, and since these are watercolors you'll be able to see the results more quickly. Wet the brush in water, select the initial colors, and mark out more areas to paint so you don't go outside the lines.
Step 2: Apply a base layer over the drawing
Select your base colors, wet the brush in water and don't remove the excess. Then pick up pigment and color over your drawing. You'll notice the first layer is light, almost transparent. That's fine! This way you'll be able to see how your drawing is turning out, and if you don't like it, you can fix it or change the colors.
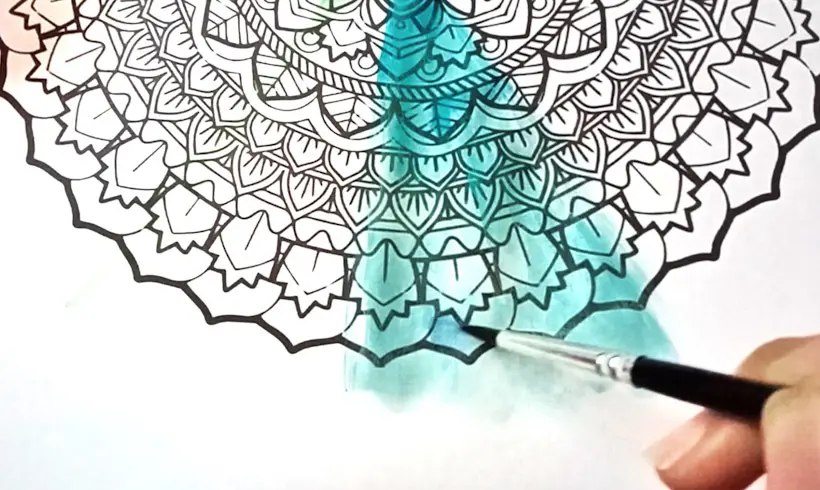
Step 3: Add shadows to the drawing
To add shadows to your drawing, wet the brush in water and remove the excess. This way the amount of water will be much smaller. Then pick up a little pigment on the brush and run it over the surface.
You'll notice it's much darker than the previous one. But don't let it be completely dry! If you pick up the pigment with almost no water you can end up with lumps.
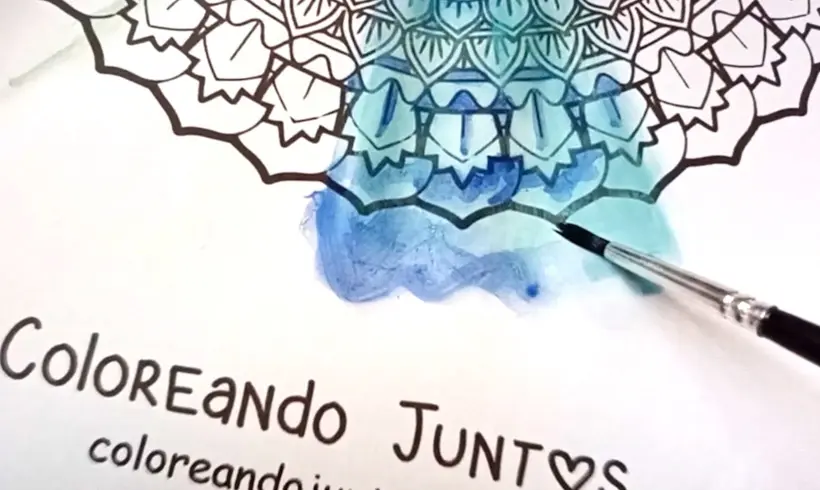
Step 4: Combine other techniques to add details
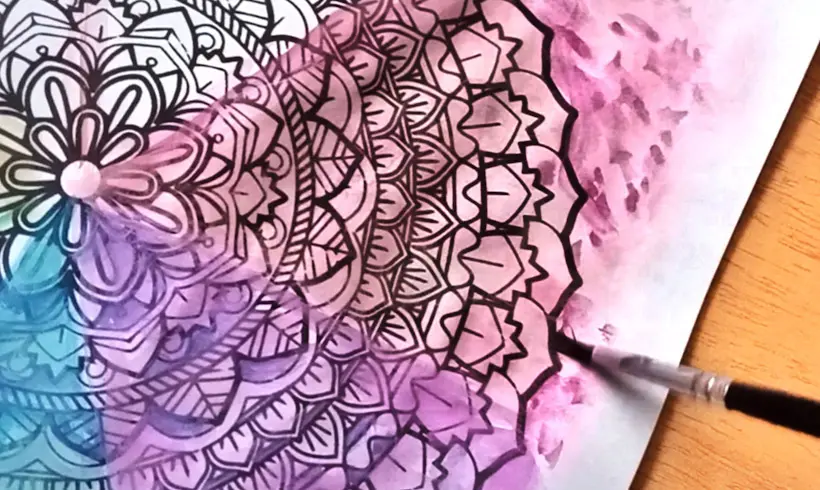
Watercolors are an ideal material to combine with other techniques and get a much more interesting composition. In this case we applied the pointillism technique, picking up a little water and pigment with the brush, and making marks on the sheet as if they were dots. Do you like how it turned out? You can also do gradients and nuances!
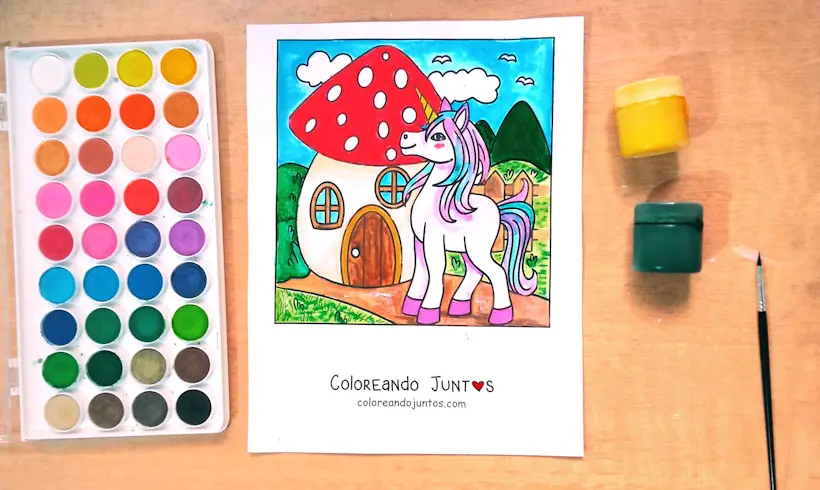
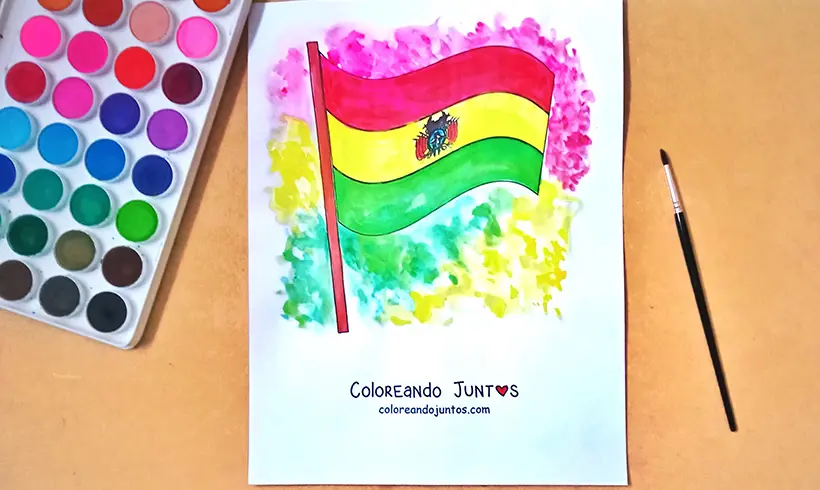
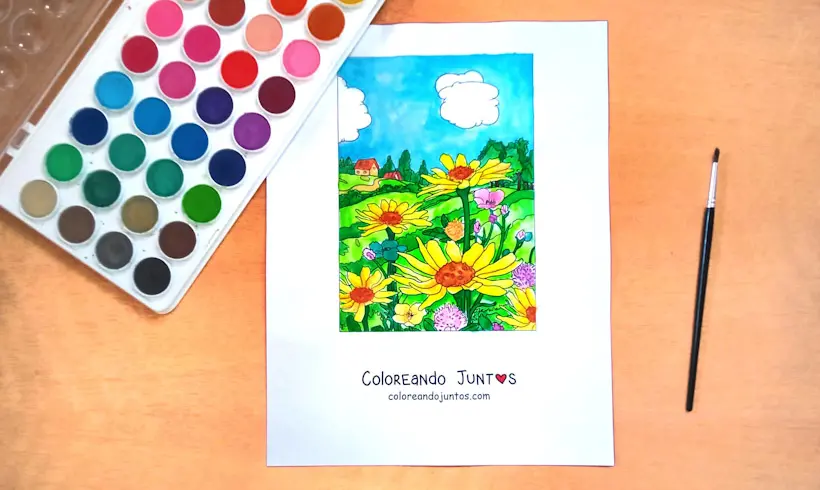
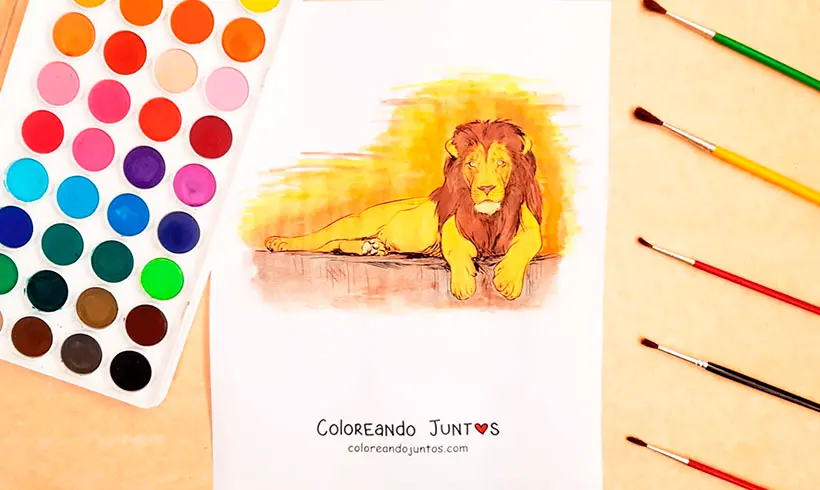
Examples of Watercolor Applied


Techniques You Can Combine with Watercolors
Want to know more about watercolors? Excellent! We still have a lot to tell you. Now we'll explain which other techniques, beyond watercolors, we use to complement our drawings.
Remember, these are techniques used by our artists, and it doesn't mean they're all of them. We're always learning! And we hope you are too.
- Shading: to apply the shading technique, you just need to use little water so the pigment is much darker. Then it's applied in the areas where you want to make shadows and bring out the light.
- Blending: Thanks to watercolors being a very fluid material, it's easy to blend with other tones. Just wet the brush and apply color on one side, and do the same with another tone. You'll see how easy it is!
- Pointillism: Who said you couldn't make dots with watercolors? You just have to use little water and load the brush with pigment. Then try making dots with the wet tip of the brush. You'll see how good it looks!
- Gradient: just like shading, you can use watercolors to make a color gradient. Load your brush with plenty of pigment, paint the dark area, and then use water to dilute it from one end to the other.
Tricks and Tips for Coloring with Watercolors
Wait! We're not done yet. At Coloring Together we want to give you a few tricks for painting with watercolors. It doesn't matter if you're a beginner or an expert looking for new ideas, these tips for painting with watercolors are written no matter your experience. Let's begin!
- If you're a beginner, before coloring with watercolors, use a separate sheet and play with the amount of water you use on the brush. That way you'll be able to observe the intensity of the tones and how they vary with the amount of water you use.
- If you use a lot of paint and less water, it will be hard to fix mistakes, or the paper may tear and balls of pigment may appear. It's best to use a balanced amount of water and paint, and then apply layer after layer.
- Be patient, and let the layers dry. If you want to see how your drawing is coming along, it's best to let it dry so you'll notice how the colors are turning out and whether they need more or less intensity.
- Use paper suitable for watercolor painting. Of course, the paper doesn't guarantee that your drawing will turn out well, that depends on your skills. But if you use thick, textured paper, it will absorb the water better than fine paper would.
- If you use watercolor paper and it bends, then before you start tape it to the table or to a board, with a glue or adhesive tape that won't peel or tear the sheet.
- Watercolors are ideal materials for mixing colors and making nuances. Take advantage of this property! It's not a mistake if it runs a little, or if it merges with another color. Quite the opposite, it's an ideal material for this.
Well, we've reached the end of this journey. Did you learn a lot? We hope so! From now on, the rest is up to you. Let's go color!