The Erasing Technique: Features and Tips to Apply It
We have no material to color with! When we went to check, our bag only had a sheet of paper, a couple of pencils and the eraser. Can you really make a work of art with such simple materials?
The answer is yes! To make a great drawing you do not need much, and in this section we will teach you how to color with the erasing technique. A very useful technique for highlighting shadows and making lights, even for combining some colors.
Let's go! Grab your eraser and your colored pencils, your chalk, your graphite pencils or your charcoal, this time we will teach you how to color your drawings with a very fun and special technique.
What is the erasing technique?
The erasing technique in drawing serves to remove or soften lines using an eraser or a rubber. This technique is used to create light and shadow effects, as well as to soften the transitions between the different areas of the drawing.
The erasing technique is commonly used in portrait and human figure drawing to create soft and realistic shadows. The technique can also be used to create texture effects on different surfaces, such as skin or hair.
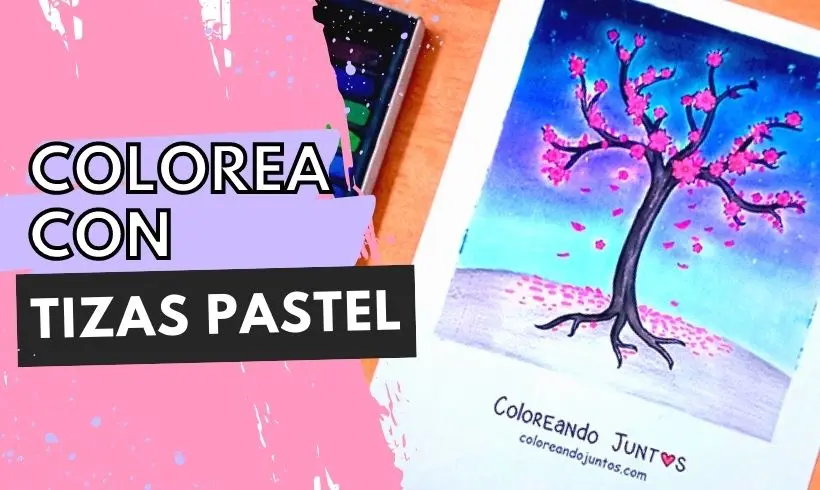
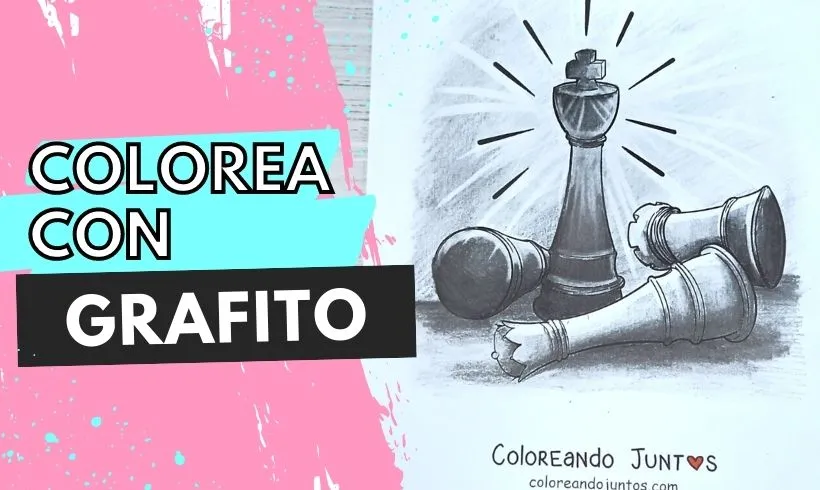
The erasing technique is commonly used with graphite and charcoal pencils, but it can also be used with other drawing media, such as colored pencils or pastels.
It is important to be careful when using this technique to avoid damaging the paper and to get better results.
How to start using the erasing technique?
To use the erasing technique, you should start by drawing the main lines with the pencil. Then, you can use an eraser to remove the unwanted lines and to soften the shadows and transitions.
It is important to keep in mind that erasing too much can damage the paper and make it dirty, so you must be careful when using this technique.
In addition, you can not only apply it with a graphite pencil, you can use colored pencils and chalk, and use an eraser. Regarding the surface, the technique can be applied on any surface, although it will be much easier to apply on sheets, cardstock or papers of any texture.
What is the erasing technique used for?
The erasing technique in drawing serves to:
- Create shadows and lights: Erasing is used to create soft and realistic shadows. By gradually removing the graphite or the charcoal through erasing, you can create smooth transitions between the dark and light areas of the drawing.
- Soften the details: with erasing you can soften the details in the drawing, especially in areas such as the skin or the hair, in case you want to get realistic results.
- Texturize surfaces: it can be used to create texture effects on different surfaces, such as skin, hair and clothing. By using the eraser in different ways, you can create different patterns and textures in the drawing.
- Correct mistakes: Erasing is used to correct mistakes in the drawing, such as unwanted lines or areas that need to be adjusted. The eraser can be used to remove these areas and correct the mistakes.
How to color with the erasing technique
Grab your eraser! It does not matter if it is old or new. If it is a little dirty, clean it because you are going to use it, because you will learn how to color with the erasing technique. It will be a very entertaining day!
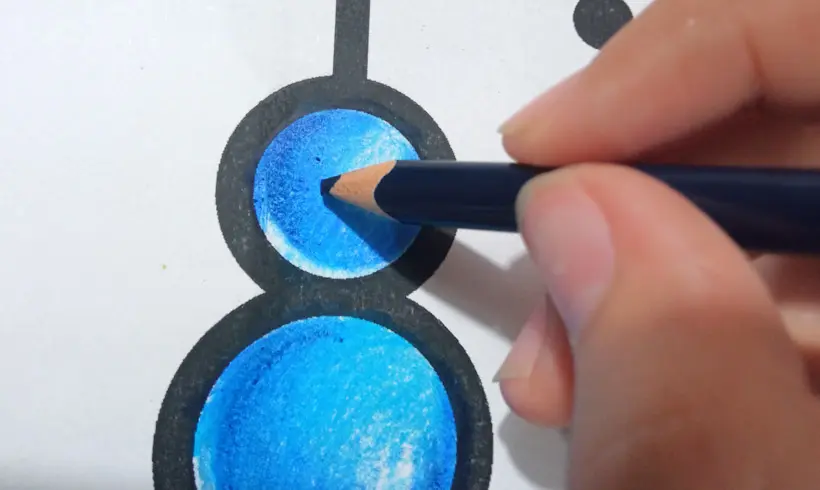
Step 1: Start coloring your drawing
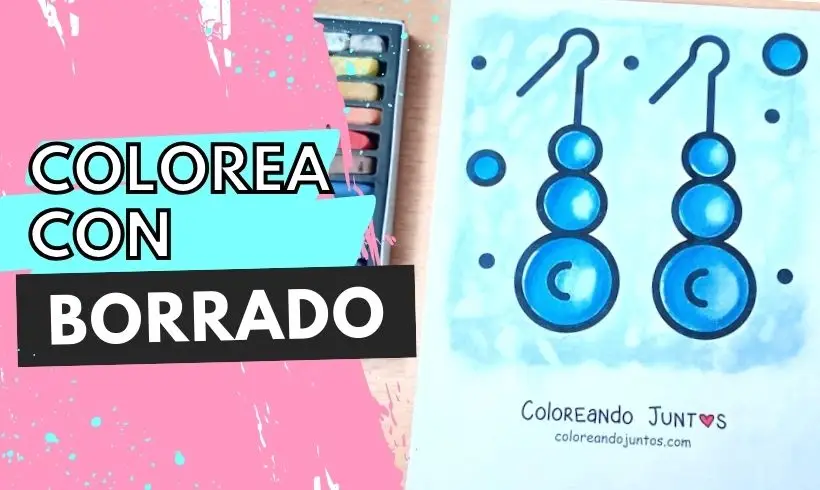
No matter what you are coloring, the first step will always be to color. After all, before erasing, you need something to erase, right? In this case we start by coloring the earrings a light blue color.
Step 2: Apply the necessary color layers. Shade
For the erasing technique to have a greater impact, you need to make a drawing with lights and shadows, that is why you need to apply the shading technique, and layered coloring. Give it a try!
Step 3: If your drawing will have a background, do it first before erasing
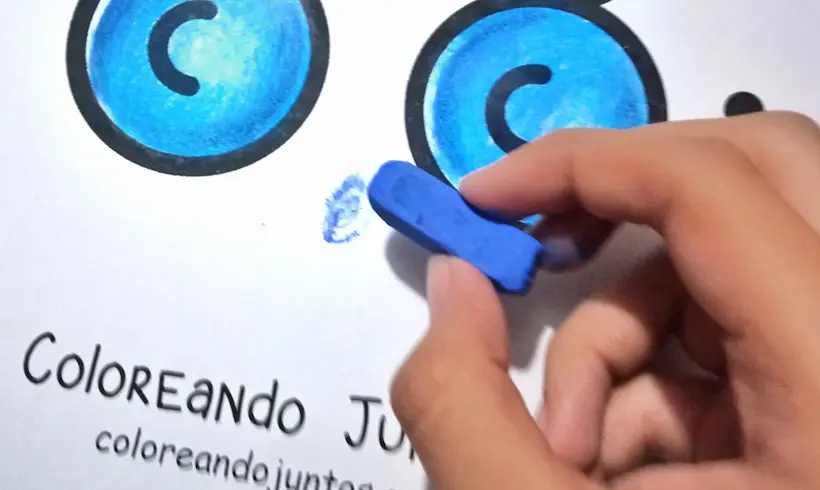
The background provides information about where the lights and shadows will go. If it is a simple background, then it can help you add details to it with the eraser, just as we did in this case.
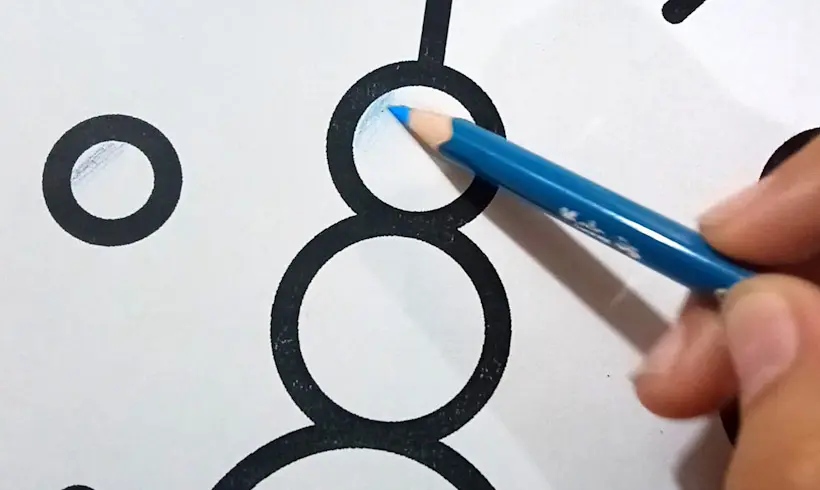
Step 4: Start erasing!
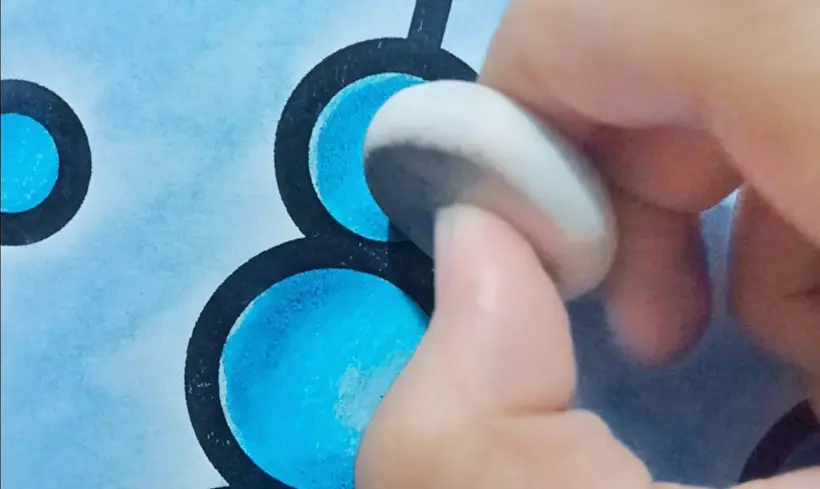
Grab your eraser, and carefully, start erasing in the areas of light. Erase in the same direction, slowly. If you rush you can wrinkle the sheet. It is better to do it carefully! It will not erase on the first try, it depends on the material, so you will probably have to do it more than once. And that's it!
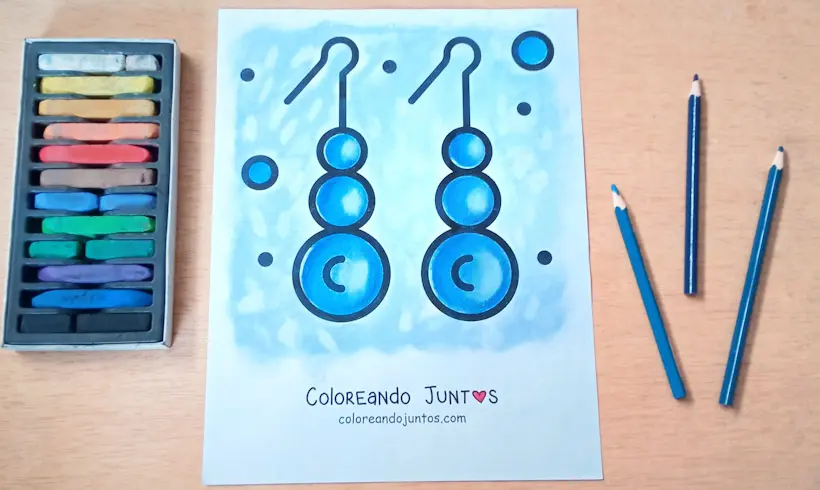
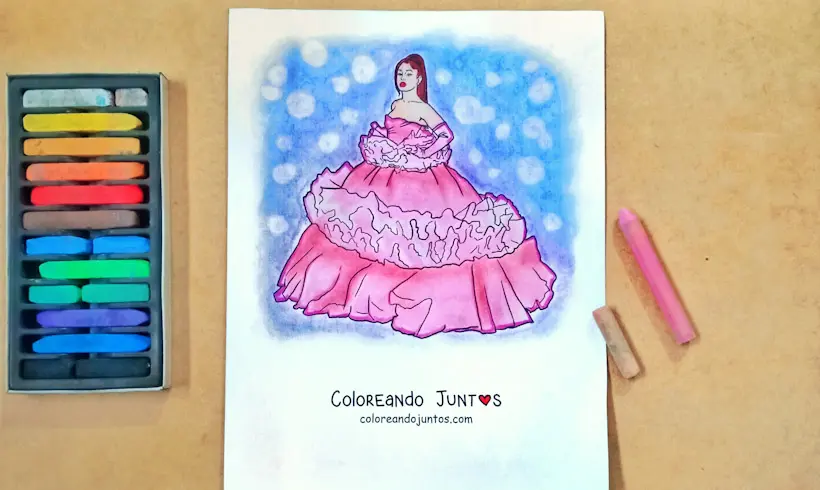
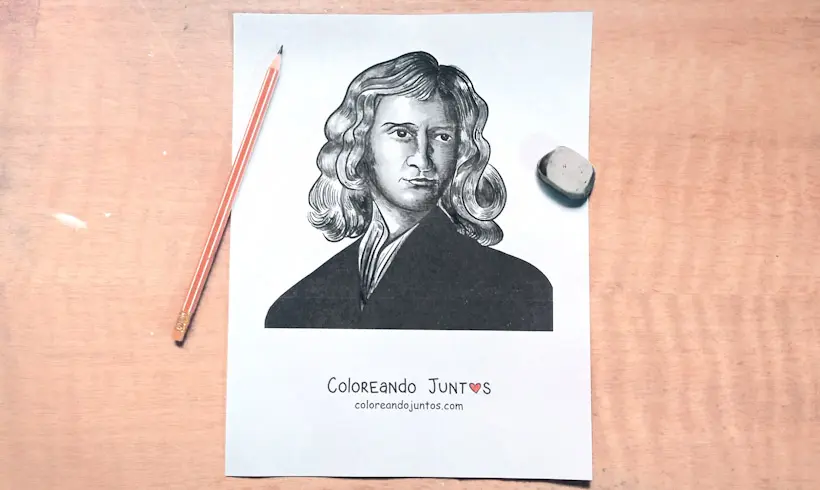
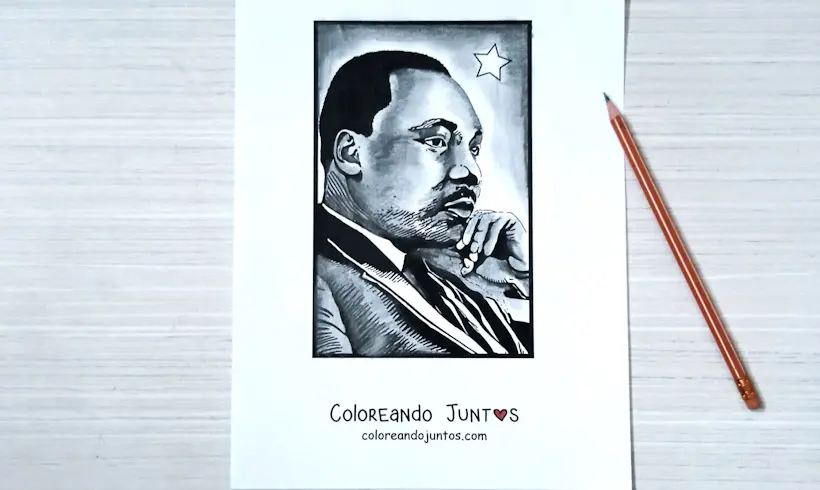
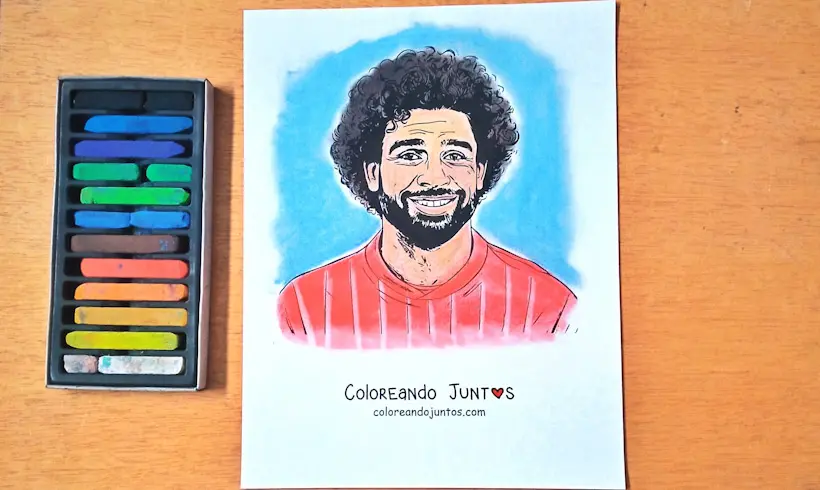
Examples of the erasing technique applied
Techniques to apply with the erasing technique
If you have made it this far it is because you are interested in knowing what other techniques and tools you can use with the erasing technique. We will tell you some that our artists use, but if you know of any other we will be happy to hear it.
- Shading: When you shade a drawing it may be that you need to make hard lines of light in some areas of the drawing, so in these cases using an eraser is very convenient.
- Layered coloring: The more layers, the harder it is to erase, but the better the light will look. So it is an ideal technique to combine with the erasing technique.
Tips and advice for applying the erasing technique
You have almost reached the end, but before that, you can't miss this collection of tips and advice for applying the erasing technique. We hope our experiences help you avoid mistakes and improve in applying this technique.
- It is important to use a quality eraser to avoid damaging the paper and to get better results. Soft and malleable erasers are ideal for the erasing technique.
- It is better to use the eraser gradually, that is, erase in only one direction and in small areas to avoid damaging the paper or erasing more than necessary. Work in soft and light layers to create gradual shadows and lights.
- Do not press too hard when using the eraser, since this can damage the paper and make it dirty. Use the eraser softly and gently to get better results.
- The erasing technique can be used to create textures on different surfaces, such as skin or hair. Use it without fear! You will see how good it is for creating unique patterns and textures in the drawing.
- Do not be afraid to use the eraser to correct mistakes, because depending on the material, it will turn out very useful.
- Generally, the erasing technique is used with dry materials, such as wooden pencils and chalk. Depending on the eraser and its quality, it might be able to erase colored pens. Try it separately before ruining your drawing!
We are convinced that by following these tips, you will be on your way to creating soft and realistic shadows, softening the details, texturizing surfaces and correcting mistakes in your drawings like you have never done before. It is time for you to get to work!