Flat color with markers: Features and Tricks to Apply It

At Coloring Together we came up with an idea. What if, instead of applying complex techniques to make drawings with lots of details, we use one that is simpler, but with results that are just as beautiful? So we came up with using the flat color technique with markers.
Come with us and dare to learn a new way to color the coloring pages that we bring for you. We will gladly teach you step by step how to color without leaving white spaces with markers by applying the flat color technique, whether with markers or with other colors. Let's begin!
What is flat color?
Flat color, also known as solid color, is a color generated or obtained from a pure ink or pigment, that is, one that is not manipulated by other colors. It is a color that, in art, is used without being accompanied by other shades of it.
This technique, although it can be used with many materials, keeps the same principle, which is to paint or color with the same tone and intensity without leaving white spaces. It doesn't matter if you work with strokes of different sizes, as long as the color is the same.
It is worth noting that not the whole drawing is painted a single color, but rather certain areas are painted with a color of the same intensity and tone. To get good results, you need to find a palette that harmonizes with what you want to convey.
What materials should you apply the flat color technique with?
Flat color is a technique you can apply with many materials, like markers or felt-tip pens, oil paint, tempera, watercolors, colored pencils, among others. You can use any material that adds pigment to the drawing and that lets you get, without much effort, the same tone of the color you have chosen.
To apply the flat color technique with markers, you just have to run the marker over the sheet without leaving white spaces. It must be done quickly to avoid lines once the sheet dries. If you use alcohol-based markers, it will show less than with water-based markers.
Flat color with oil paint, or with paints in general, can be applied by setting the same tone and intensity in certain areas of the drawing. You make blots or strokes without manipulating the features of the color.
You can even use different brushes with different thicknesses to create different effects, like the polygonal one. This way it doesn't matter if you use the same color, your piece will look incredible.
You can use this principle for any kind of paint you have, but keep in mind the features of each one! After all, a watercolor is not the same as an acrylic.
How to apply the flat color technique?
It is time for us to teach you everything we know regarding flat color. Do you want to color your drawings in a unique way? Then read the step by step we prepared for you on how to apply the flat color technique.
Step 1 (Optional): Outline the contour of your drawing
If you don't trust your steady hand, then outline the contour of your drawing with the colors you have selected. This way, when coloring, you will avoid going outside the line.
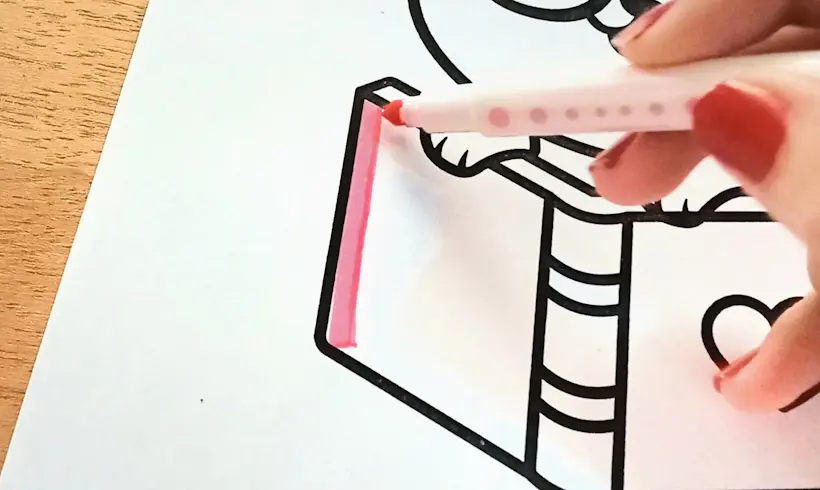
Step 2: Color without leaving white spaces

The flat color technique consists of painting without leaving white spaces with your marker. For that you must paint straight lines very close together and very quickly so you don't have areas with darker tones than others. Be careful not to go outside the lines!
Step 3: Make as many layers as you see fit
If you feel that some of the parts turn out darker than others, then paint more layers of color on top, but always keep in mind that you must do it quickly to get a uniform color. And done!
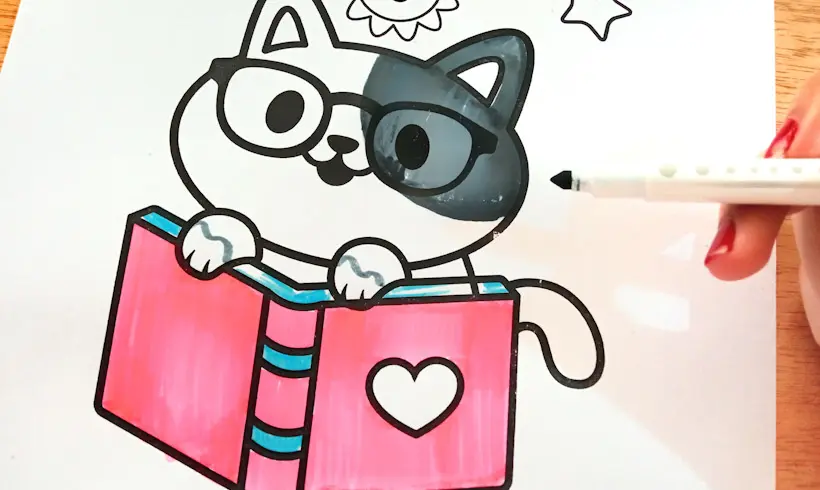
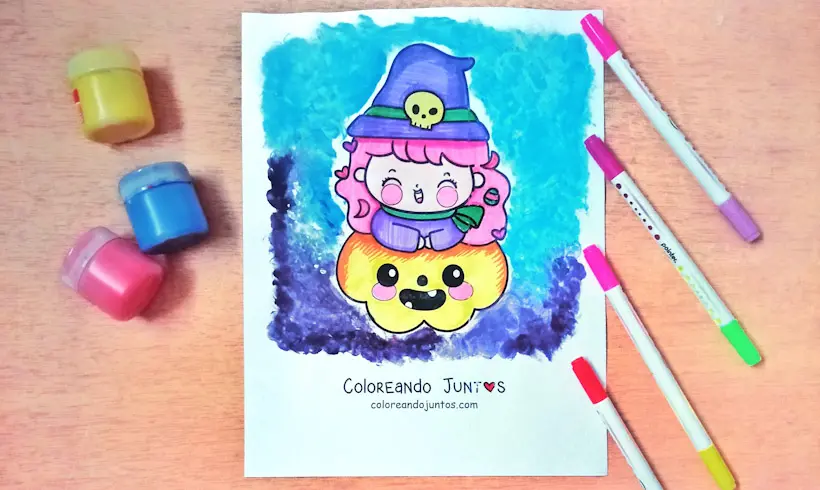
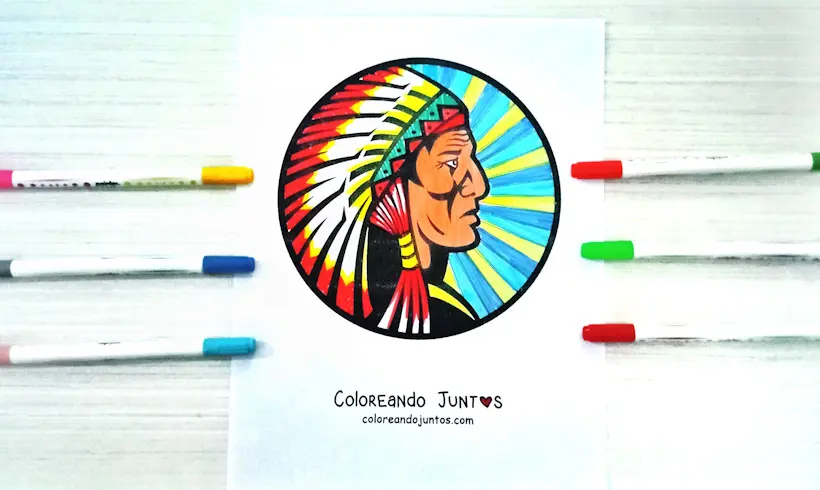
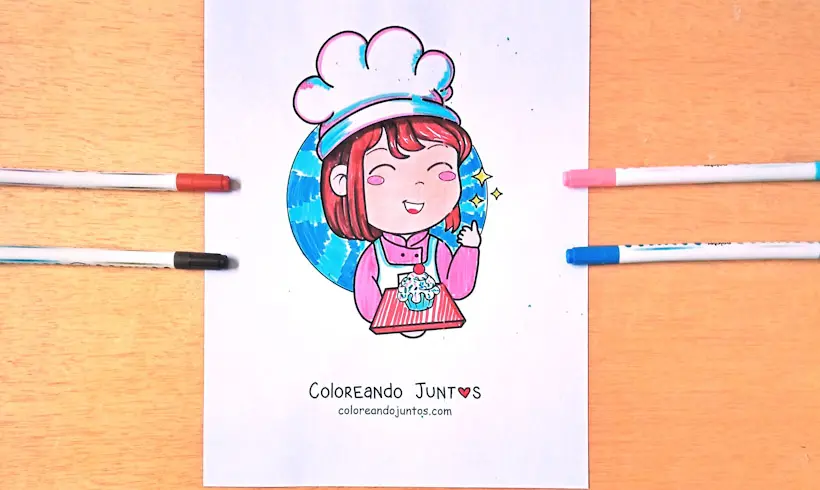
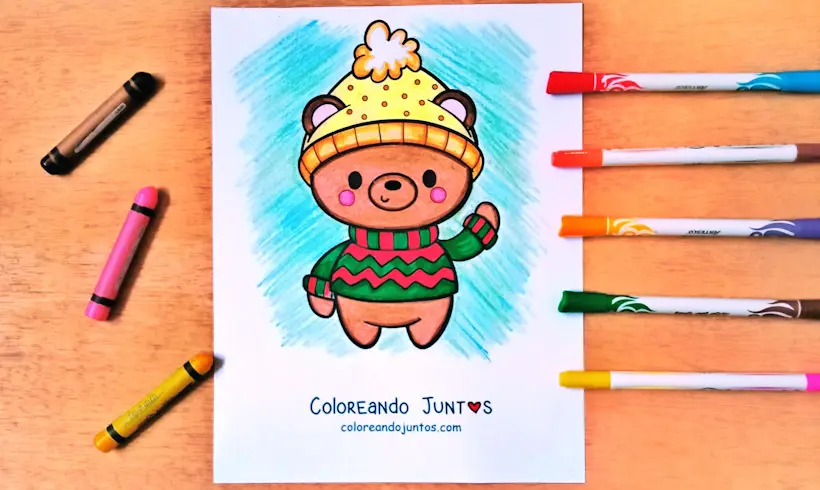
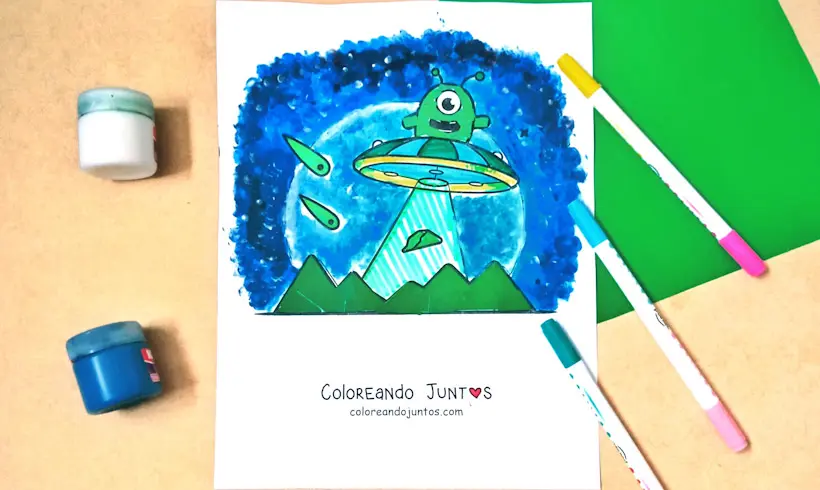
Examples of flat color with markers applied

Techniques to apply with flat color
Although it may not seem like it, you can use and complement the flat color technique with other techniques. Would you like to know which ones? Come on, the only way to improve is to practice.
- Gradient: To make a gradient with flat color, you just have to unify or combine two colors at one point. You start by painting a color from one end with the same tone (flat color) and you repeat the same on the other end, until both unify in the center.
- Mosaic: Flat color consists of painting without leaving white spaces in a certain area, so, you can color with markers as if you were making a mosaic, and paint the squares with the flat color technique. Without shading! Always keeping the same intensity and tone.
- Coloring by layers: If by accident one side of your drawing has turned out darker than the other, then you can try coloring again with the same color, until finally the tone is the same throughout the drawing.
Tricks and tips to apply the flat color technique
Before finishing, we don't want to leave without sharing with you some tricks and tips to apply the flat color technique. We hope they are useful to you.
- If you have a thick-tipped marker and you want to apply flat color in a small area, color using the thinner part of the tip, that way you will avoid going outside the lines.
- Color your drawing quickly if you are going to use markers, because that way you will avoid being left with areas in a different tone. Remember that the goal of flat color is for the colors to come out uniform for you.
- If you are going to use paint, then you must be patient, because depending on the material, it could take time to dry, therefore, it will take you a while to see the results. If the colors are not uniform, then you will have to apply a new layer of color on top.
- If you are going to use colored pencils, to apply the flat color technique color layer after layer of a single color, without combining with others, or making shadows. It has to be a solid and uniform color!
That has been all we have to teach you. Was it useful to you? We are eager to see what kind of work of art you will create with the new knowledge you have gained. Come on! We are sure you will do a great job.