Finger Painting: Features and Tricks to Apply It

Let's use our hands to make art! Do you like the idea? Because we think it's fun to paint coloring pages with more unusual materials, like our fingers. What do you think?
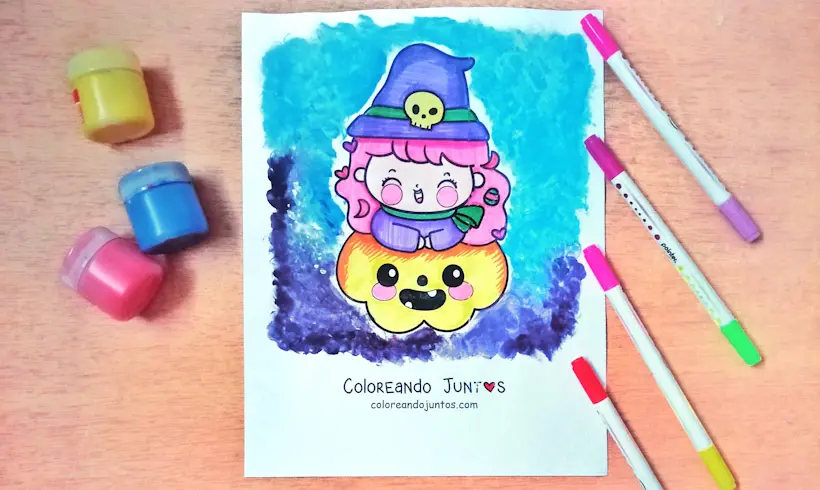
Come with us. At Coloring Together we are delighted to show you step by step how to apply the finger painting technique so your drawings turn out beautiful and different. This section is for those who love getting covered in paint. Come and enjoy the process with us.
What Is Finger Painting?
Finger painting is an artistic technique that consists of painting with your fingers. With no other material! Just your fingers. To do it, your hand or fingers must come into contact with whatever substance you use to paint, whether tempera, paint, watercolors, or acrylic.
The Spanish word for finger painting, “dactilopintura,” comes from the Greek “dactyl” and the Latin verb “pingere,” which means to paint with the fingers. However, even though everyone knows what finger painting is, this word is not part of the dictionary of the RAE (Royal Spanish Academy)
Benefits of Finger Painting
Painting with your fingers is an activity that supports psychomotor skills. In children this is especially useful because they learn to develop their sense of touch and their creativity.
In addition, children who apply the finger painting technique can boost their self-esteem, awaken their artistic creativity, and learn to recognize colors and textures. From a more psychological standpoint, it helps stimulate motor coordination and the psychomotor skills of the hands and fingers.
Finger painting can even strengthen children's independence. So many benefits! Right?
The best thing about this technique is that it can be used from an early age, although it should be done under supervision to keep the baby or child from swallowing the products used for painting. Be very careful!
Effects of finger painting on children
Various studies have been carried out on finger painting. They have revealed a series of behaviors that children tend to show when they use this technique.
The most common behaviors are:
- They smell and touch the paint with curiosity.
- In general, they don't want to get their hands dirty to paint, or they start with just one finger.
- They pour the paint outside the canvas they have been given.
What materials are used to paint with your fingers?
The ideal choice for children to paint with the finger painting technique is a non-toxic material. These natural paints can usually be found at any stationery store.
If you are an adult, you can use any kind of paint, or another material! This technique can be used with a variety of materials, such as clay, polenta, tempera, oil paint, watercolors, and more. It's just a matter of trying each one of those materials!
How do you apply the finger painting technique?
Let's get our fingers covered in paint! Or our palms and elbows, whichever you prefer. Find your favorite paints and pick a coloring page. Do you have it in your hand already?
Great! Because from here on we'll explain step by step how to apply the finger painting technique with colored tempera. We recommend having a lid or a container where you can mix colors.
Step 1: Have your tools on hand and mix colors
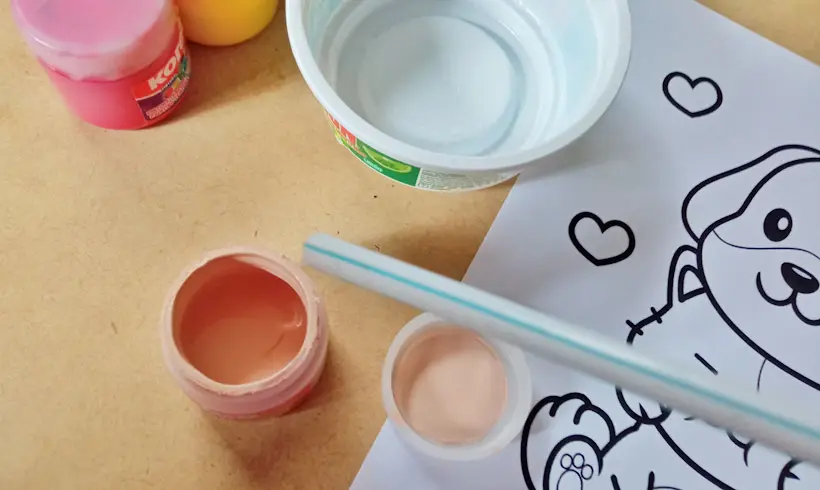
Have a container where you can place several colors and mix them, since you usually won't have all the ones you want, so you can create them through mixes. In this case, since I didn't have brown, I mixed red, blue, and yellow. This is very important!
Step 2: Get your fingers covered in paint and start painting!
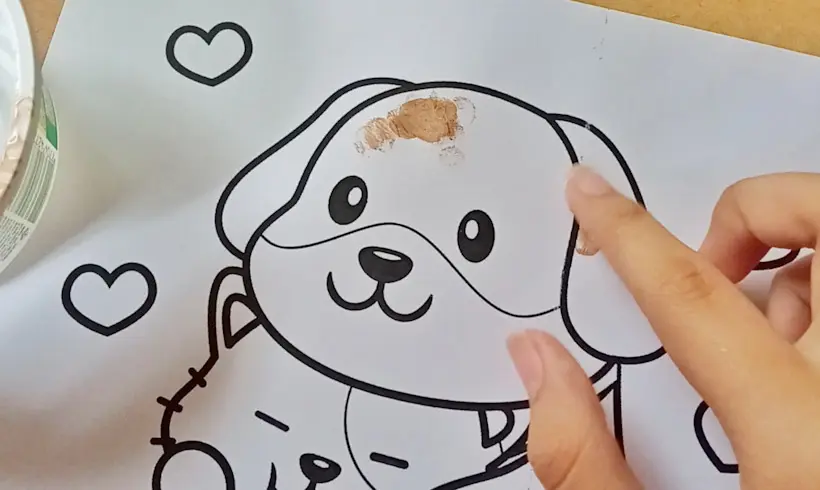
Once you have the colors you want, start painting! Dip your fingers in the paint and start painting on your drawing. Ideally you should start painting with a base color, just like regular drawings.
You can paint by making dots with your fingers or by spreading the paint. In both cases, we advise you to be careful, especially if you paint on paper, because if you do it roughly it can tear.
Step 3: Apply shadows and highlights to your drawing
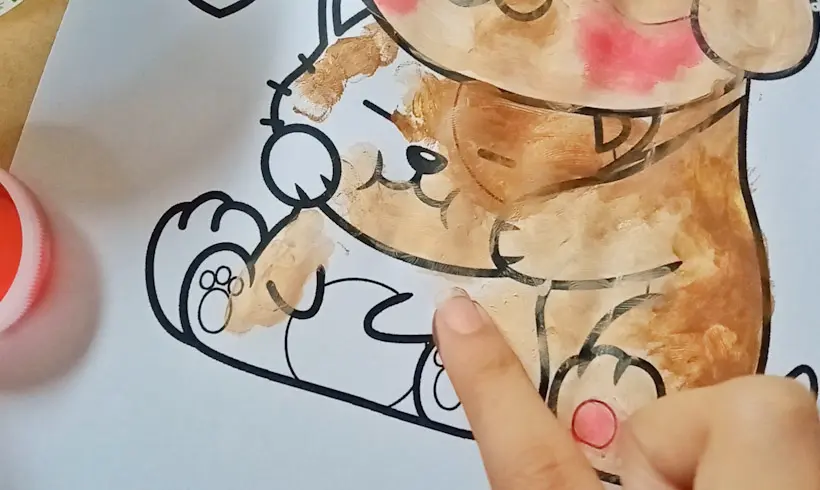
Just like other techniques, you can use various techniques with finger painting, such as shading. Use a darker color and paint with your finger the areas you want to shade. If it's a very small area, use your index finger. Or your nails! In this case we shaded one end of the puppies and used a light tone for the other end.
Step 4: Repeat the procedure wherever you want
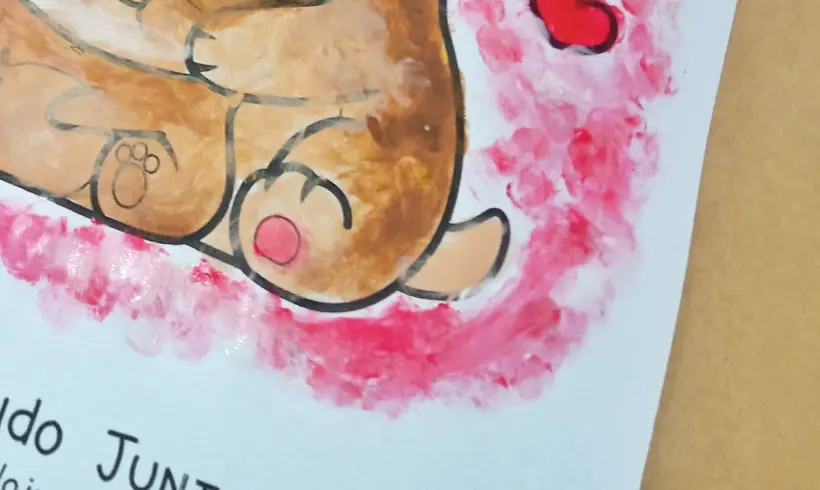
Painting with the finger painting technique is very simple, and the best part is that you can apply the procedure wherever you want. In this case, we did it on the background, where we mixed white and red directly to get a pink tone.
We could have mixed the white and red beforehand; however, by doing it directly on the paper I was able to get several shades of pink, some more intense than others. Give it a try!
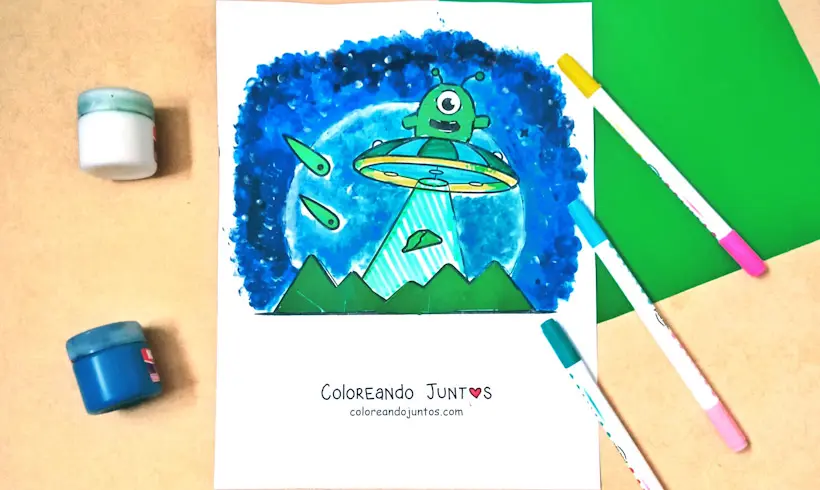
Examples of finger painting in action
Techniques to use with finger painting
Finger painting is a technique that can easily be combined with other techniques to get better results. To become an expert at this, all you have to do is practice a lot. That's why we want to tell you which techniques we use together with finger painting. Which one will you start practicing with?
- Whitening: In the case of paints, to whiten, use white while the paint is still wet, and rub your finger over it to blend the base color with the white and soften the tone.
- Shading: Depending on the color you chose as your base, you can shade it by mixing that base color with another analogous one, but darker.
- Blending: Blending with paints is much easier than with pencils, since you just have to paint with different colors and then use white to unify them at the point where both colors intersect.
- Flat color: Your drawing doesn't need to have a lot of detail. You can paint it with flat colors, like red or blue. Try adding textures to it! You'll see how interesting it looks.
Tricks and tips for coloring with Finger Painting
Before you run off to grab your paints to apply the finger painting technique, at Coloring Together we want to leave you a few tricks and tips for applying the finger painting technique. This way you'll know what to do and what not to do when painting.
- Do your research before mixing colors. If you don't want to waste materials and you're not sure how to mix several colors, then the best thing you can do is look up beforehand which combinations will give you specific tones.
- Choose, before you start, a color palette that harmonizes with what you want to create. Sometimes dropping colors at random won't give you harmonious results, so it's better to test on a separate sheet the colors that would look best in your work.
- Depending on the paint, you'll have to wait for it to dry. For example, tempera and oil paint take a while to dry, so if you want to make shadows or layers on top of the one you already made, you'll have to wait for it to dry. On the other hand, if you use acrylic, it dries faster, so you won't have to wait long.
- Keep a damp cloth on hand so you can clean your fingers when you finish with a color, because that way, when you use another color, they won't mix and you won't get smudges or unwanted tones on your drawing.
We have nothing left to teach you! From now on it will be a journey you'll have to make on your own. Excited? Because we can't wait to see the fruits of your learning.