Colored Pencil Shavings: Features and Tricks for Applying Them
We would love to make a beautiful sky with blue colors, but we don't have chalk! What can we do? Did you think the same thing we did? Let's recycle a material we always have on hand and that we almost never notice. Let's paint with colored pencil shavings!
Don't know how to apply this technique? Don't worry! At Coloring Together we prepared this section just for you, so you can learn how to color with colored pencil shavings, with our tutorials and the step-by-step of this technique. Shall we begin?
What are colored pencil shavings?
Pencil shavings are the residue you get from pencils when you sharpen them. It's the wax and wood that come out of the sharpener's compartment. Did you know they can be used to make art? It's the best way to recycle materials!
Also, pencil shavings can come in handy in case you don't have colored chalk and want to do a wide blend in your composition. It's possible! You just have to sharpen a lot.
Colored pencil shavings are used on smooth surfaces, like a sheet of paper or cardstock. If you use them on porous surfaces you can make the wax or pencil lead stick to one of the pores and leave it stained.
With colored pencil shavings you can get very interesting textures, because if you use the thin wood of the pencil, you can glue it onto the artwork, and make a very dynamic composition.
How to apply the colored pencil shavings technique?
The time has come for us to explain to you step by step how to apply the colored pencil shavings technique for your drawings. Ready to make homemade chalk? It will be a very fun and eco-friendly way to use your drawing materials.
Hold it right there! You're invited to come into our video tutorial about colored pencil shavings. We're sure you'll learn a lot!
Don't miss it!
If you liked this video, we invite you to subscribe to our YouTube channel.
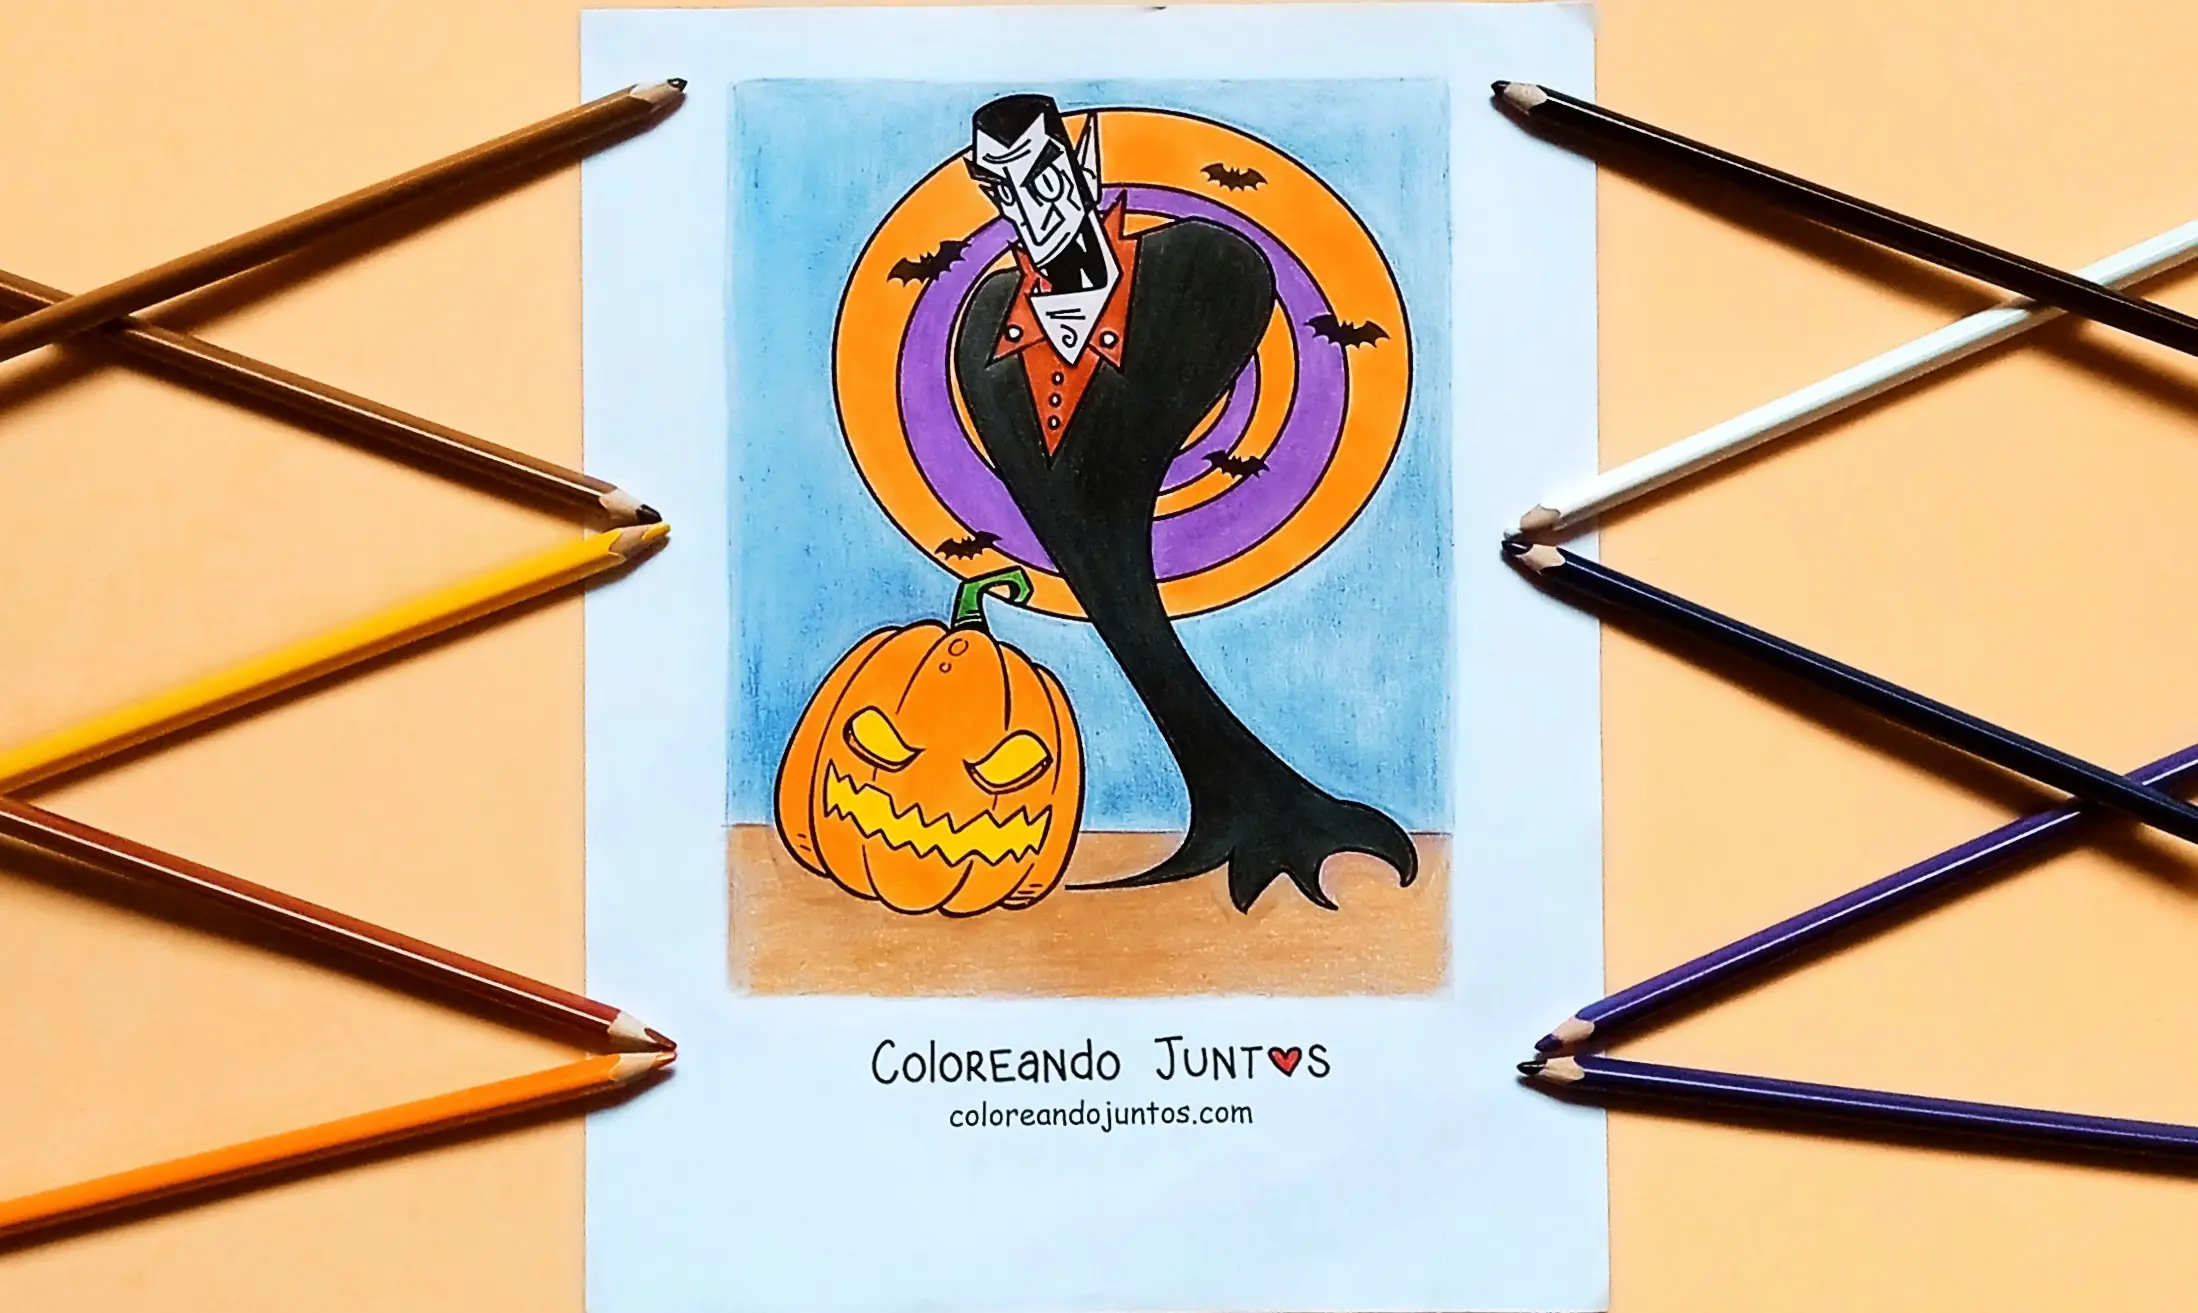
Step 1 (Optional): Outline the edges of the drawing

Before you start coloring your drawing, outline the edges so you reduce the chances of going outside the lines. This way you'll get a better finish. Give it a try!
Step 2: Sharpen your pencil and use the shavings to blend
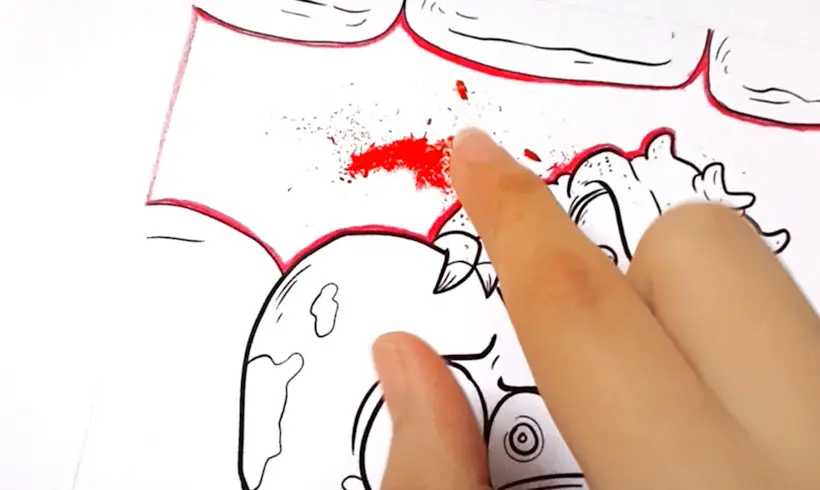
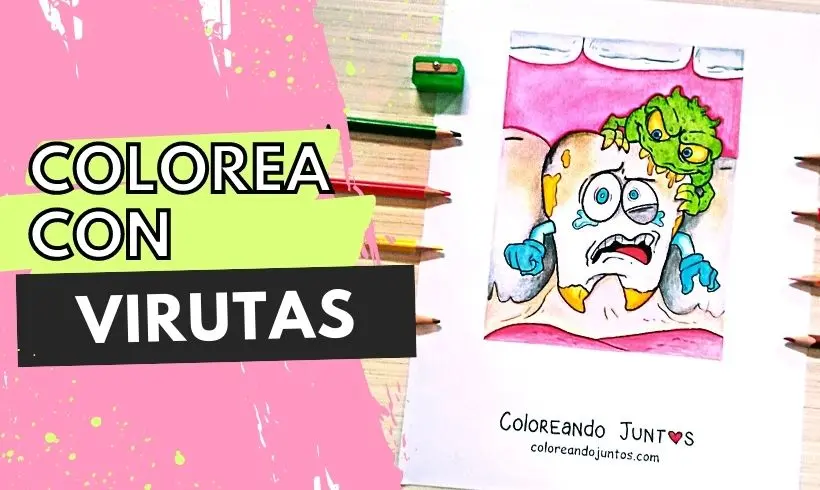
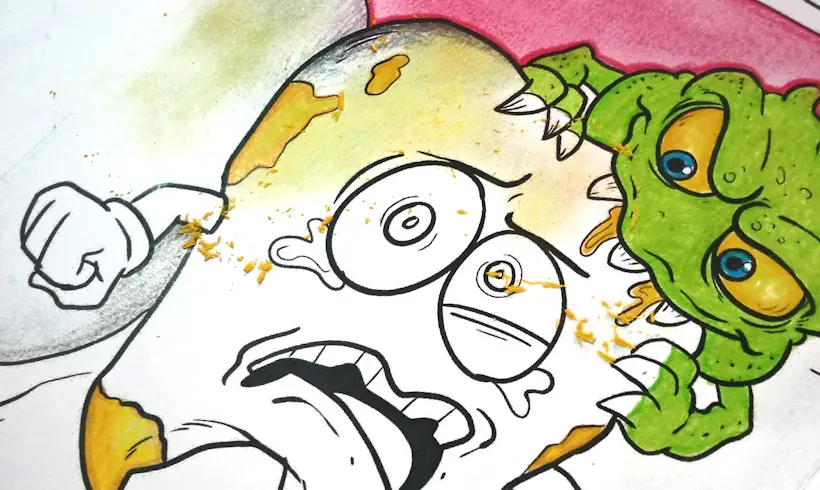
With a sharpener, sharpen the pencil you have chosen, and use the colored pencil shavings to blend in a certain area. In this case, we used red to blend the inside of the mouth, so it would turn out a light, uniform red. Blend with your finger! Or with a piece of paper or cotton.
Step 3: Add details to your drawing with other techniques
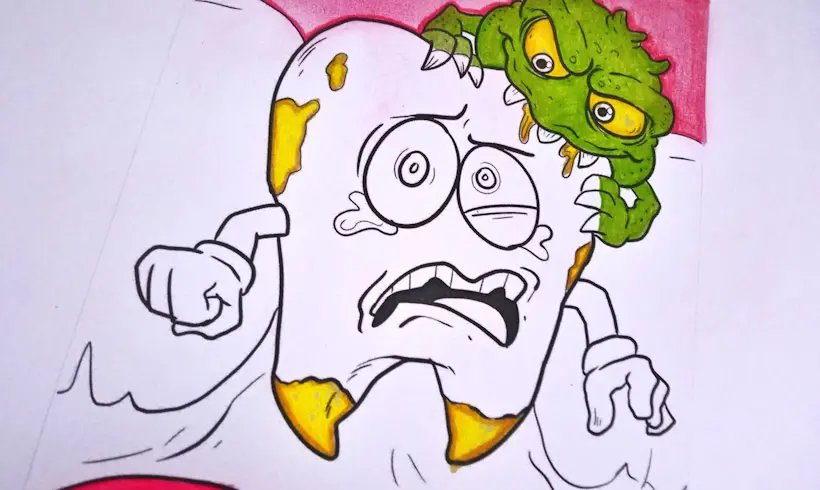
Not all of your drawing has to be colored with the same technique. Apply others over the drawing so it has variety and turns out better. In this case, we applied the shading technique to make details on the tooth, and circular coloring to paint the bacteria. Do you like how it looks?
Step 4: Keep adding shavings, blend. And more details!
Take advantage of the wide spaces in the drawing to use the shavings, and combine several colors among them to get various shades. Go for it! In this case, we used gray and yellow shavings to paint the infected, poorly cared-for tooth. Do you think we managed to give it that look? Give it a try!
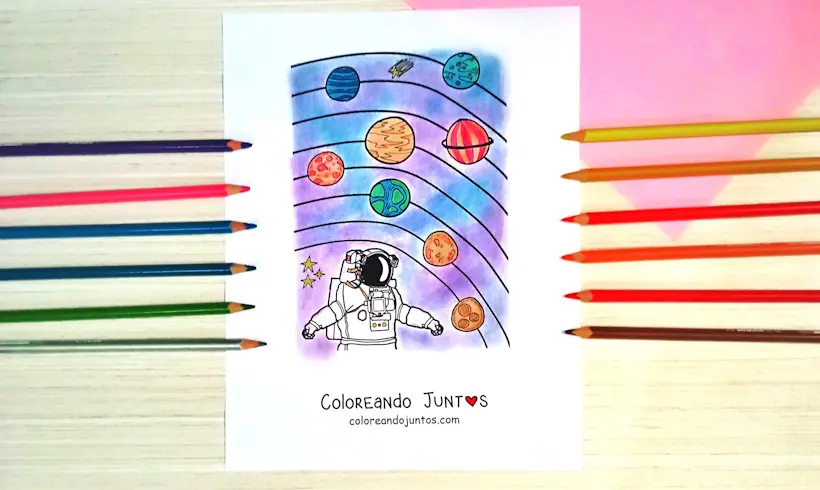
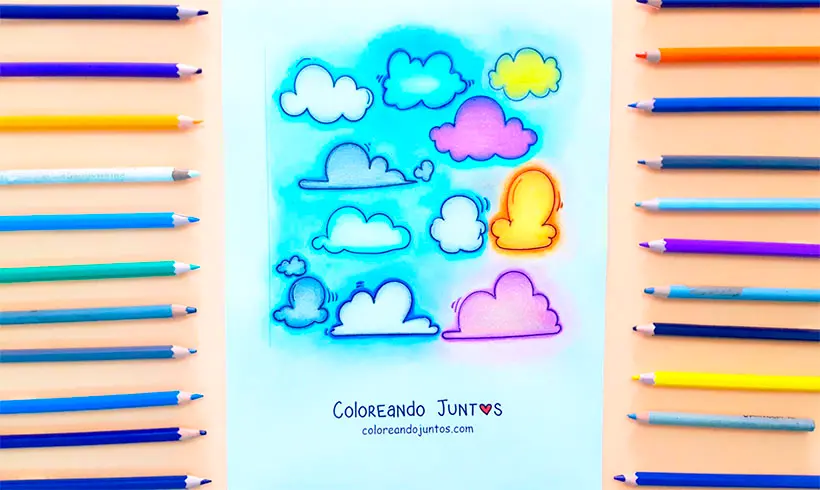
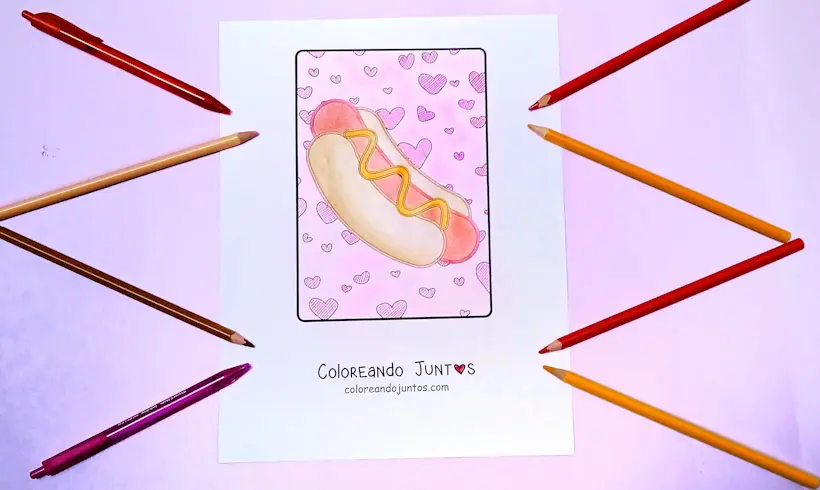
Examples of Colored Pencil Shavings applied
Techniques you can combine with Colored Pencil Shavings
We're not done with you yet, little artist. Colored pencil shavings are materials that have a ton of uses and combinations with other materials and techniques. Want to know what else you can apply using them? Come on! We'll mention some techniques that our artists combine.
- Shading: If you have enough space, use the shavings and shade, all you have to do is place more shavings in a certain area, and focus on blending only that part. You'll see how it gets darker than the rest.
- Blending: By common sense, if you use colored pencil shavings, the most normal thing is that you blend to get an effect very similar to that of chalk. What can you blend with? With whatever you want! It can be cotton, toilet paper, a blending stump, or your finger!
- Circular coloring: Who says you can't color in circles and then apply shavings? You'll have a slightly more intense finish, you'll fill in the whole area of the drawing, and it will also look uniform thanks to the blending.
Tricks and tips for coloring with Colored Pencil Shavings
If you've made it this far, you already know almost everything about the colored pencil shavings technique. However, we still have some tips and tricks about colored pencil shavings that can come in handy when you color. Come with us and explore this technique even more!
- When you use colored pencil shavings, make sure you don't have any piece of shaving that's too thick, because when you go to blend, instead of giving you a chalk effect, you'll scratch the sheet. Be careful!
- Use all the shavings. Sometimes out of haste we tend to blend a little, and to see how it looks, blow away the leftover shavings. Don't do it! Use them all, and then look at the result, or otherwise, set them aside and check whether you need more.
- The shavings aren't necessarily there to replace chalk. You can use the wood cut by the sharpener to make textures, or you can glue pieces onto parts of the drawing that suit you best. Don't be afraid to invent with whatever you have!
We've reached the end! Did you like what you read? We hope it's helpful when you color. Ready to get started?