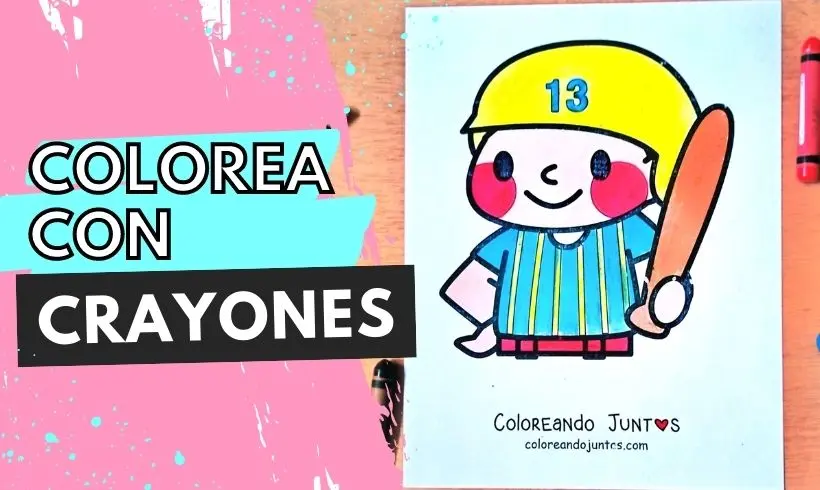
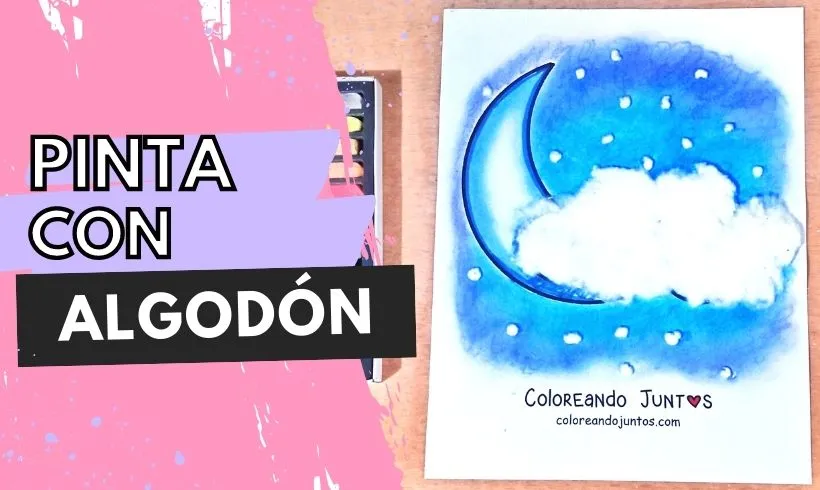
Mosaic: Features and Tips for Applying It
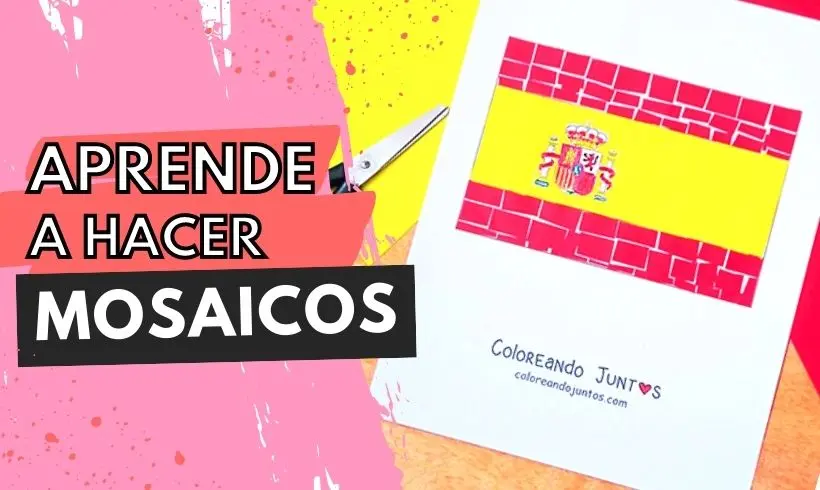
The time has come to apply a technique that takes a lot of patience and creativity. Have you guessed which one it is yet? That is right! It is time to paint with mosaics.
To do it, you do not need to be an expert. Just grab your paper and scissors; in this section you will learn how to color with the mosaic technique. Are you ready? Great! Let us make a mosaic full of color!
What is a mosaic?
A mosaic is an artistic piece made up of different elements, such as ceramic, stone, or other materials that have eye-catching colors. A mosaic is usually made on flat surfaces.
Besides being a work of art, it is also a technique used for various purposes, such as wall covering or as flooring. In fact, this technique is very common in bathroom decoration. Have you noticed?
In art, a mosaic is made for decorative purposes; various elements are combined to form a composition that will decorate a wall, a floor, or a ceiling, as a substitute for paint or any other covering. Each part of the mosaic is known as a tessera.
Origin of the mosaic
The origin of the mosaic dates back to the third millennium BC, in a Mesopotamian temple where the first mosaics were found. These were pieces made of ivory, shells, and stones,
From then on, the foundations of the mosaic were laid in ancient Greece and in the Roman Empire. Then, from the 4th century until the Renaissance, mosaics began to appear in Catholic basilicas all over Italy. These mosaics were works made of glass that adorned the ceiling and the floors.
Later, mosaics became important works for the Byzantines. The interiors of Byzantine churches were usually covered with golden mosaics. It is said that this art flourished between the 6th and 15th centuries, during the Byzantine Empire.
On the other hand, mosaics played a very important role in Islamic architecture. It was a popular technique in the 7th and 8th centuries. Works made with this technique used to appear inside and outside buildings, as well as on facades.
What does the mosaic technique consist of?
The mosaic is an artistic technique that consists of applying tesserae, or portions of elements, arranged in an orderly or disorderly way until they form an image.
To place the tesserae, you use a glue suitable for the material being used. The mosaic technique can be applied to almost any surface, however, it is easier to place the tesserae on flat surfaces.
The shapes of the tesserae are usually varied, and they range from geometric figures, such as circles or triangles, to figurative shapes.
How to apply the mosaic technique?
Come with us to paint! The time has come to learn how to color with dots. Below we will leave you a step-by-step description of how to color with the pointillism technique.
We combine it with chalk and crayons, but you can use the materials you like best.
Step 1 (Optional): If your drawing has very small details, color them with another material

If the drawing you have chosen has very small details, then it is best to use another material to color it. You could do it with the paper, but it would take you a long time! And although the mosaic is a technique for practicing patience, we also do not want it to take forever because we might get tired. After all, the goal is to have fun.
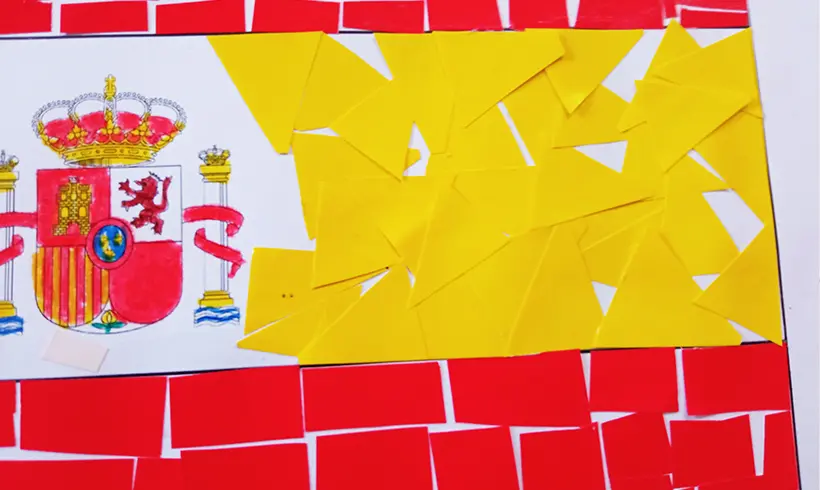
Step 2: Start cutting out the shape of your choice
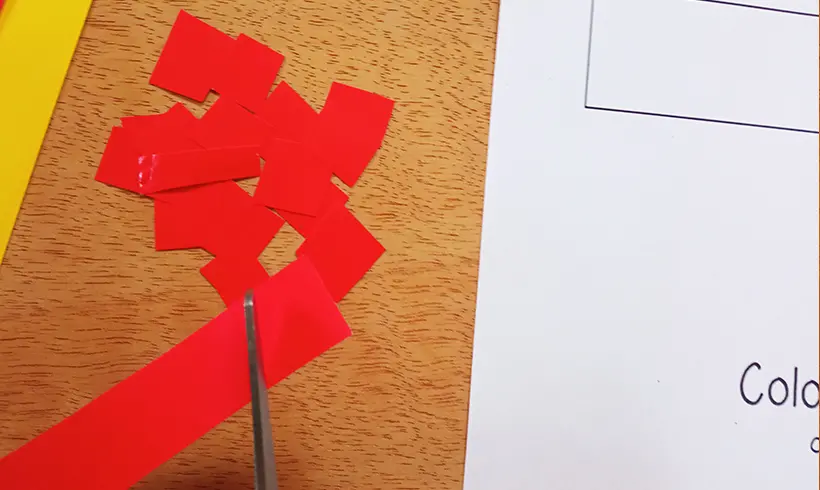
I started by cutting out imperfect red squares with my scissors. Make lots of cutouts! They do not have to come out perfect, but if you want them all to be the same, then you can measure with a ruler and cut afterward.
Step 3: Start gluing the squares!
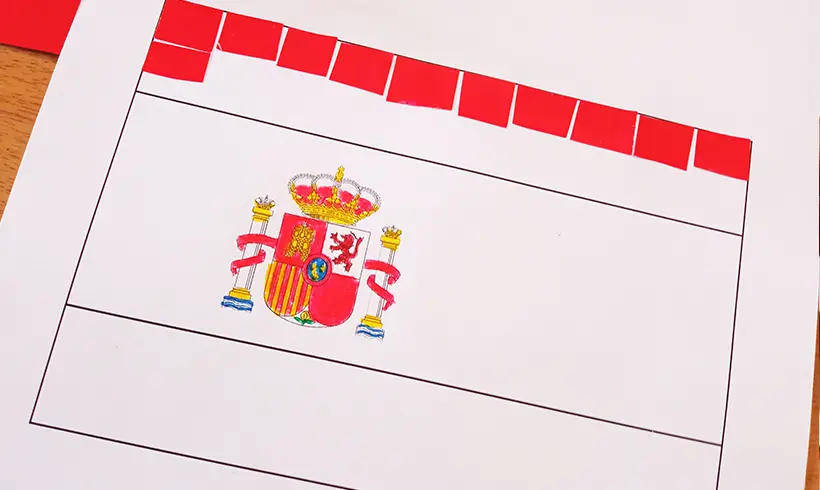
Use a glue stick to glue the pieces of glossy paper or construction paper. Put glue on them one by one and organize them on the sheet however you like. In this case, I left a small white space in the red strips.
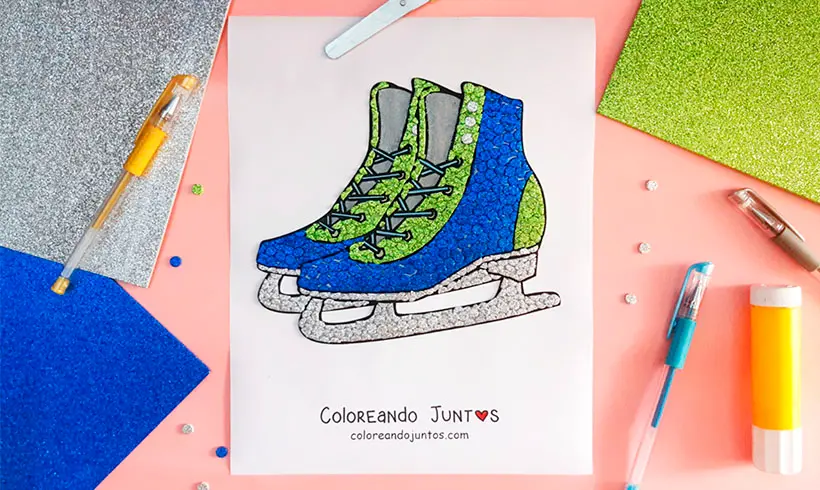
Step 4: Cut out the shapes of your choice

Squares, triangles, or rectangles! Cut out the shapes of your choice. In this case I cut out triangular shapes to glue them on top of one another.
Step 5: Repeat the procedure and glue all the cutouts!
Start gluing again all the little pieces of paper you cut out. Another way to glue everything faster is to put glue stick over the whole area of the drawing and then stick on the cutouts.
Although keep in mind that, if you are going to place some pieces on top of others, then you will have to add glue again. And that is it!
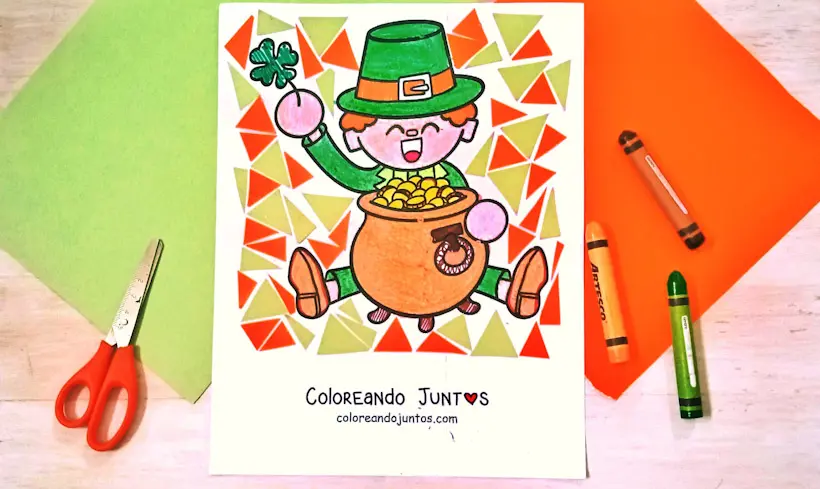
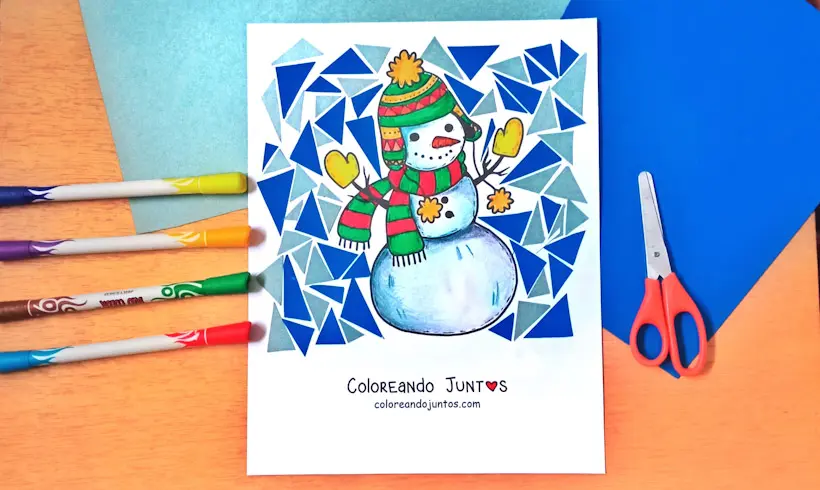
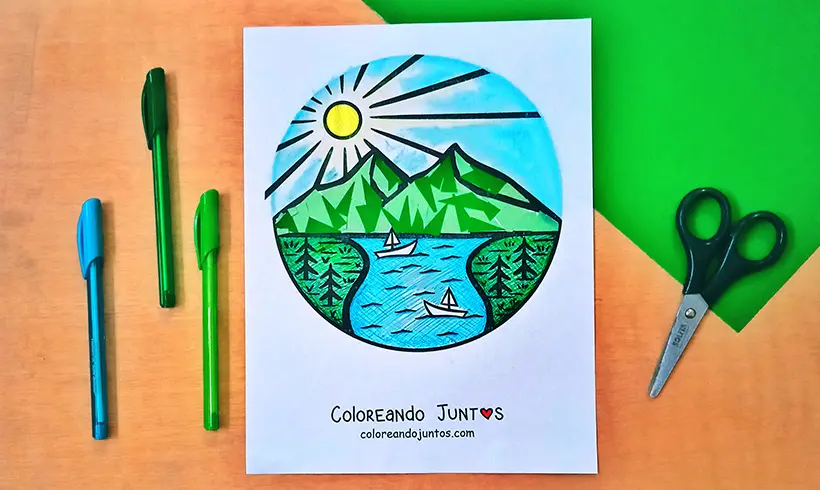
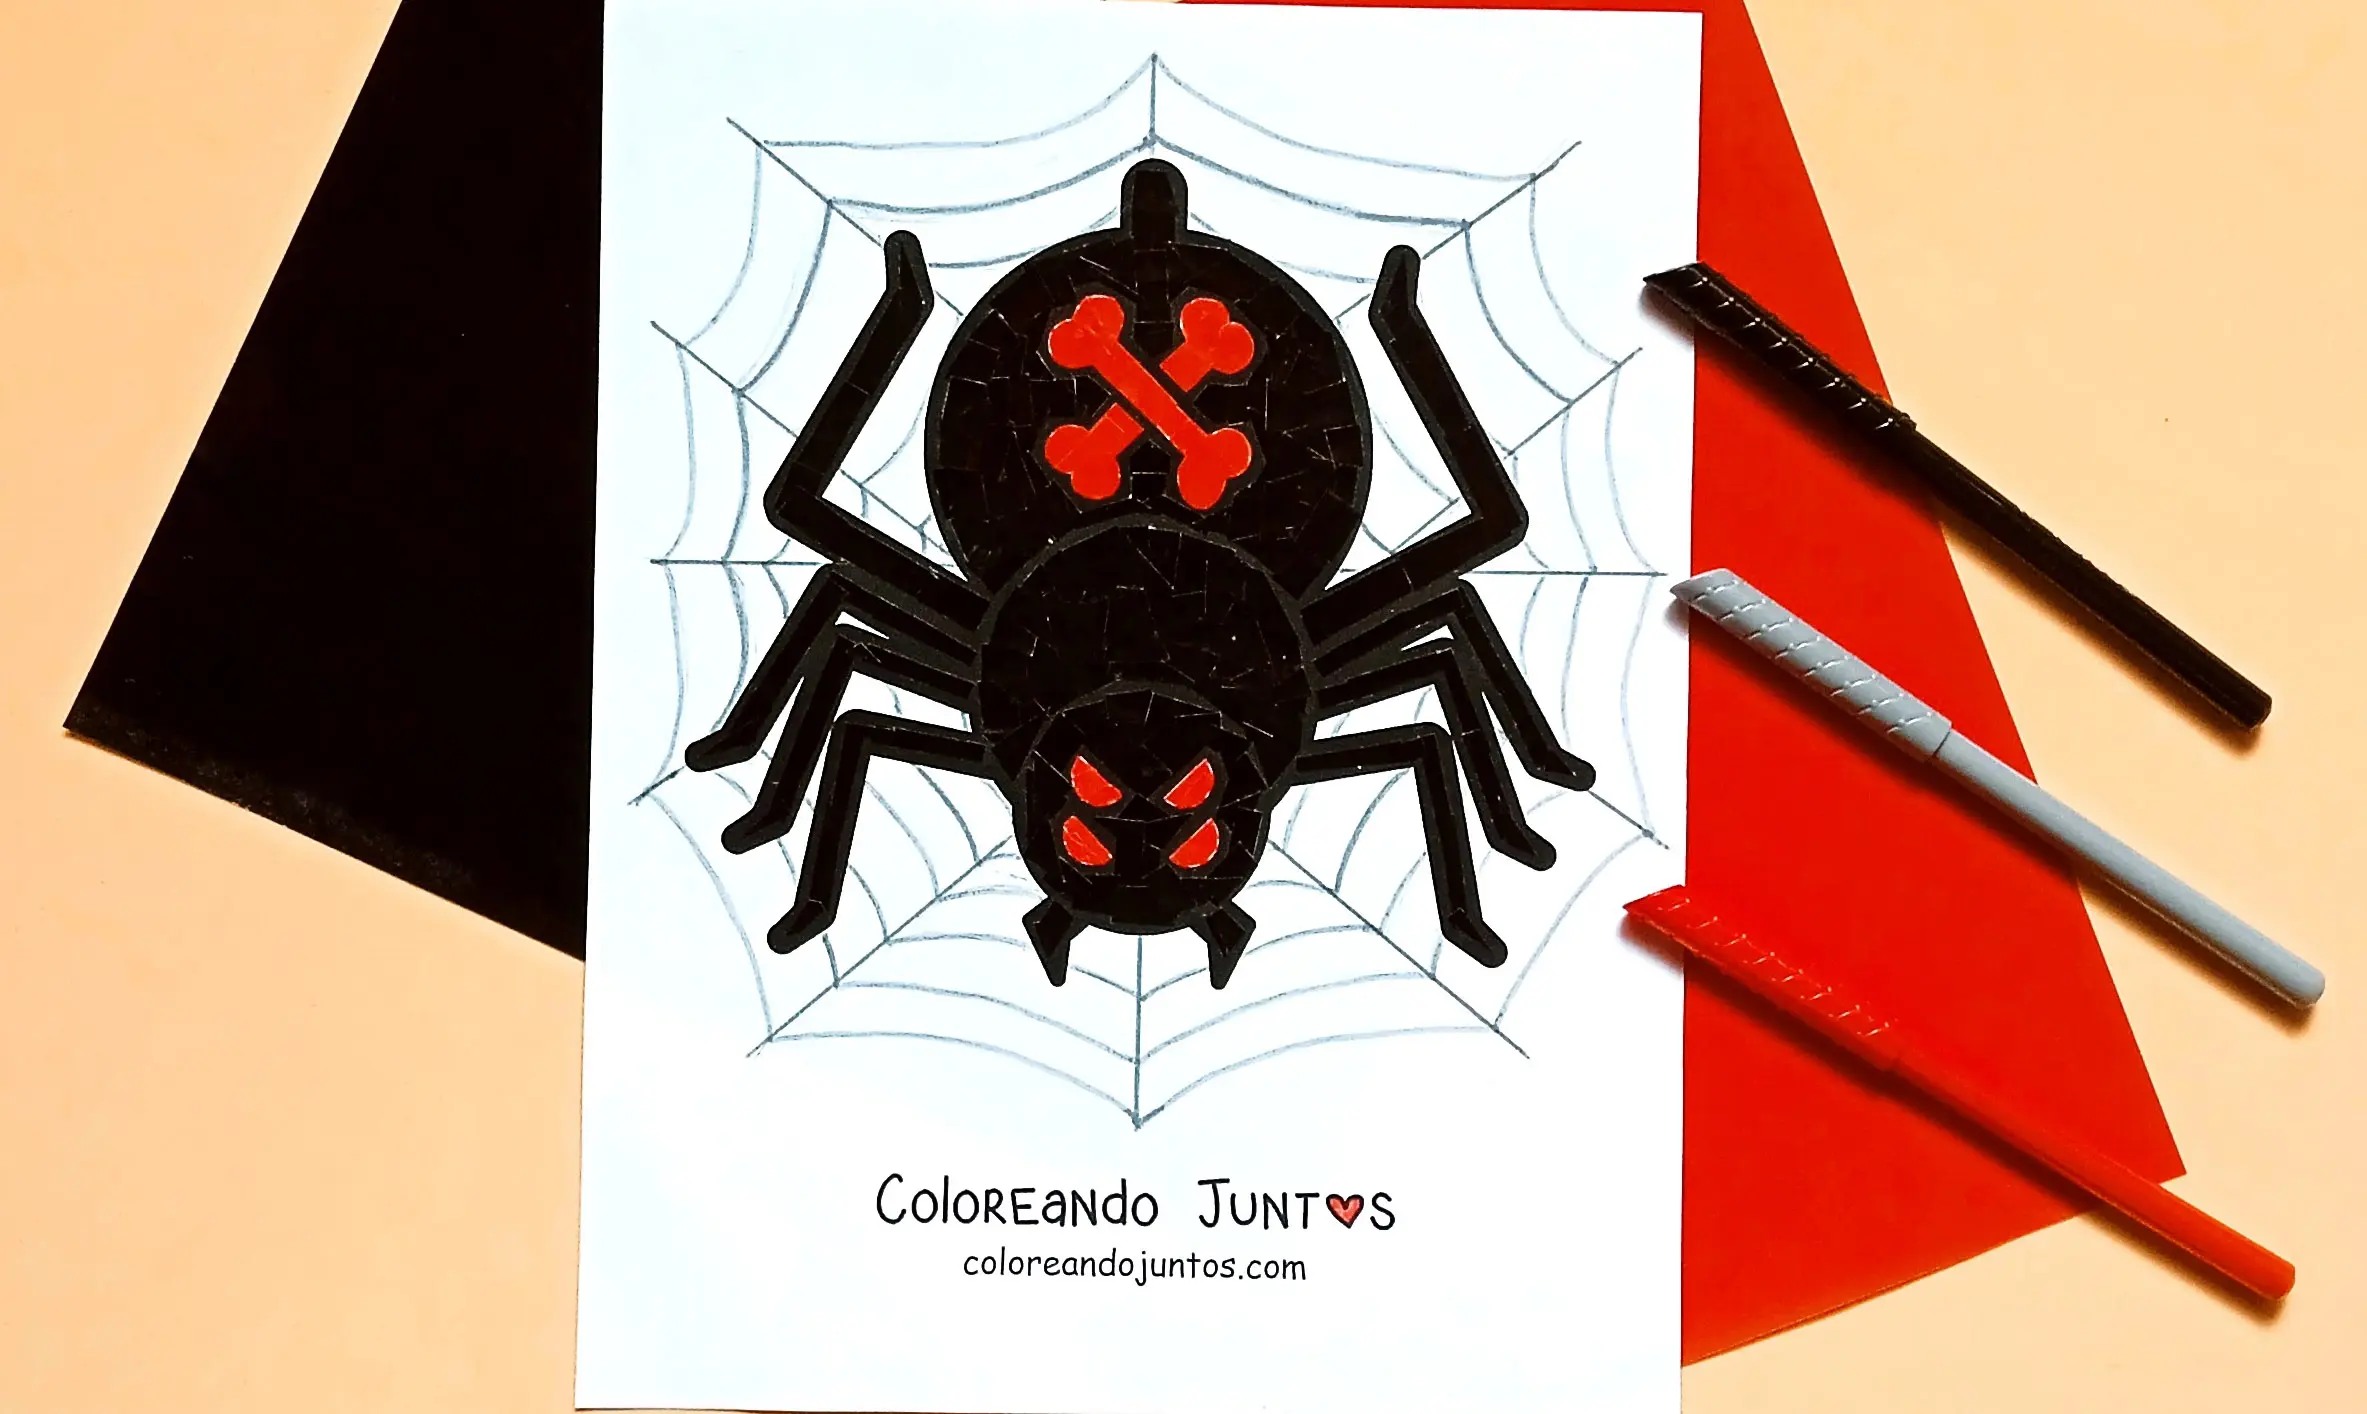
Examples of the mosaic applied
Techniques you can combine with the Mosaic
It is time for us to tell you which techniques we use together with the mosaic to create our compositions. Remember: there may be more that our artists do not apply. There are many ways to make art! If you know any other, we would be delighted to read it.
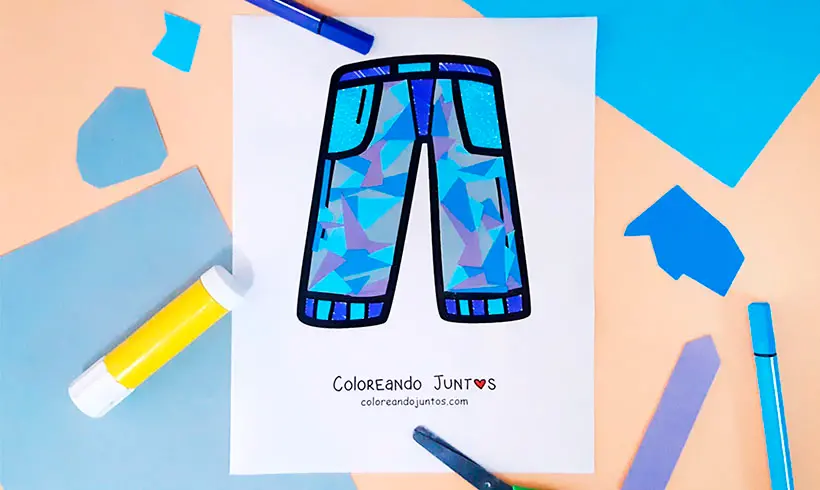
- Shading: Shading with the mosaic might seem a bit hard to you, but if you glue squares of a darker color in certain areas, you will notice that when you look at the drawing from far away it will be as if it had shadows.
Tinting: You can tint a drawing with the mosaic technique using two tones. You just have to glue little squares of both colors very close to each other, so that the transition between them shows.
Tips and advice for making Mosaics
We have almost reached the end. We still have the most important thing left to tell you! And that is that our artists put together a section with their tips and advice for applying the mosaic technique.
- Be patient. Sometimes you may feel like you make and make little squares with your materials, and you keep gluing, but you see no progress. Maybe you need to make a cut here and there so it matches the drawing. It is part of the process! Little by little and with dedication you will get beautiful results.
- There are several ways to make a mosaic. You can leave space between each tessera (or piece of material you are going to glue) or you can simply glue and overlap the pieces you cut out. Both work!
- The type of glue you choose should depend on the material your tesserae will be made of. In our case, we use glue stick to glue the glossy or construction paper. This way the sheet does not wrinkle and looks much better.
Have you understood everything? Because we have nothing more left to teach you. Come on! From now on you will have to walk the path on your own. Practice and lots of patience. Are you ready?