Tempera Paint: Features and Tips for Applying It

It's time to get our hands dirty with paint! Well, the brush, to be more accurate. This time we'll have fun applying a very special material to our drawings. Do you already know what it is? That's right! Tempera paint.
With it you can get incredible shades and combine colors to create all sorts of tones. What do you say? Are you ready to learn how to paint with tempera? You'll have so much fun!
What Is Tempera Paint?
Tempera is a material made with bound pigments that is commonly used for painting. Its colors are thick and opaque, plus it's flexible and easy to blend with other tones. This material is also known as Gouache.
Tempera is a tool that is not only flexible but also very soluble. That means you can not only mix it with other colors, but also, with a little water, you can get a watercolor effect. You should try it!
This material is ideal for learning to paint if you're a beginner, because it's affordable and easy to use. You just need a couple of brushes and you're all set!
Advantages of Tempera Paint
- Re-workable: this material never stops being soluble. In other words, even when it's dry, it can be reshaped with a little water. It doesn't matter if it's dry and you didn't like the tone or color you got. You can change it if you want! Thanks to that, it's easy to fix mistakes or improve some details.
- Quick drying: tempera paint dries very fast, so you'll be able to see how your work of art is turning out fairly quickly, check whether the colors are even, whether they need more layers of paint, and notice whether the colors are bright enough!
- Affordable: tempera paints can be found at a very good price. They're ideal for beginners who are learning to paint and who want a good-quality material with plenty of solubility. Are you ready to start?
- Easy to blend: being soluble, it's easy to combine colors and blend them with darker tones. Keep in mind that the brush should move in the same direction so you don't drag the color you applied in a previous brushstroke.
What Is Tempera Paint Like?
Tempera is a thick material with opaque tones, unlike watercolor. It dilutes easily in water, which means, it can be used in thick layers of color (without water) or light ones (with a little water).
Because it's so soluble, its pigment won't always cover the drawing's surface completely with one layer, so you'll need to wait for it to dry and apply a second or third coat, depending on the effect and tone you want to achieve.
Tempera is an ideal material for a variety of techniques and exercises, such as: tonal blends, color lifting, flat color, shadows, highlights, and more. Don't you think that's fantastic? Give it a try! You're sure to have fun.
How to Apply Tempera Paint?
The time has come to learn how to paint with tempera, so we've made a drawing and we'll explain step by step how we use this very interesting material. Ready to start? Let's do it!
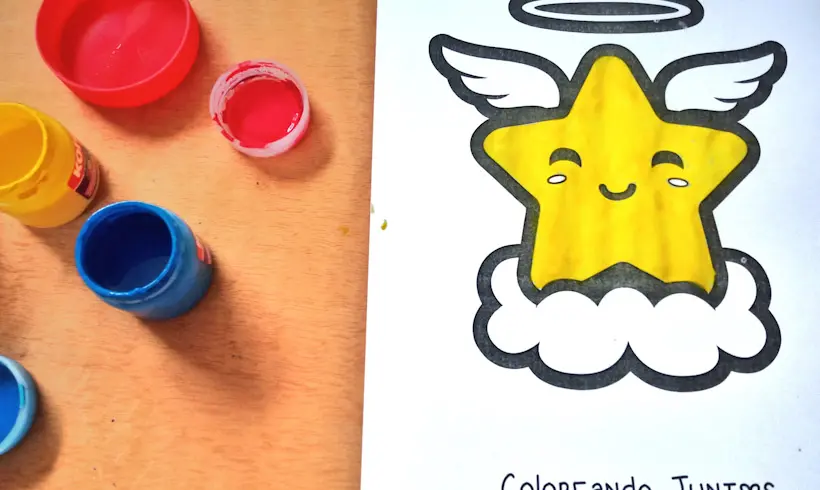
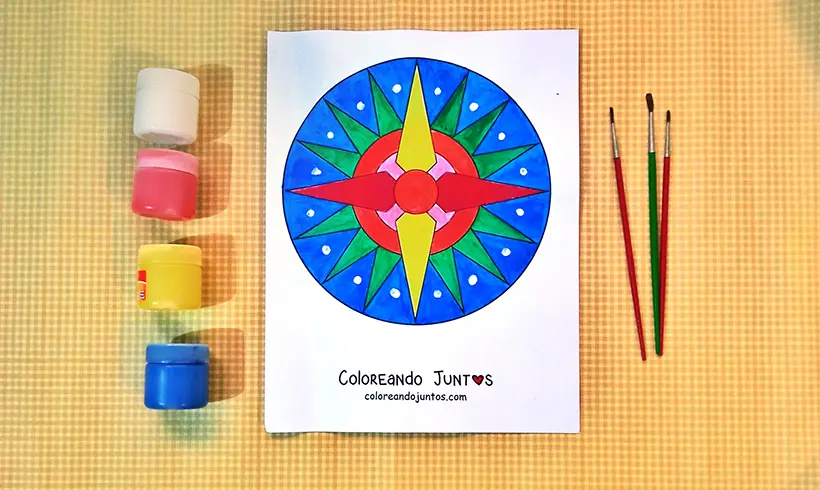
Step 1: Choose the color palette to use
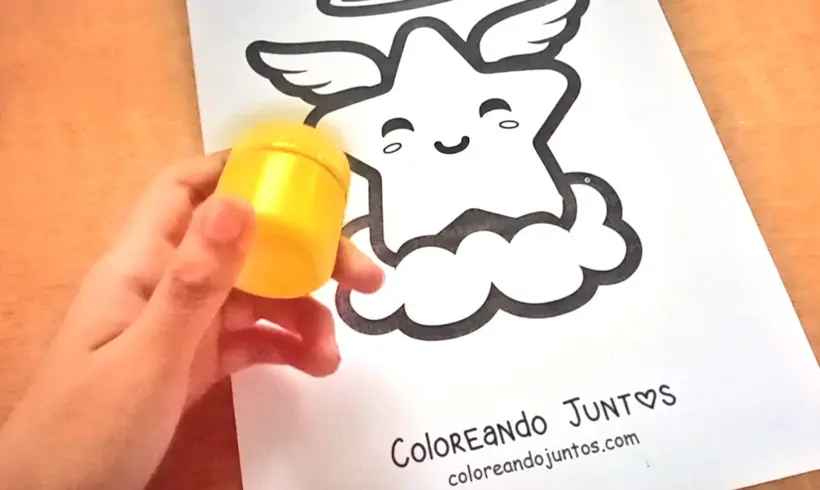
It's very important that, before you start your drawing, you decide which colors you'll paint it with and whether they'll go well together. To do this it's a good idea to paint a little dot on a separate sheet so you can see the tone and whether it will need more or less saturation. In this case, I didn't need it at the start, so I chose yellow.
Step 2: Paint the corners of the drawing first
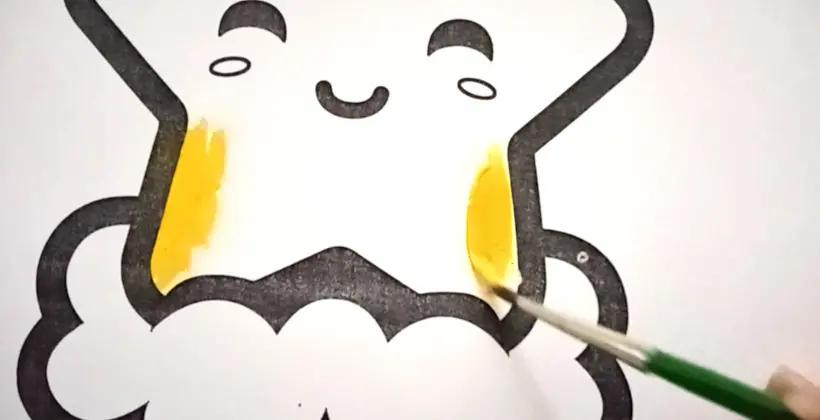
Start painting! Pick up the paint with the brush and start painting your drawing, outlining the area to be painted first, because if you make rough brushstrokes you can go outside the lines. It's a little tricky to keep a steady hand! But it can be done. Once it's ready, start painting!
Step 3: Check that everything is painted well
Tempera is a soluble material, so, depending on the material and the amount of paint applied, a single layer may not be enough to fully color the chosen area, or some areas may end up painted better than others. Wait for the first layer to dry, and apply more if needed.
Step 4: Who said light colors? Combine the colors and get new shades!
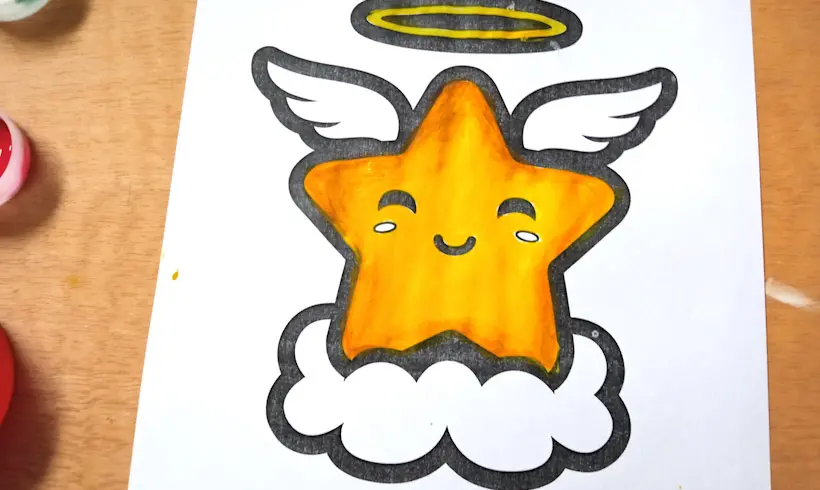
To give the star a bit of gold around the edges, I combined red with yellow and then a little blue, and that's how I got a dark brown. Since I wanted it lighter, I applied more yellow and then ran it gently along the outline of the star.
Step 5: Fix mistakes or improve details
Once you have everything painted, check whether there are areas you can fix or improve, after all, tempera is soluble and you can repair any mistakes you may have made.
In this case, the brown applied around the star was too dark, so once it was dry, I applied more layers of yellow until the two blended together and I got a proper sense of volume.
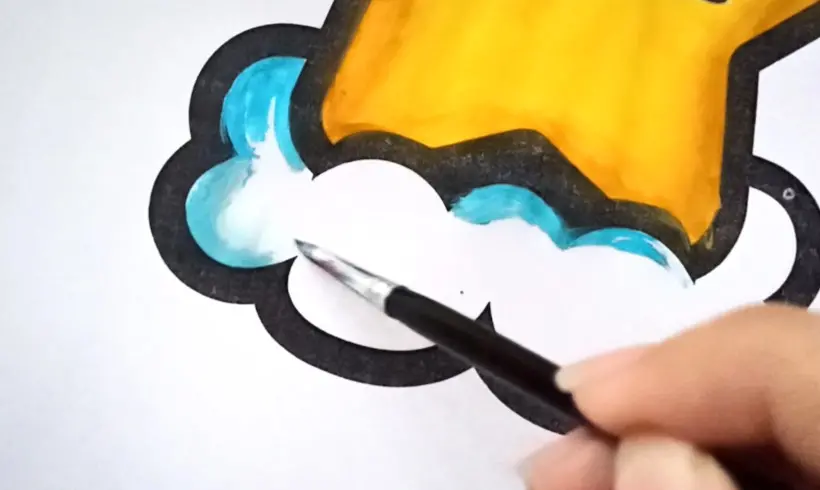
Step 6: Apply the previous steps to the rest of the drawing. Have fun!
Combine colors, apply white for more highlights, paint the background with whatever technique you like best, and shade using dark tones. The possibilities are endless! Painting is a really fun process, so don't forget to enjoy yourself while you do it. Don't forget to clean the brushes when you're about to switch colors!
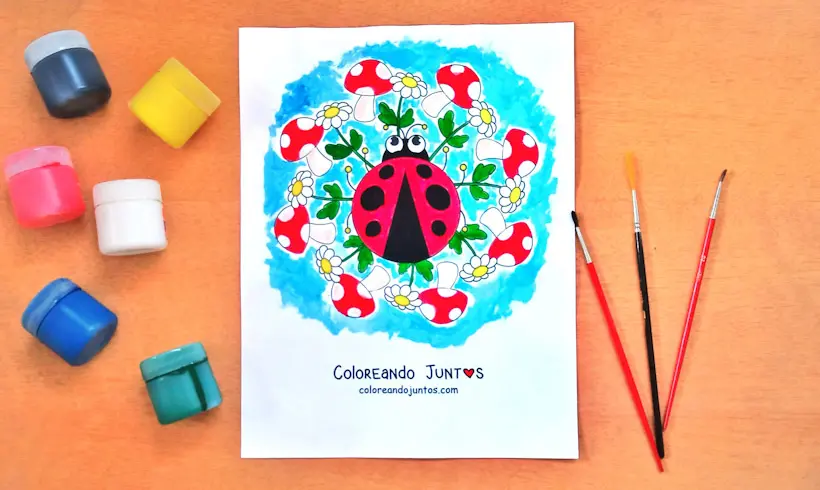
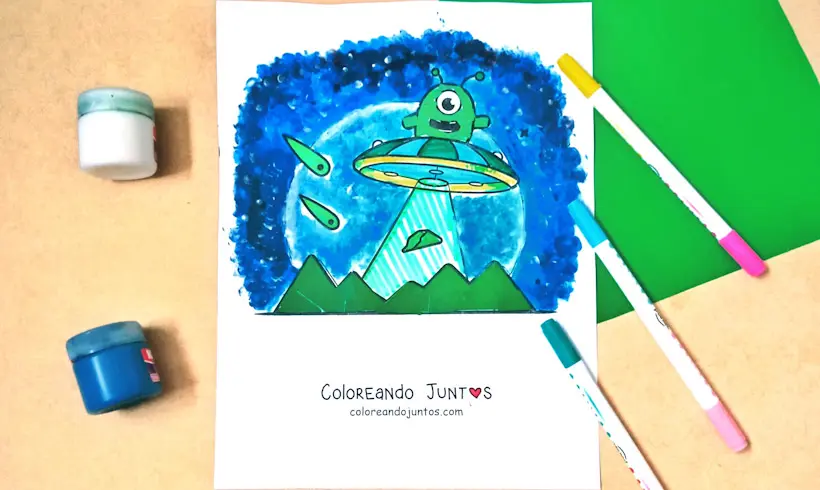
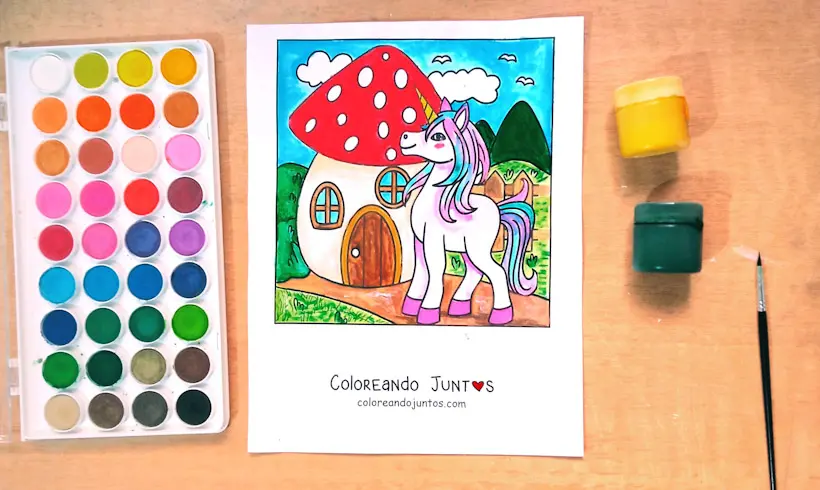
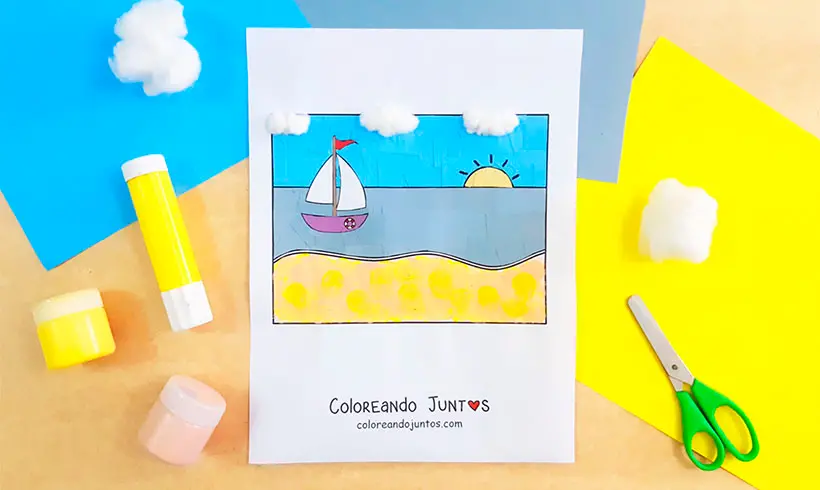
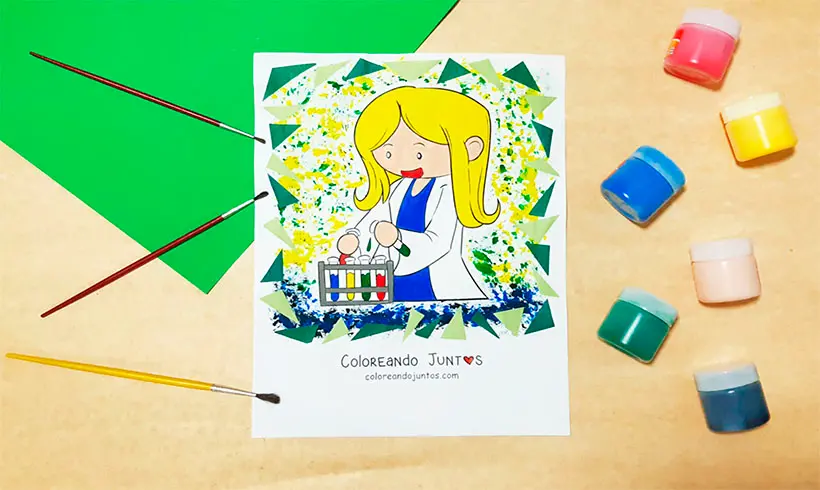
Examples of Tempera Paint Applied
Techniques You Can Combine with Tempera Paint
If you're not satisfied yet with everything we've written about tempera, then don't worry! We have something more to explain to you about tempera. Want to know what other techniques can be used together with tempera? We'll tell you all about it!
- Shading: Combine colors to get darker shades of the same color, that way you can add shading in various places. Although there are artists who shade with other tones, like blue. Give it a try! It would surely look great.
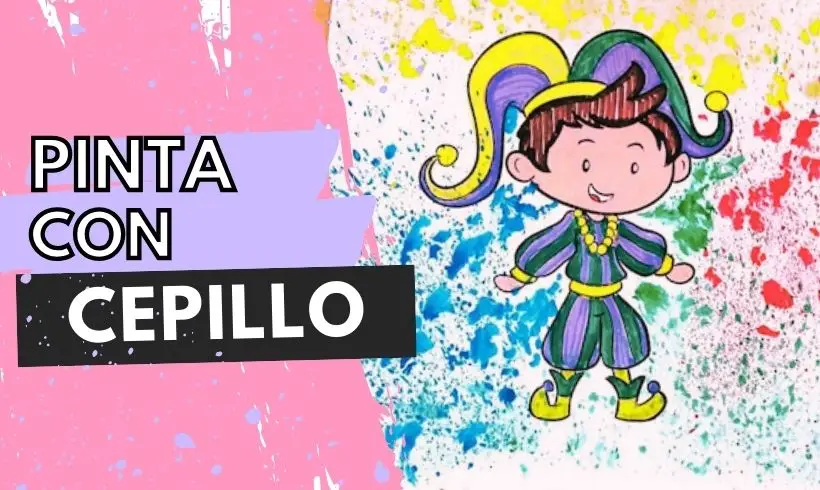
- Spattering: for this technique use an old toothbrush, dip it in water, and without removing the excess, dip it in the paint too, and run your finger along it to fling specks of color over anything you like.
- Flat color: if you want a minimalist, simple result, you can paint the whole drawing using flat colors, that is, without shading or highlights. A single color in a given area!
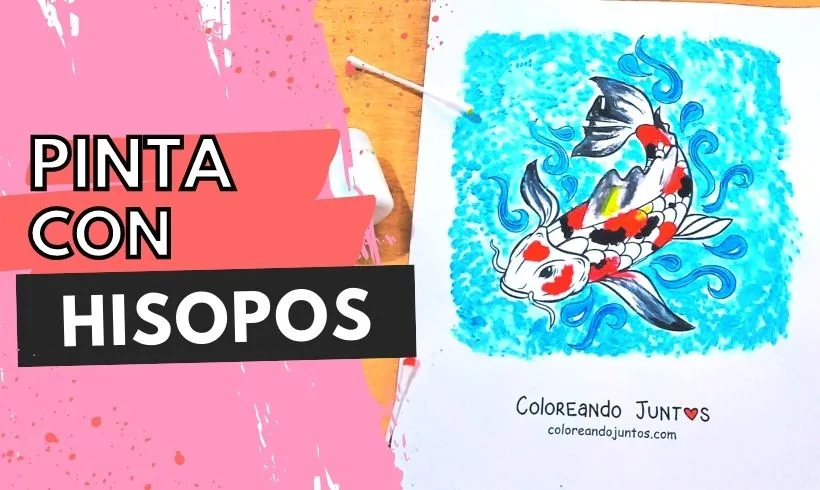
- Pointillism: with a cotton swab or with the brush itself, you can make brushstrokes as if they were dots, and fill in the whole drawing using the same technique. It's sure to look amazing!
Tricks and Tips for Coloring with Tempera Paint
Don't go! Before that, come closer and stay with us. The artists at Coloring Together want to share some tricks and tips for painting with tempera so you don't give up trying.
- Tempera paints usually come with a limited range of colors, so always try combining them with other colors to create new ones. That's the advantage of paints! Take advantage of how easy they are to mix.
- If you're unsure which colors to use to make the right combination, then check online first or test on a separate sheet. Never directly on the drawing! Because you can ruin it.
- If you're going to brush along the edges of the drawing, do it slowly and using the whole brush. By doing it this way you'll have more control and won't go outside the lines as much. Be thorough!
- Tempera paints are soluble materials that can give you a watercolor touch. Give it a try! A single drop of water is enough for the brush. After that, paint! And you'll notice how good it looks.
- To make colors more pastel, use a little white. But don't overdo it! Take a tiny bit on the brush and mix it with the color you want to lighten.
- To darken a color, never use black. It won't darken it the way it should! Instead, it will look like an awful smudge. It's better to look for analogous tones and combine them to darken it.
For now, that's all we have to teach you. Now you'll have to walk the path on your own. With patience and plenty of practice you'll see your progress very quickly. Time to paint!