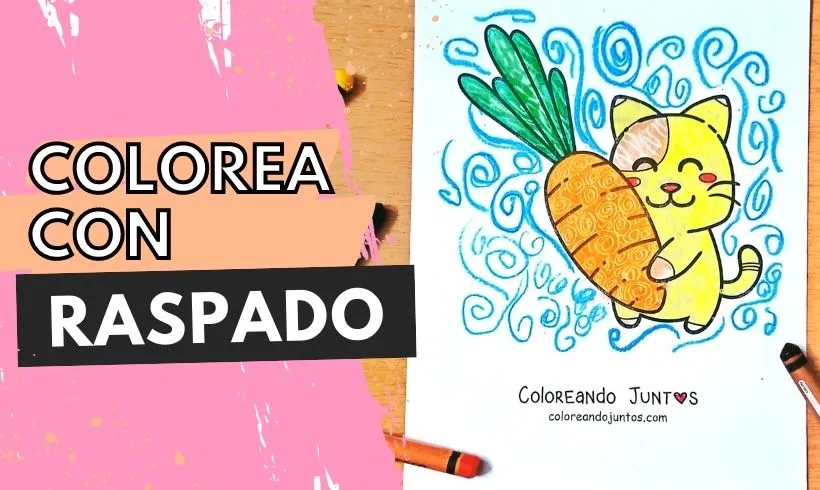
Scratching with Wax Crayons: Features and Tricks for Applying It
Let's go find something pointy, because in today's practice we'll use pointy tools to paint. What do you think of the idea? Isn't it awesome? At Coloring Together, we're going to apply the scratching or grattage technique.
This time, it'll be a technique we apply with wax crayons. So if you have some, then go find them! Because the time has come for us to explain how to apply the scratching technique in your drawings.
What is scratching or Grattage?
The grattage is a technique that involves scratching a layer of paint or color so you can see the underlying layer.
Originally, this was a technique created by the surrealist artist Max Ernst, in which a canvas with several layers of oil paint was placed over a textured material or surface, which was then scratched with a fine or pointy tool.
Artists like Jean Dubuffet, Antoni Tapies, or Joan Miró applied this technique in their works, in addition to contributing to the creation of this technique.
What materials should you use to apply the scratching or Grattage technique?
The scratching technique can be applied with a great variety of materials, since you only need to make a certain number of layers, and then use a sharp object to scratch.
For example, in the case of paints, you can use acrylic, oil, and even tempera! You just have to paint, layer after layer, and when the paint dries, use a toothpick or any other sharp object and scratch. It's advisable to wait until the material is dry, because if it's still wet you might not scratch the surface well.
However, this technique can also be used with dry materials, especially wax crayons or oil pastels. It's possible because both leave thick layers of pigment, which are then scratched with whatever fine material you have on hand. You'll be able to see the textures you get!
On the other hand, tools like crayons or markers are not such good options for applying this technique.
Can black tempera be used for the scratching technique?
Of course! In fact, it's a very interesting option, because you'll be able to scratch over a black background. How could you do it with wax crayons?
The first thing you should do is paint the surface with wax crayons, it doesn't matter if it's a printed drawing, or if, instead, you want to make your own composition. Once you've colored your whole surface, you'll place a layer of black tempera over it.
You'll see how a somewhat thick layer ends up on the paper. When this dries completely, use a toothpick and carefully scratch. You'll see how the surface that emerges will be the colors you used as the first layer with the wax crayons. Try it!
How to apply the scratching or Grattage technique with wax crayons?
It's time, it's time! Do you know what time it is? Time to learn to apply the grattage technique to color your drawings! This time we'll teach you to use it with wax crayons. What are you waiting for?
Step 1 (Optional): Outline the contour of your drawing

Before you start painting, carefully outline the contour of your drawing. It's something you can do with markers, or with the wax crayons themselves. But, if you'll use the crayons, we advise you to use the tip or a pointy part of the crayon.
Step 2: Apply a first layer of color
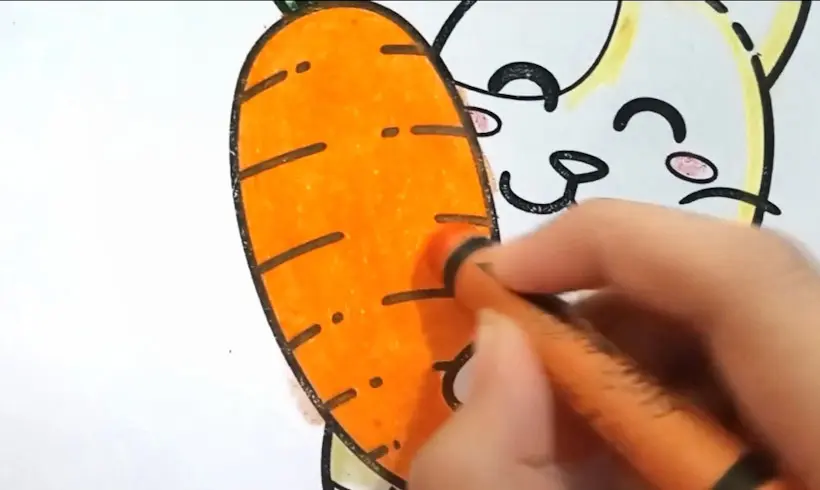
Select your base colors and start coloring by applying a first layer of color. So it comes out even, we advise making circles, so the crayon's pigment blends well and there aren't so many blank spaces.
Step 3: Apply as many layers as you think necessary
So your drawing comes out completely colored with the wax crayons, apply at least two or three more layers over the base color, exerting a light pressure of the crayon on the paper. This way, the tone will intensify and there will be fewer blank spaces. But don't press down too hard because the crayon can break!
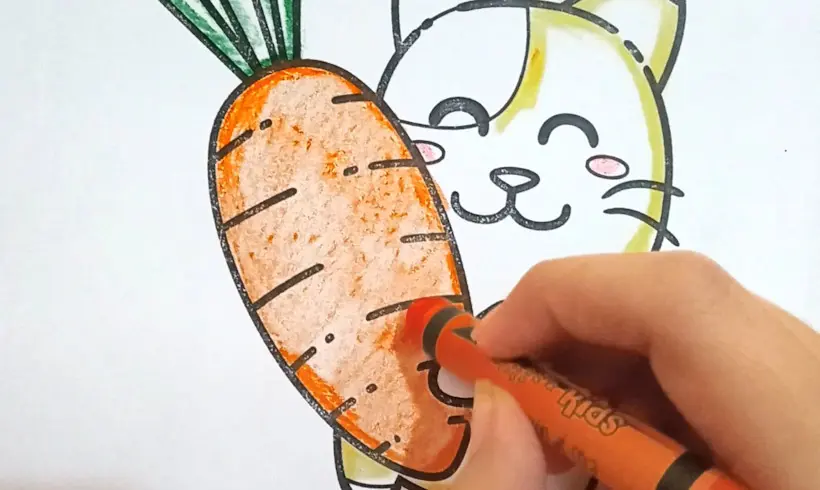
Step 4: Use a pointy material and start scratching
It doesn't matter what object you use, whether it's a clip, a knitting needle, a crochet hook, a toothpick… what matters for applying this technique is that the material be pointy, and that it lets you scratch the surface of the crayons. Even your fingernail works!
Even if it doesn't seem like it, if you don't have any fine material on hand, you can use your nails to scratch the material, at least if they're wax crayons. Just remember to clean your hands properly before and after!
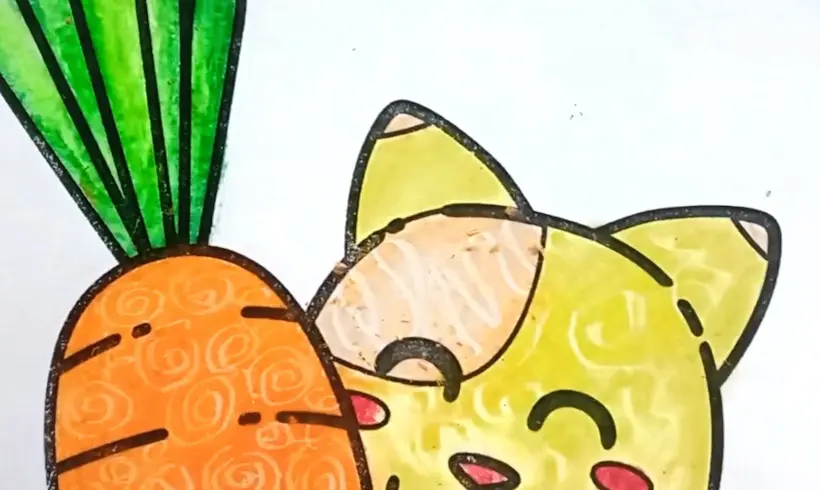
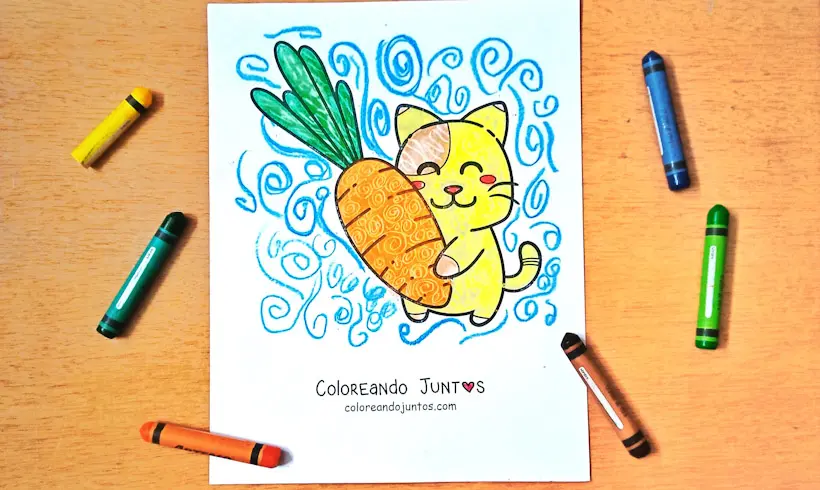
Examples of Scratching or Grattage applied
Techniques you can combine with scratching or grattage
We still have several things to teach you about the scratching or grattage technique. Among them, the techniques you can apply along with scratching or grattage, so you'll be able to better complement your drawings and achieve better results.
- Coloring in circles: if you'll use dry materials, like oil pastels or wax crayons, we recommend that, before scratching, you color everything evenly, and the best way to do it is by making circular strokes.
- Coloring in layers: depending on the material and its density, you'll need to make one, two or more layers so you can have a surface to scratch. That's why you should carefully evaluate which materials you'll use and how many layers of color you'll need.
- Blending: Blend your drawings to color with different tones, you just have to paint both ends with different colors and blend. Then on top you scratch with some thin tool!
Tips and tricks for applying the Scratching or Grattage technique
Here comes the section you've been waiting for, the prized tips and tricks for applying the scratching or grattage technique. Our artists got together and after talking it over, decided to leave you all the tricks they apply when using this technique. Keep them in mind whenever you can!
- It's a technique that requires patience, so don't stress too much if you go very slowly, or if you have to apply many layers of paint. That's what it's all about!
- To tell whether you've applied the necessary number of layers, you can look at the number of blank pores you see on the paper. If many blank spaces remain, then it might need more layers. On the other hand, if there are almost none, then you can leave it like that.
- Be careful not to press the pointy object too hard on the paper, because you could tear it. Try to exert the force needed to scratch the layers of color without damaging the surface you painted on.
For now, that's all we have to teach you. Go ahead and paint your drawings with this technique! We know that with practice you'll get amazing results.